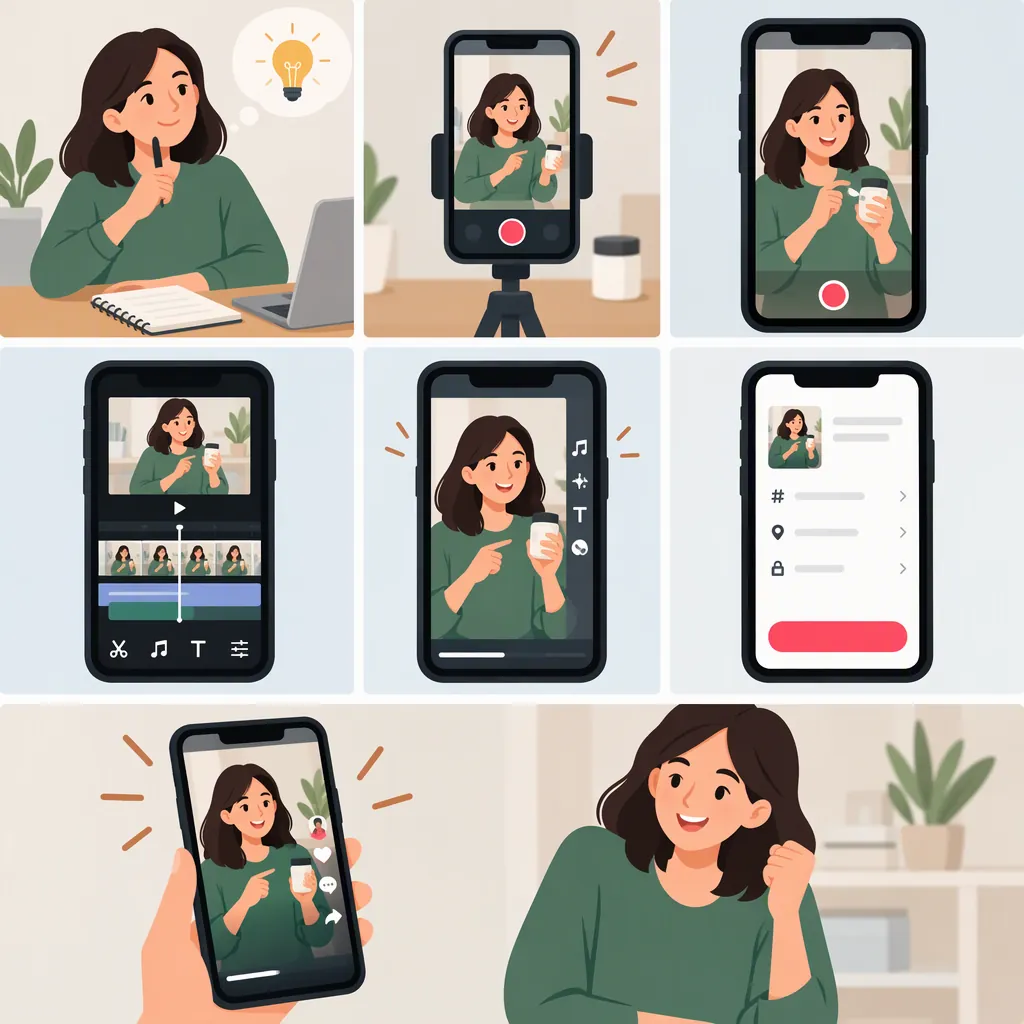
How to Make a TikTok Tutorial: Plan, Film, and Edit
To make a TikTok tutorial, choose one task, show the intended result, and demonstrate each step in order. Record clear footage and narration, edit out unnecessary pauses, and add readable labels where they help explain the action. You can record in TikTok or upload footage from your device. Preview the complete tutorial before posting. The supplied creator guide describes this basic recording and upload workflow; the teaching templates below are suggested approaches. [src_1]
1. Choose One Task and Define the Result
Start with a specific task rather than a broad topic. For example, “fold a paper envelope” gives you a concrete demonstration to film; “paper crafts” does not define a single outcome.
Write down what the viewer should be able to do after watching. Then list any materials, prerequisites, or starting conditions. If the task involves several independent skills, consider separate tutorials rather than squeezing every explanation into one video.
The supplied creator guide recommends outlining your content and deciding on its main message before filming. Use that planning step to keep your tutorial focused. [src_1]
Tutorial Planning Worksheet
Task: [One action the viewer will learn]
Intended viewer: [Beginner or someone with relevant experience]
Finished result: [What success looks like]
Materials or prerequisites: [What must be ready]
Steps: [Actions in order]
Likely mistake: [One point to explain carefully]
Final check: [How the viewer can verify the result]
2. Turn the Task into a Script and Shot List
A useful tutorial structure is result → setup → steps → check. Treat this as a suggested teaching format, not a rule about TikTok performance.
Open with the finished result and a plain explanation of the task. Name any required materials, then pair each instruction with footage of the corresponding action. End by showing how to check the outcome.
Use concrete verbs: “fold the lower edge upward” is more useful than “adjust it.” When position matters, identify the edge, button, or object before moving it. Include warnings before an action that could be unsafe or irreversible.
Choose your shots around what the viewer needs to see. A close-up may suit a small physical detail; a screen recording may suit a software procedure. Remove private information from anything you plan to record.
Fill-In Tutorial Script and Shot List
Opening shot: Show [finished result].
Opening line: “Here is how to [specific task].”
Setup shot: Show [materials or starting screen].
Setup line: “Start with [prerequisites].”
Step shot: Show [action] clearly.
Step line: “First, [specific action].”
Repeat: Give each remaining action its own instruction and matching shot.
Caution shot: Show [detail that needs care].
Caution line: “Before you continue, check [important condition].”
Closing shot: Show [completed result].
Closing line: “Check that [observable sign of success].”
3. Record a Clear Demonstration
Set up lighting so the important action is visible, keep the background uncluttered, and record speech in a quiet space. These preparation points align with the supplied creator guide. [src_1]
For a practical starting setup, position your phone vertically and keep it steady. Frame the demonstration so your hands or tools do not hide the key detail. Record a short test and review both the picture and sound before filming the full sequence.
You can narrate while demonstrating or record narration afterward. Choose whichever lets you explain the task accurately without rushing. If a step is unclear, record it again rather than relying on an explanation to compensate for missing footage.
The supplied guide describes tapping + in TikTok, then recording with its camera or uploading content from your device. It is a third-party guide, not official TikTok documentation, so treat its interface sequence as general guidance rather than a guarantee of the current layout. [src_1]
Recording Check
- The important action stays in frame.
- Hands and tools do not block the detail being taught.
- Spoken instructions are understandable in the test recording.
- The background and screen contain no private information.
- Every scripted step has a matching recording.
- The finished result is visible.
4. Edit for Clarity, Not Just Speed
Arrange your clips in the order a viewer must follow. Trim repeated explanations and idle time, but keep enough footage to show where each action begins and ends. Do not cut away from a detail the viewer needs to copy.
Add short step labels where they clarify the sequence. If you include captions, check them against the narration, especially names, measurements, and technical terms. Position text so it does not cover the demonstration, and inspect the preview for readability.
The supplied guide lists text, stickers, effects, and filters among TikTok's editing tools. For a tutorial, use those tools only when they help explain the task. [src_1]
There is no verified ideal tutorial length in the supplied evidence. Aim for the shortest version that still teaches the task completely, rather than cutting essential steps to reach an arbitrary duration.
Editing Pass
Pass 1 — Sequence: Put every action in the correct order.
Pass 2 — Accuracy: Match each instruction to the action shown.
Pass 3 — Pacing: Remove repetition without hiding necessary details.
Pass 4 — Text: Check spelling, timing, readability, and placement.
Pass 5 — Audio: Make sure speech remains understandable.
Pass 6 — Completion: Show the result and explain how to check it.
5. Preview Before Publishing
Watch the complete tutorial as if you have never performed the task. Can you identify the starting conditions, follow each action, and recognize a successful result?
Use a descriptive post caption that names the task and includes any essential prerequisite not obvious from the video. Review the posting options available in your app before publishing.
After posting, look for questions that reveal a missing explanation. The supplied guide recommends reading and responding to comments; for tutorials, those questions can inform a correction or a follow-up demonstration. [src_1]
Evidence limits: This article uses one supplied third-party creator guide. It does not establish current account-specific features, upload limits, an ideal video duration, or guaranteed reach. The script, shot list, and checklists are original instructional suggestions.
Pre-Publish Checklist
- The opening identifies the task and intended result.
- Required materials or starting conditions are clear.
- No necessary action is missing.
- Instructions, labels, and captions agree.
- The demonstration remains visible behind any text.
- Audio is understandable throughout.
- Private information is not exposed.
- The ending shows how to verify success.
- The post caption accurately describes the tutorial.
- Available posting options have been reviewed.
FAQ
Can I Make a TikTok Tutorial from Footage I Already Recorded?
Yes. The supplied guide describes uploading content from your device as an alternative to recording with TikTok's camera. Arrange your existing footage into a complete sequence and check that no instructional step is missing. The exact interface may differ from the third-party guide. [src_1]
How Long Should a TikTok Tutorial Be?
Use enough time to show the task accurately, without repeated explanations or unnecessary pauses. The supplied evidence does not establish an ideal duration. If shortening the video makes essential details hard to follow, keep those details or split the task into separate tutorials.
Do I Need Special Equipment to Make a TikTok Tutorial?
A phone is a reasonable starting point; the supplied guide includes smartphones among filming options. Before buying additional equipment, test whether your setup makes the action visible and the narration understandable. Good lighting and a quiet recording space are also recommended in the guide. [src_1]