How to Make TikTok Videos on PC
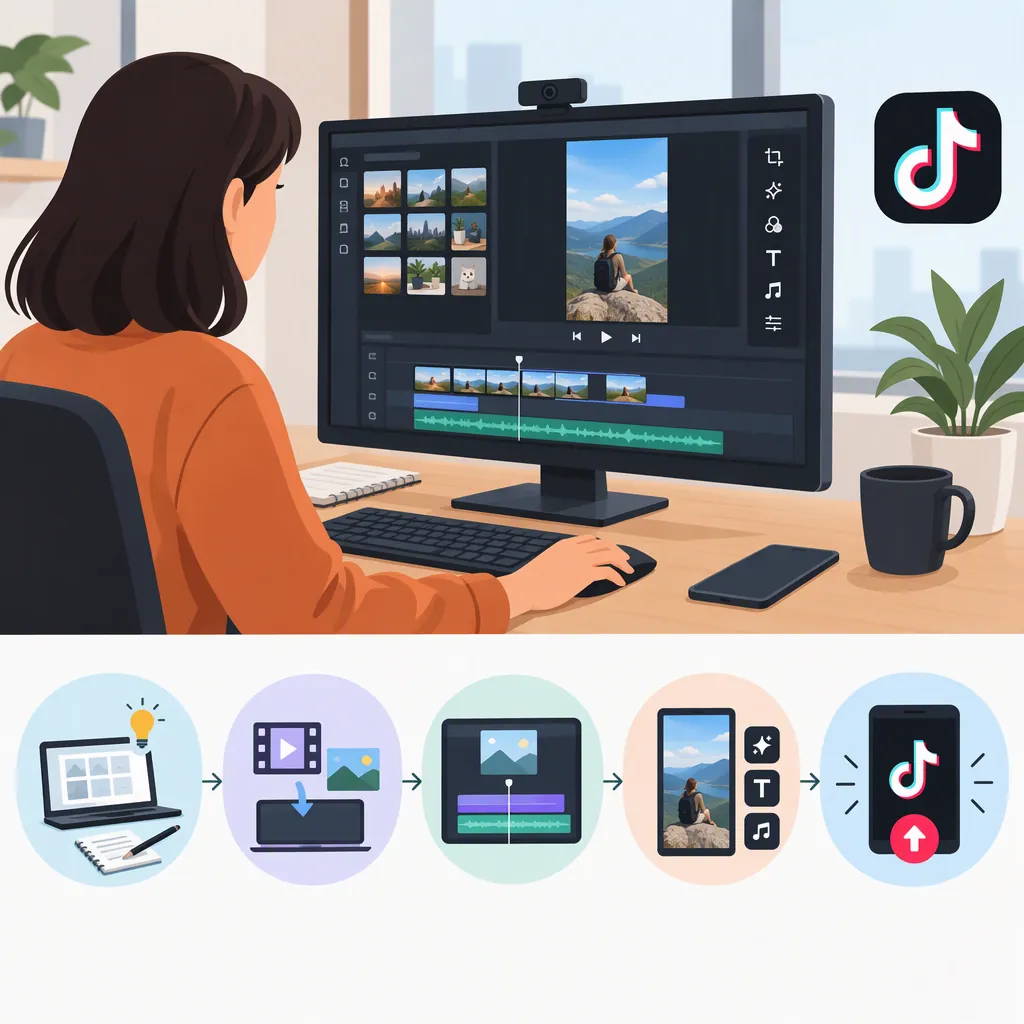
To make TikTok videos on a PC, organize your footage, edit it in a desktop video editor, export the finished video, and upload it through TikTok’s website while signed in. A vertical 9:16 video is a useful starting point. The cited guide supports this workflow but dates from 2023, so check the current uploader for supported files, limits, and available controls. [source_1]
Plan the Video Before Editing
Start with one idea and a simple sequence: an opening that establishes the topic, a main demonstration or explanation, and a clear ending. Treat this as an editing plan, not a formula for gaining views.
Gather your recordings, images, narration, and any audio you have permission to use in one project folder. Keep original files separate from exported versions so you can revise the edit without overwriting your source material.
Choose footage that works in a vertical composition. The cited guide recommends a 9:16 orientation for TikTok viewing; use that as a starting point, not a requirement for every upload. [source_1] If your footage is horizontal, decide which parts of the frame need to remain visible before cropping it.
Simple Video Planning Template
- Topic: What is the video about?
- Opening: What should the viewer understand immediately?
- Main footage: Which clips demonstrate the idea?
- Narration or text: What explanation is necessary?
- Ending: How will the video conclude?
- Permissions: Can you use every included image, clip, and audio track?
Edit the Video on Your PC
Choose an editor that supports the tasks you need: trimming clips, arranging a sequence, reframing footage, adding text, adjusting audio, and exporting a file. This workflow does not require a particular brand.
The cited guide describes desktop editing tasks such as trimming, adding visual and audio effects, and adjusting color. [source_1] The steps below are editor-neutral production suggestions; tool names and availability will vary.
1. Set up the Canvas and Timeline
Create a project and choose a vertical 9:16 canvas if your editor offers that option. Import your media, then place the clips on the timeline in the order you planned.
Trim the beginning and end of each clip to remove unwanted material. For a mistake in the middle, split the clip before and after the mistake, remove that segment, and review the join. Listen as well as watch: a cut that looks clean may interrupt a spoken sentence.
2. Reframe Horizontal Footage
Place the footage on the vertical canvas, then adjust its scale and position using the editor’s crop, transform, or similar controls.
- If you enlarge a horizontal clip to fill the canvas, check what gets cropped from its sides.
- Move the image so the subject or demonstrated action remains visible.
- Play the entire clip to check whether the subject moves outside the frame.
- If cropping removes essential information, consider keeping the full image within the canvas rather than filling it.
Leave space around important faces and text. Check their placement again in the upload preview rather than assuming a particular interface layout.
3. Add Narration and Balance the Audio
Import a recorded narration file, or record narration in the editor if it supports recording. Place it on an audio track and align each explanation with the relevant footage.
Lower background music or other audio while speech is playing. Listen to the complete sequence to check that words are clear, cuts do not interrupt sentences, and volume changes are not distracting. Use only audio you have permission to include.
4. Add Text or Captions
Use a text or caption tool, if available, to add explanations where they help the viewer understand the video. Adjust each text item’s start and end points on the timeline so it appears with the relevant action or speech.
If you generate captions automatically, review and correct them. Check spelling, punctuation, names, and synchronization with the spoken words. Keep text readable against the background and on screen long enough to understand.
5. Review the Complete Edit
Watch the timeline from beginning to end without stopping. Check the sequence, framing, narration, captions, and ending together—not just as separate elements.
For example, a short demonstration might begin with a shot of the finished result, move to a close-up of the process, and end with the result again. Reframe each shot for the vertical canvas, align narration with the action it explains, and time captions to match the narration. This is a planning example, not a prescribed TikTok format.
Export and Review the Finished File
Export a separate copy of the finished video. A vertical MP4 is a reasonable starting choice: the cited guide recommends 9:16 and lists MP4 among upload formats. Confirm the file requirements in the current TikTok uploader before relying on any export preset. [source_1]
Check the uploader’s displayed requirements for format, resolution, duration, and file size. The guide’s numerical specifications should not be treated as current limits. [source_1]
Open the exported file outside the editor and play it from beginning to end. Review the actual export rather than relying only on the timeline preview.
Pre-Upload Review Checklist
- The exported file opens and plays through.
- The intended subject remains visible after reframing.
- Text is readable and stays on screen long enough to understand.
- Captions match the spoken words.
- Speech is clear and background audio is not distracting.
- There are no unintended blank frames or unfinished edits.
- The file meets the requirements displayed in the current uploader.
- A separate copy of the editable project is saved.
Upload Through Your Browser
The cited guide describes a browser workflow in which you sign in to TikTok, select a video from your computer, and add post details such as a description and hashtags. [source_1]
Use this general sequence:
- Open TikTok’s website in your browser and sign in.
- Find the upload option available to your account.
- Select your exported video file.
- Review the preview and any processing messages.
- Add the post description and any relevant hashtags.
- Review the posting controls displayed for your account.
- Publish only after checking the video and settings.
Complete essential edits before uploading rather than assuming the website includes every editing tool you need. PC and mobile upload processes or requirements may differ; the cited guide does not establish current feature parity. [source_1]
Troubleshoot Upload Problems
Start with the displayed error or the specific symptom. Checking file format, file size, and internet connection is also recommended by the cited guide. [source_1] The table below organizes those checks into a practical troubleshooting sequence.
| What you notice | What to check first |
|---|---|
| The uploader reports a format or file-size error | Compare the file with the uploader’s displayed requirements. Re-export to meet the stated requirement, then review the new file locally. |
| The exported file does not play correctly on your PC | Return to the editing project, check the affected section and export settings, and export a new copy. |
| The uploader reports a connection problem | Check your internet connection and retry when it is stable. |
| Picture or sound problems appear only in the upload preview | Compare the preview with the local exported file to identify where they differ. Follow any processing or error messages before changing the edit. |
| The error does not fit these cases | Follow the platform’s displayed instructions rather than assuming an unsupported cause. |
When adjusting the project or export, change one setting at a time and review the result. This makes it easier to identify which change resolves the problem.
Source limitation: This article relies on one third-party guide published on May 22, 2023. It supports the general desktop-editing and browser-upload workflow, but does not verify TikTok’s current upload limits, desktop-app availability, music tools, scheduling options, or account-specific controls. The editing examples and checklists are general production suggestions, not verified TikTok interface specifications. [source_1]
FAQ
Can I Upload a TikTok Video from a PC?
Use TikTok’s browser upload option, if it is available to your account: sign in, select your exported file, review the preview, and add the post details. This is the PC upload workflow documented by the cited guide. [source_1]
Do I Need an Android Emulator?
An emulator is not part of the browser workflow. You edit the video on your PC, then select and upload the finished file through TikTok’s website. [source_1]
What Export Settings Should I Use?
Start with a vertical 9:16 MP4, then match the resolution, duration, and file size to the requirements shown in the uploader. The cited guide supports 9:16 and MP4 as starting choices, not a verified current export specification. [source_1]
Can I Use Horizontal Footage?
Yes, as an editing approach, you can place horizontal footage on a vertical canvas and adjust its scale and position. Check the entire clip for cropped-out subjects or actions. If a tight crop loses important information, keep the full image within the canvas. The cited guide’s 9:16 recommendation is a starting point for viewing, not evidence that every upload must use that shape. [source_1]
Should I Finish Editing Before Uploading?
Complete essential trimming, framing, audio, and caption work in your editor, then review the exported file before uploading. Do not assume the browser offers the same editing controls as the mobile app; the cited guide notes that PC and mobile workflows may differ. [source_1]