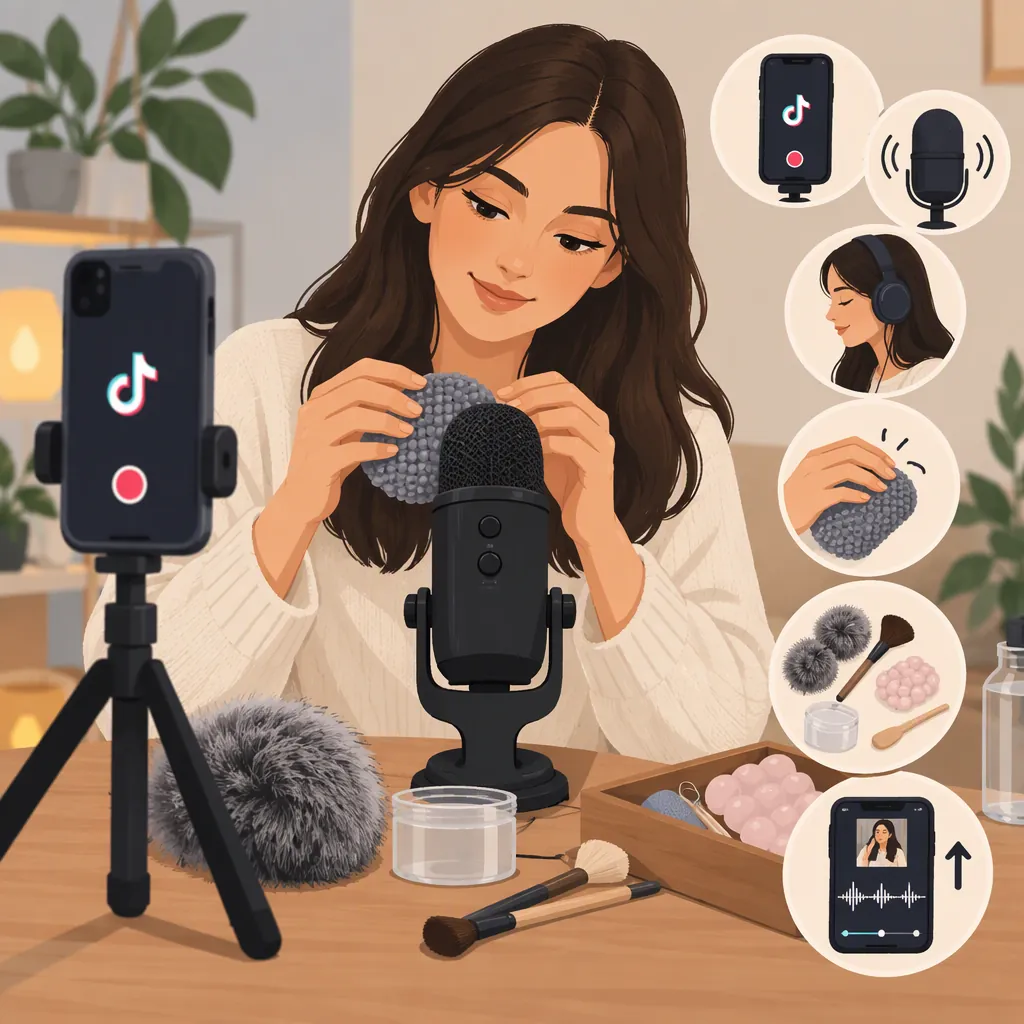
How to Make Asmr on TikTok: A Beginner Workflow
To make ASMR on TikTok, choose one sound trigger, record it in a quiet space, and film steady vertical close-ups. Test the audio before recording a full take, keep movements deliberate, trim distracting mistakes, and check that visible taps match the sound. A 15–60-second clip exported at 9:16 and 1080 × 1920 is a suggested starting format, not a verified TikTok requirement. Listen to the exported file before uploading. [c1]
Choose One Asmr Trigger
ASMR stands for autonomous sensory meridian response. On TikTok, the term commonly describes videos built around sounds such as whispering and tapping. Responses differ between listeners, so a sound that someone finds relaxing may not appeal to someone else. [c2]
For a first recording, choose one repeatable action: tapping a wooden object, turning pages, gently crinkling paper, or speaking softly. These trigger categories appear in the supplied production guide. [c1]
Treat your first clip as a focused sound study rather than a compilation. Decide what the viewer will see, what they will hear, and whether speech is necessary. Avoid promising tingles, sleep, or therapeutic results.
One-Trigger Planning Template
Trigger: [one sound or action]
Object: [what produces the sound]
Framing: [hands, object, or face]
Speech: [none or a short soft-spoken phrase]
Starting duration: [a chosen length between 15 and 60 seconds]
Unwanted sounds to check: [traffic, clothing, handling noise, or room hum]
Prepare a Quiet Recording Space
The supplied guides recommend a quiet recording environment, microphone testing, and a stable camera setup. Soft furnishings such as curtains or blankets can help reduce room reflections. [c1] wikiHow also describes a standard phone camera as an option and identifies phone-microphone recordings as lo-fi ASMR. [c2]
Start with the equipment available to you. Secure the phone so you do not need to hold it while making the sound. Frame the action vertically and leave enough space for your hands to move without leaving the shot.
Record a short test containing both room silence and the intended trigger. Listen for hum, clothing rustle, table bumps, and breath hitting the microphone. Where practical and safe, reduce the noise at its source rather than relying on editing. Try a different position or recording time before deciding that you need different equipment.
Pre-Recording Checklist
- Secure the phone or camera.
- Check that the object and hands stay in frame.
- Record a brief sample of the room and trigger.
- Listen through headphones at a comfortable volume.
- Identify the loudest unwanted sound.
- Adjust the setup and repeat the test.
Record Clear Sound and Deliberate Movement
Practice the action before recording. Use a pace you can repeat without abrupt changes, and keep the microphone and object positions consistent. The supplied guides recommend practicing triggers and filming with deliberate movements. [c1] [c2]
If your recording app exposes a digital level meter, the Pexo guide suggests peaks around −12 to −6 dB. Treat that as a starting target on a compatible meter, not a setting available in every app. Leave room for unexpectedly loud taps and listen to the result rather than relying only on the display. [c1]
For whispering, test your angle and distance from the microphone. wikiHow recommends a pop filter to reduce harsh breath-related sounds. [c2] If you are using a phone without one, compare several test positions and choose the least distracting recording.
Record a few complete takes. Keep notes about which one has the cleanest sound and most consistent movement; do not choose solely by how the picture looks.
Edit Without Losing the Sound Texture
Trim setup noise and unwanted interruptions. Keep cuts restrained so the main sound remains the focus. The production guide recommends checking synchronization at the first visible contact and again near the end, applying noise reduction sparingly, and adding short fades at the boundaries. [c1]
If you recorded audio separately, line up a visible tap with its corresponding sound, then check several later taps. If synchronization drifts, correct it before export.
Compare processed audio with the original. Listen for whether the tap, rustle, or whisper still sounds natural. Do not apply a universal noise-reduction percentage: the supplied guide gives numerical recommendations, but it does not establish a scale that works across editing tools. Use the smallest adjustment that improves your particular recording.
As a first-edit exercise, leave out music and transition effects. This makes it easier to evaluate the trigger itself.
Format and Review the TikTok Clip
The Pexo guide suggests 9:16 video at 1080 × 1920 for TikTok and describes 15–60 seconds as a short-form ASMR range. Use these as practical starting choices, not as verified upload limits or evidence of better performance. [c1]
Review the exported file, not only the editing preview. Listen at a comfortable, low volume through headphones, as the guide recommends, and check the picture at the same time. [c1]
When preparing the upload, use a plain description of the actual trigger, such as “Slow wooden tapping, no talking.” If you add text, position it so it does not obscure the action. Preview the post in TikTok and check whether any upload-stage audio additions change the intended sound.
The supplied references are general educational guides, not official TikTok documentation. They do not verify current upload limits, interface steps, recommendation-system behavior, or an ideal posting schedule.
Final Playback Check
- Watch the exported vertical file from beginning to end.
- Confirm that visible contact matches the sound.
- Listen for abrupt volume changes and noisy cuts.
- Check that the trigger remains audible at a comfortable volume.
- Confirm that the description accurately names the sound.
- Preview the upload for cropping, text placement, and unintended added audio.
Example Plan for a First Clip
The following is an illustrative production plan, not a tested formula or a performance prediction. It uses tapping and close-up framing, both described in the supplied guide. [c1]
Keep the same object, camera position, and recording level throughout. If a take contains a loud bump, pause and record another version rather than forcing that take into the edit.
30-Second Wooden Tapping Plan
0–5 seconds: Begin gentle tapping with the object already in frame.
5–15 seconds: Repeat a simple pattern at a steady pace.
15–25 seconds: Move to another area of the same object while keeping the action visible.
25–30 seconds: Return to the opening pattern and finish gently.
Editing check: Remove handling noise, verify tap synchronization, and review the exported audio.
FAQ
Can I Make TikTok Asmr with Just a Phone?
Yes. wikiHow describes a standard phone camera as an option and calls recordings made with a phone microphone lo-fi ASMR. Begin with a short test in a quiet space, then judge whether the sound is clear enough for your intended clip. A phone-only setup does not guarantee a particular audio quality. [c2]
Do I Need to Show My Face?
No. The supplied production guide describes hand-focused tapping, page turning, and object close-ups as faceless options. Frame the action clearly so viewers can see what produces the sound. [c1]
How Long Should a TikTok Asmr Video Be?
The supplied guide suggests 15–60 seconds for short-form ASMR centered on one trigger. That is a starting range, not a verified TikTok limit or a proven ideal length. Choose enough time to demonstrate the sound without including setup noise or unnecessary pauses. [c1]
What Should I Check If My Asmr Sounds Harsh?
Check the unedited recording first. The supplied guide identifies excessive recording levels and aggressive noise reduction as possible causes of harsh audio. Record another test at a lower level, compare it with the original, and reduce processing if it damages the sound texture. For whispering, also test microphone positioning and a pop filter. [c1] [c2]