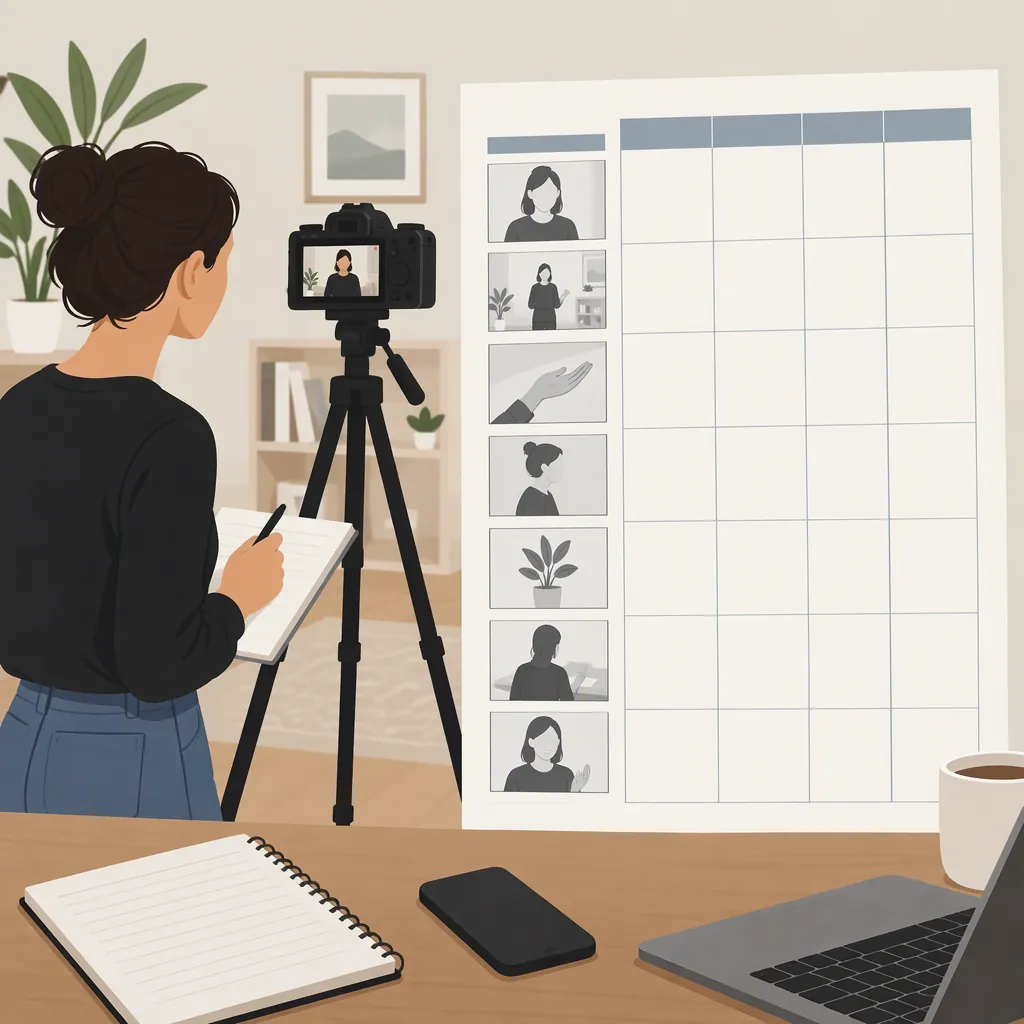
Shot List Template for Solo Filming
A shot list template records the shots you plan to capture, including each shot’s ID, action, framing, camera movement, and audio needs. For solo filming, add setup order, priority, and take notes so the same document supports planning and recording. The template below is an original solo-use adaptation of common shot list fields, not a tested production schedule. [c1] [c2]
Copyable Shot List Template
Use one row per planned shot, not one row per take. Common shot list fields include scene or sequence, shot ID, description, shot size, movement, equipment, and notes. Audio requirements are also worth recording alongside the visual plan. [c1] [c2]
The CSV below adds proposed solo-use fields: setup order, priority, solo check, and selected take/file. Copy it into a spreadsheet or adapt the columns to a paper checklist. Replace each placeholder before filming; delete fields that do not affect your shoot.
Keep target usable length separate from setup estimate. The first describes footage needed for the edit; the second is your estimate of time spent preparing the shot. Neither is a guaranteed recording time.
Blank Solo Shot List CSV
Setup order,Scene or beat,Shot ID,Priority,Location and setup,Subject and action,Framing and angle,Camera movement,Audio plan,Target usable length,Setup estimate,Gear,Solo check,Continuity notes,Status,Selected take/file
1,[Beat name],S01,Must-have,[Location and camera position],[Specific visible action],[Shot size and angle],Static,[Dialogue or voice-over or natural sound],[Edit length estimate],[Preparation estimate],[Required gear],[How you will check framing and sound],[Starting prop and body positions],Not filmed,[Complete after review]
Turn Your Outline into Filmable Shots
Start with the beats of the video: what must the viewer understand at each point? TechSmith recommends breaking content into scenes or story beats, then choosing shots according to what the viewer needs to see. Its tutorial guidance includes workspace views, process shots, close-ups, screen recordings, and cutaways. [c1]
For a solo tutorial, try this planning sequence:
- Write the teaching point. For example: show how to fold a sheet of paper into a simple stand.
- Name the visible action. Write “hands fold the bottom edge upward,” rather than “demonstrate folding.”
- Choose the framing. Decide whether the viewer needs the whole workspace or a close view of the fold.
- Choose the audio plan. Mark live explanation, later voice-over, or natural sound.
- Mark priority. Treat footage needed to understand the process as must-have; label decorative alternatives optional.
Prefer a static setup when you cannot both perform the action and operate the planned camera move. This is a proposed solo-planning rule, not a requirement to avoid movement entirely.
Example: A Solo Paper-Folding Tutorial
This hypothetical example shows how story order and filming order can differ. It is an original planning example, not a record of a completed shoot.
| Filming Order | Shot ID | Story Beat | Framing and Action | Audio | Priority |
|---|---|---|---|---|---|
| 1 | S02 | Materials | Wide table view; place paper on the work surface | Later voice-over | Must-have |
| 2 | S03 | First fold | Close-up; show fingers aligning the edge before folding | Later voice-over | Must-have |
| 3 | S04 | Next fold | Same close-up; show the next fold from its starting position | Later voice-over | Must-have |
| 4 | S05 | Result | Close-up; show the completed stand from the side | Later voice-over | Must-have |
| 5 | S06 | Detail insert | Close-up; point to the supporting fold | Later voice-over | Optional |
| 6 | S01 | Introduction | Medium, eye-level view; explain what will be made | Live speech | Must-have |
| 7 | S07 | Summary | Same presenter framing; explain the finished result | Live speech | Must-have |
Keep the shot IDs attached to their story beats even if you change filming order. In this example, a separate order column makes the distinction explicit.
Before recording a detail again, restore the paper to the correct stage. If that is impractical, plan a second sheet for repeatable inserts rather than assuming the finished object can represent an earlier step.
Group Setups and Check Audio
Grouping shots by location and setup is a recommended way to limit equipment changes. Shot lists may also change as locations, equipment, or other production conditions change. [c1] For solo work, use that approach as a starting point rather than sorting only by final edit order.
Group compatible camera positions, lighting arrangements, and audio plans. However, keep process dependencies visible: a later stage of a demonstration may make an earlier stage impossible to film again without a reset.
Estimate preparation, action, and a buffer separately. The references recommend allowing for setup and action time, but they do not establish a universal timing allowance for a solo shoot. [c1]
Include room tone in the plan where relevant. TechSmith recommends recording 30–60 seconds of the location’s ambient sound without dialogue or action for editing. This is a source recommendation, not a guarantee that it will solve every audio mismatch. [c1]
Solo Setup Check
- [ ] Place the shot list where it can be checked between takes.
- [ ] Record a short test from the actual subject position.
- [ ] Review framing, focus, and sound before the full take.
- [ ] Confirm that the required action remains visible throughout.
- [ ] Restore the props and body position needed at the start.
- [ ] Record the planned action and note the take number.
- [ ] Capture planned room tone without dialogue or action.
- [ ] Review must-have footage before changing the setup.
Track Takes and Check Missing Coverage
Plan edit-supporting footage before the shoot. TechSmith identifies missing B-roll and cutaways as a shot list pitfall and recommends footage such as detail shots that can accompany voice-over. [c1]
For this template, use three statuses: not filmed, recorded—unchecked, and checked. Reserve “checked” for footage you have reviewed, rather than footage you merely remember recording. This is a proposed tracking convention.
Before packing away a setup, compare the footage with the list:
- Does every must-have teaching point have a usable shot?
- Can the viewer see the action, not just the result?
- Is required speech intelligible in the reviewed take?
- Do adjacent steps show compatible prop positions?
- Are any planned inserts or cutaways still missing?
Write the selected take or file identifier in the final column. If a shot remains uncertain, note the specific issue instead of marking the entire sequence complete. A completed checklist is not proof of usable footage; review is still necessary.
FAQ
What Should a Basic Shot List Include?
Include a shot ID, scene or beat, specific action, framing, camera movement, audio needs, and notes. Add equipment or location details where they change the setup. For the solo template here, priority and take tracking are optional additions rather than universal requirements. [c1] [c2]
How Many Shots Does a Solo Video Need?
There is no fixed count established by the provided references for solo videos. Match the list to the project’s scale and the information the viewer needs. Start with essential actions and explanations, then add details or cutaways only where they serve the edit. [c1]
Do I Need a Storyboard as Well as a Shot List?
Not necessarily. Wrapbook distinguishes a shot list’s technical and logistical plan from a storyboard’s visual explanation of a sequence. You can make a shot list without storyboards; add sketches when framing or the relationship between shots is difficult to explain in words. [c2]
Can I Change the Shot List During Filming?
Yes. The references describe shot lists as flexible planning tools. Update the list when conditions change, and check that any replacement shot still covers the intended action or story beat. In this template, change setup order separately from the shot’s story reference. [c1] [c2]