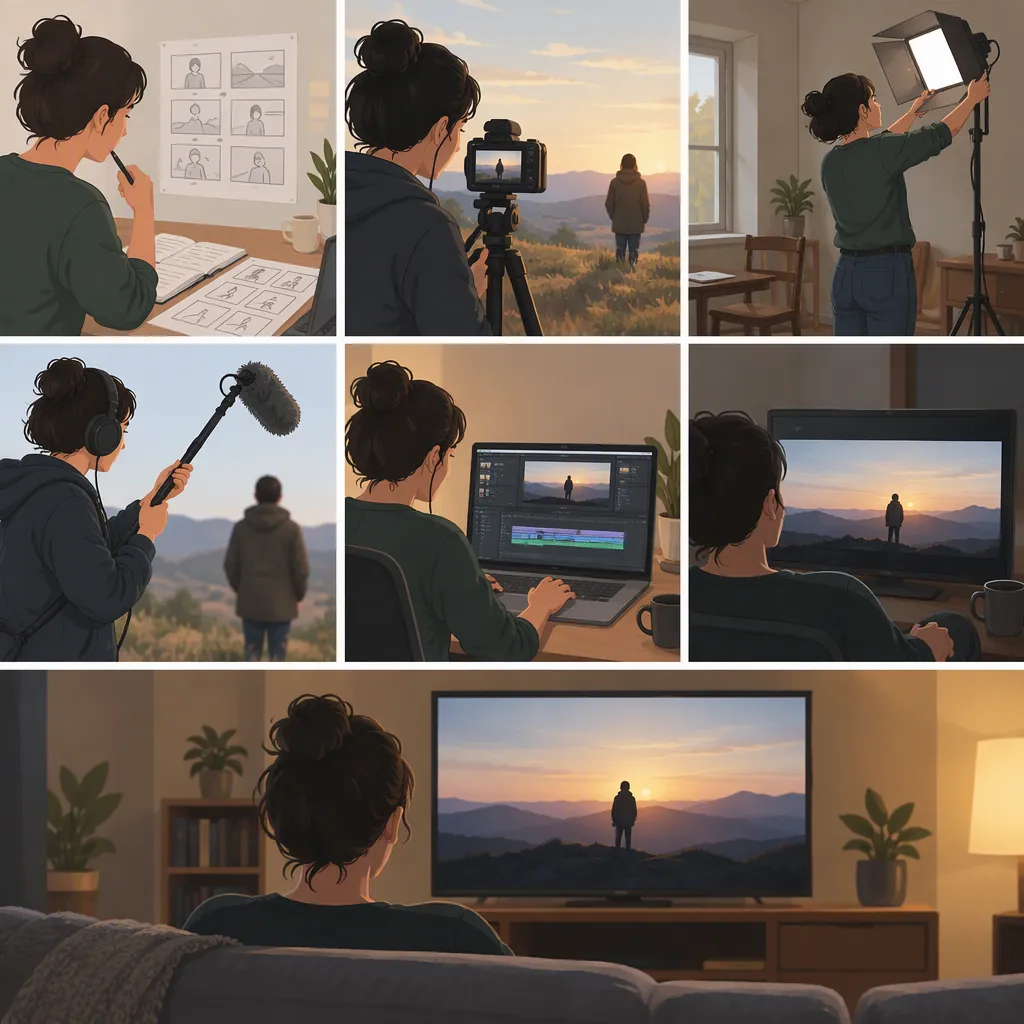
How to Make a Short Film by Yourself: A Solo Workflow
To make a short film by yourself, choose a story you can perform and record alone, write a basic script, and plan each shot. Use a stable camera setup, test focus and sound from your acting position, record short takes and useful cutaways, then edit for a clear story. Start with one manageable location and a small number of camera setups. These steps adapt the planning, shooting, and editing approach in wikiHow’s one-person filmmaking guide.
Choose a Story You Can Actually Film Alone
Start with what you can control: an available room, yourself as the performer, and a few ordinary props. wikiHow recommends a simple, filmable idea and a basic script; DreamBoard’s beginner guide also advises starting small rather than attempting a complex first production. [solo-guide] [short-film-guide]
For a first attempt, consider a brief scene built around one character, one objective, and one obstacle. A character trying to record an apology, find a missing object, or decide whether to open a letter gives you something concrete to show.
Write three beats:
- Setup: What does the character want?
- Change: What prevents an easy result?
- Ending: What decision or discovery changes the situation?
Prefer actions you can capture safely without someone operating the camera. If a scene depends on a moving camera, several performers, or a risky physical action, rewrite it before planning the shoot.
The examples and templates here are suggested exercises, not tested production schedules or guarantees of a particular result.
One-Character Story Brief
Working title: __________
Available location: __________
Character wants: __________
Obstacle: __________
Visible action that reveals the obstacle: __________
Final decision or discovery: __________
Essential props: __________
What can be removed to make this filmable alone? __________
Turn the Script into a Manageable Shot List
Sketch the shots before recording. A storyboard can be simple drawings that show the framing and action; wikiHow describes it as a guide for deciding where the camera should go. [solo-guide]
For each story beat, decide what the audience needs to see. Consider a wider view for the action, a closer view for a reaction, and a detail shot for an important object. You do not need every angle for every moment.
Label shots as essential or optional. Film the shots required to understand the story before experimenting with extra angles. Then group shots by camera position so you are not rebuilding the same setup repeatedly.
If you intend to publish a vertical short drama, plan framing for that format. If you intend a horizontal film, compose for that frame instead. When both are needed, test both crops before shooting rather than assuming every composition will work.
Example Shot List for a Letter Scene
| Shot | Framing | Action | Priority | Continuity Check |
| --- | --- | --- | --- | --- |
| 01 | Wide | Character sits with unopened letter | Essential | Letter position |
| 02 | Detail | Hand reaches for envelope | Essential | Same hand and sleeve |
| 03 | Close | Character hesitates | Essential | Eyeline toward letter |
| 04 | Detail | Letter is placed in a drawer | Essential | Envelope remains unopened |
| 05 | Wide | Character leaves the empty chair | Optional | Drawer and chair position |
Build a Repeatable Solo Camera Setup
Use a camera you can operate and footage you can edit. wikiHow identifies a camera and an editing method as the essentials, with a tripod as useful support when filming yourself. It also recommends learning camera controls such as focus and white balance. [solo-guide]
Try this setup routine:
- Place the camera on a stable support and compose the frame.
- Mark where you will sit or stand without creating a trip hazard.
- Put a stand-in object at your acting position to check framing and focus.
- If your device allows it, set or lock focus, exposure, and white balance after testing them.
- Record yourself performing the actual movement.
- Play back the test and inspect your face, framing, brightness, and background.
Do not assume an empty-frame test proves that autofocus will follow you correctly. Test the movement you intend to use. If focus is unreliable, simplify the movement or keep the action near your marked position; wikiHow specifically recommends a position mark when filming yourself. [solo-guide]
Choose lighting you can use safely and repeat across takes. Avoid unstable supports, blocked exits, or improvised electrical arrangements. If the setup cannot be managed safely alone, change the shot.
Camera Test Checklist
- Camera support is stable.
- Acting position is marked safely.
- Face and important props stay in frame.
- Focus holds during the planned action.
- Brightness and color are acceptable throughout the take.
- Background contains no unintended personal information.
- Test footage plays back correctly.
- Battery and recording space are checked.
Check Sound Before Recording the Scene
Record a sound test from your actual performance position, then listen to it before continuing. wikiHow recommends an external microphone rather than relying on a camera microphone, particularly when the camera is far from the action. [solo-guide]
If you have a separate microphone or recorder, place it close enough for a useful recording while keeping it out of frame when needed. If you only have the camera microphone, test a closer setup or simplify the scene to reduce live dialogue. This is a compromise to evaluate, not a promise of clean audio.
Listen for unclear words, distortion, clothing noise, and background sounds. Reduce avoidable noise where safe, but do not disable necessary ventilation or safety equipment.
For separate audio, make a visible hand clap at the start of the take as a synchronization marker. Record a short sample of the room’s background sound as optional editing material. Keep a note of which audio recording belongs to which video take.
Sound Test Log
Scene and take: __________
Video file: __________
Audio file, if separate: __________
Dialogue understandable on playback: Yes / No
Distortion or sudden level changes: __________
Background or clothing noise: __________
Change needed before filming: __________
Shoot Short Takes and Check Each Setup
Record discrete takes instead of leaving the camera running through every reset. wikiHow recommends short recording bursts and additional angles or environmental footage for editing options. [solo-guide]
Use the same loop for each setup: prepare the props, start recording, move to your mark, pause briefly, perform, pause again, and stop. Review an early take before repeating the scene many times.
Keep a small continuity log. Note which hand holds a prop, whether a drawer is open, and where your character looks. A reference photo can serve as a reset guide.
Once the main action is covered, record useful details: the object being handled, a reaction, or the room after the character leaves. Choose these because they clarify the story or offer an editing option—not simply to collect more footage.
Before packing up, confirm that every essential shot exists and plays back. Copy the recordings to another storage location before deleting anything from the recording device.
End-Of-Shoot Check
- Every essential shot is recorded.
- Selected takes have been checked for focus and sound.
- Important prop actions match across angles.
- Missing reactions or detail shots are listed.
- Video and separate audio files are identifiable.
- Recordings have been copied and the copies checked before originals are removed.
Edit for Clarity, Then Check the Export
Build a rough cut around the setup, change, and ending. Select the takes that communicate those beats, then remove unnecessary pauses and repetitions. wikiHow emphasizes editing in service of the story and adjusting pacing and color consistency. [solo-guide]
Work in passes:
- Story: Can the viewer understand the action and final change?
- Picture: Do cuts preserve useful continuity? Are brightness and color reasonably consistent?
- Sound: Is dialogue understandable? Are there distracting changes between clips?
- Finish: Are titles, captions, and credits accurate?
You can play multiple characters in separate shots, as wikiHow’s community Q&A suggests, but test the eyelines and costume changes before committing to that approach. Shared-frame compositing adds another task; it is not necessary for a solo short. [solo-guide]
Use music and other material only when you have permission or a suitable license. Check location permissions and any applicable filming requirements before recording. The provided guides do not establish the rules for your jurisdiction. [solo-guide] [short-film-guide]
Watch the exported file from beginning to end. If another person can review it, ask what they think happened and where they became confused. If you plan festival submissions, check each festival’s current eligibility and premiere rules before public release; DreamBoard cautions that online publication can affect some submissions. [short-film-guide]
FAQ
What Equipment Do I Need to Make a Short Film Alone?
Start with a camera and a way to edit its recordings. A tripod is useful when you appear on camera, and an external microphone is worth considering for dialogue. Test the equipment you already have before deciding what else is necessary; wikiHow lists these tools in its one-person filmmaking guide.
How Do I Film Myself Without a Camera Operator?
Set the camera on stable support, mark your performance position, and record a test of the actual action. Review framing, focus, and sound before filming the full scene. wikiHow recommends a tripod and a position mark; keeping movement manageable is a practical starting point.
Can I Play More than One Character?
Yes. wikiHow’s community Q&A suggests recording each character separately with changes in clothing, voice, and expression. For a simpler exercise, keep the characters in separate shots and plan their eyelines. This avoids needing to combine both performances in one frame.
How Long Should My First Solo Short Film Be?
There is no single duration established by the provided sources. Choose a story small enough to complete with your available time and equipment. As an optional exercise, aim for a scene lasting roughly one to three minutes, then adjust to what the story needs. Both guides favor manageable concepts over an ambitious first production.
Sources
-
[solo-guide] 3 Ways to Make a Movie With One Person - wikiHow
-
[short-film-guide] The Beginner's Guide to Making a Short Film — DreamBoard Production House