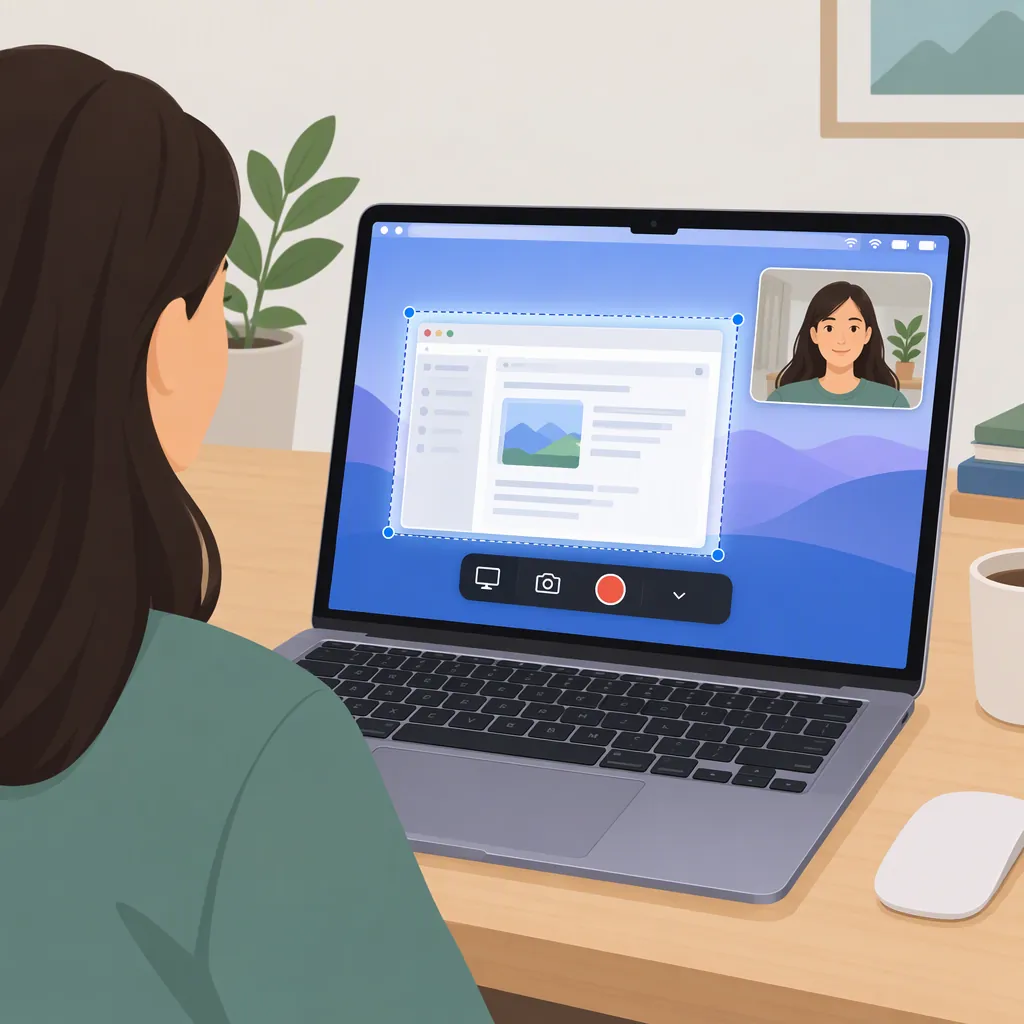
How to Film Yourself and Your Screen on a Mac
To film yourself on a Mac, open QuickTime Player > File > New Movie Recording, select your camera and microphone, record, then save. To capture your screen with narration, press Command–Shift–5, choose a recording area, and select a microphone under Options. These are separate recording workflows. [mac-recording]
For a finished video containing both you and your screen, choose between alternating camera and screen clips or showing your camera alongside the screen. The steps below cover the built-in recording methods and a suggested editing workflow for assembling separate clips.
Choose Your Recording Layout
Decide what viewers need to see before you start:
| Intended result | Recording plan |
|---|---|
| Your face only | Record a camera clip in QuickTime Player. |
| Your screen with spoken narration | Record the screen using Command–Shift–5 and select a microphone. |
| A camera introduction followed by a screen demonstration | Record separate clips, then arrange them in an editor. |
| Your face visible during the demonstration | Use a verified simultaneous-capture setup, or combine overlapping camera and screen footage in an editor. |
QuickTime camera recording and the Screenshot toolbar’s screen recording are documented separately. Do not assume that screen recording automatically includes a webcam inset. [mac-recording]
Alternating clips are the simpler assembly plan: they do not need to show the same moment. A camera inset or side-by-side layout requires footage that overlaps in time if your face must match the narration and screen actions.
Film Yourself with Quicktime Player
Use this workflow to record your camera rather than your desktop:
- Open QuickTime Player.
- Choose File > New Movie Recording.
- Open the menu beside the record button and select your camera and microphone.
- Check your framing, then click the record button.
- Click the button again to stop.
- Press Command–S and save the clip with a descriptive name, such as
camera-introduction. [mac-recording]
Before a full take, record a short sample and play it back. Check the saved image and your voice, not just the live camera preview.
Photo Booth is another camera-recording option: switch to video mode, use the red button to start and stop, then Control-click the recorded thumbnail and choose Export. [mac-recording]
Record Your Screen with Narration
For a screen demonstration:
- Press Command–Shift–5.
- Select Record Entire Screen or Record Selected Portion.
- If you selected a portion, adjust its boundaries around the material you want to show.
- Open Options and choose your microphone and save location. You can also set a timer or enable Show Mouse Clicks.
- Click Record.
- Stop using the menu-bar Stop icon or Command–Control–Escape. The recording saves to your selected location. [mac-recording]
Before recording, close unrelated windows, silence notifications, and check for private information. Use a selected portion when viewers do not need the rest of your desktop.
Microphone audio is not system audio. The cited guide states that these built-in screen-recording methods require additional software to capture sound directly from another app. If your demonstration depends on app audio, verify that capture separately and listen to a saved test. [mac-recording]
Make One Finished Screen-And-Camera Video
Option 1: Assemble Alternating Camera and Screen Clips
This suggested workflow produces one video with a camera introduction, a narrated screen demonstration, and an optional camera closing. It does not produce a webcam overlay.
Use a video editor that supports importing your recordings, arranging clips, trimming, audio adjustment, and exporting a finished video. Exact controls depend on the editor.
- Prepare the sequence. Write a short introduction, list the screen actions to demonstrate, and decide whether you need a closing clip.
- Record the introduction. Use QuickTime’s camera workflow above. Save and review it before continuing. [mac-recording]
- Record the demonstration. Use Command–Shift–5 with your microphone selected, and narrate as you perform the screen actions. Save and review the result. [mac-recording]
- Record the closing, if needed. Keep it separate so you can replace it without repeating the demonstration.
- Import the saved clips into your editor. Arrange them in order: introduction, demonstration, closing.
- Trim the transitions. Remove recording setup, long pauses, and unnecessary footage at each clip’s beginning and end.
- Review the audio. Keep each clip’s intended narration. Adjust levels if the introduction and demonstration sound noticeably different; avoid leaving an unintended overlapping audio track.
- Export one video file. Use the editor’s export controls and choose settings appropriate for where the video will be viewed.
- Play the exported file. Confirm the order, readable screen content, audible narration, and complete ending.
No synchronization between camera and screen clips is necessary for this layout because they play one after another.
Option 2: Show Your Face During the Demonstration
For an inset or side-by-side result, first verify that your chosen recording or editing tool supports the required layout. The available source does not establish a complete built-in simultaneous screen-and-camera procedure.
If you already have overlapping screen and camera recordings, use this suggested assembly process in an editor that supports layered video:
- Import both recordings and place them on separate video tracks.
- Align a shared spoken cue or other recognizable event if the recordings need synchronization.
- Position and size the camera image without covering important screen content.
- Choose one primary narration track. Mute any duplicate voice recording unless you deliberately need it.
- Check alignment near both the beginning and end.
- Trim to the intended demonstration, export, and review the saved result.
If you do not have overlapping footage, use alternating clips instead of presenting a separately recorded camera explanation as though it were captured live during the demonstration.
Check Framing, Sound, and the Saved Output
Position your camera near eye level and use reasonably even light from in front of you. Avoid relying on a bright background to light your face. [mac-recording]
Use this checklist before a full recording:
- Choose the layout: alternating clips, camera inset, or side by side.
- Select the intended camera, microphone, and screen region.
- Remove private information and unnecessary distractions.
- Decide whether app audio is required.
- Record a short sample while speaking and demonstrating an action.
- Play the saved sample and check every required image and audio element.
- Confirm where recordings and the final export will be saved.
Source and Compatibility Limits
The cited OBSBOT guide supports the built-in recording steps, the stated system-audio limitation, and basic framing and lighting advice. Its commercial product-quality and performance claims are not used here. [mac-recording]
The editing workflows above are suggested production processes, not verified instructions for a particular app. The source does not establish every macOS version, hardware configuration, or simultaneous-capture setup. If controls differ, check your installed app’s available options before committing to a full take.
FAQ
How Do I Record Myself Rather than My Screen?
In QuickTime Player, choose File > New Movie Recording, select your camera and microphone, then use the record button to start and stop. Save with Command–S. Use New Movie Recording, not New Screen Recording, for camera footage. [mac-recording]
Will Command–Shift–5 Record My Face Too?
Command–Shift–5 provides the screen-recording workflow described here; it should not be treated as a complete webcam-overlay setup. [mac-recording] For both images in one video, use a verified simultaneous-capture setup or assemble camera and screen clips afterward.
How Can I Include Myself Without Recording Both at Once?
Record a camera introduction in QuickTime, then record a narrated screen demonstration with Command–Shift–5. [mac-recording] Import both into an editor, arrange them sequentially, trim, review the audio, and export one file. This creates alternating footage, not a live camera inset.
Why Is App Audio Missing from My Screen Recording?
The cited guide states that built-in screen-recording methods require additional software for system audio. Selecting a microphone captures narration rather than establishing direct capture of another app’s sound. [mac-recording] Verify the required audio in a saved test before recording the full demonstration.
Sources
- [mac-recording] How to Record Video & Yourself on Mac? [Quick Guide]