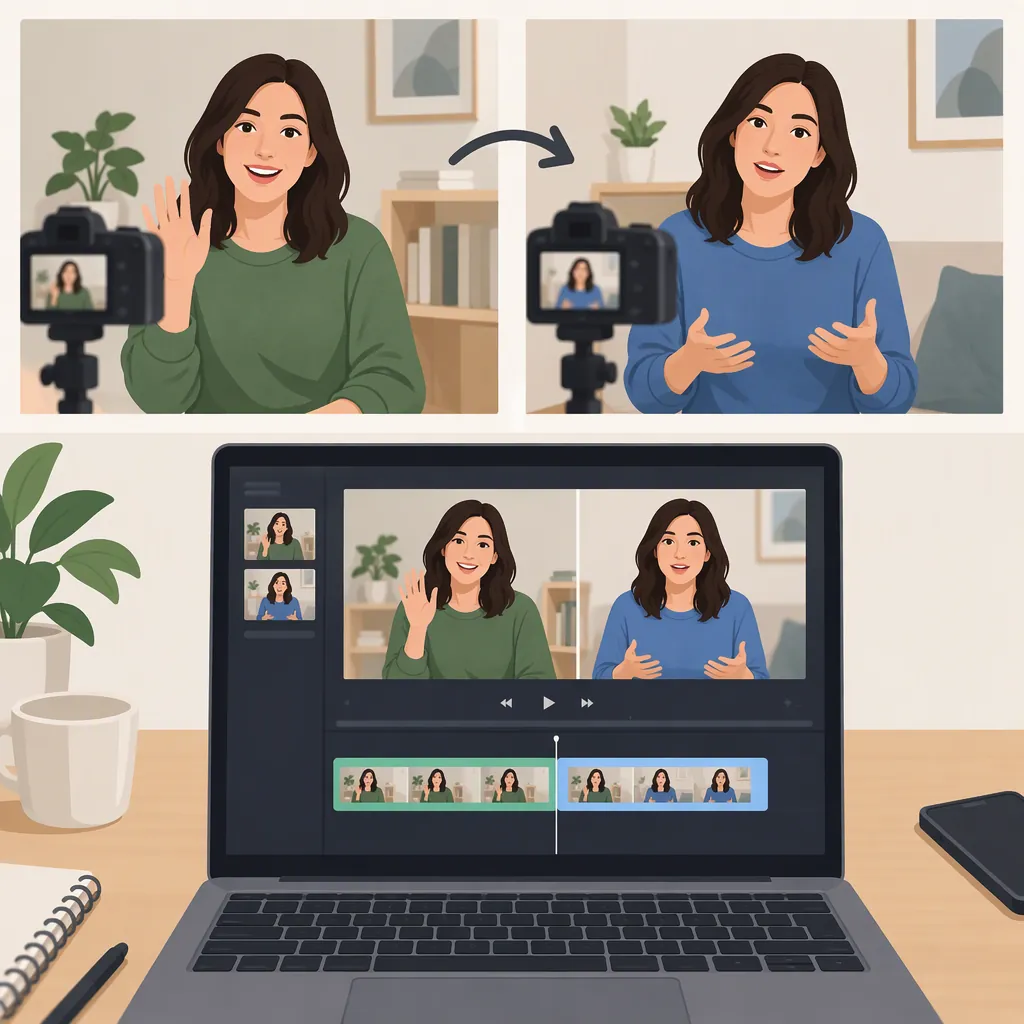
How to Film Yourself Twice in One Video
Record yourself in two different positions without moving the camera, then overlap the performances on an editing timeline. Use a video mask to reveal one performance through part of the other clip so both versions appear in the same frame. For a straightforward first attempt, keep each version on its own side of an imaginary dividing line. [src-1]
Understand the Two-Person Illusion
This clone effect combines separate performances rather than recording two copies of you at once. You film yourself in different positions from the same camera angle, overlap the footage, and use masking to show selected areas of each recording. [src-1]
For a simple composition, plan one version on the left and another on the right. A doorframe or another visible separator can help you remember where the dividing line belongs. The source tutorial uses a door as its separator and keeps both performances from crossing that boundary. [src-1]
The workflow below focuses on that stationary-camera, separated-position method. It does not cover overlapping bodies or a moving-camera clone shot.
Plan the Frame Before Recording
Keep the camera in the same position until you finish recording both performances. Maintaining the same shooting angle is a central requirement of the source's method. [src-1]
Use this preparation checklist as a practical starting point:
- Secure the camera and frame both intended positions.
- Choose a dividing line that neither performance will cross.
- Rehearse gestures as well as standing positions; keep hands and props on their assigned side.
- Avoid intentionally changing the lighting or moving background objects between performances.
- Decide when each version will speak, react, or pause.
These are setup recommendations, not a guarantee of an invisible join. Before recording the full scene, make a short test with one performance on each side.
Two-Version Shot Plan
Camera position: ______
Visible or imaginary dividing line: ______
Left version's position and action: ______
Right version's position and action: ______
Gestures or props to keep away from the dividing line: ______
Timing cue for each performance: ______
Background items to leave unchanged: ______
Short test recorded and reviewed: Yes / No
Record Each Version Separately
Record the left-side performance, then the right-side performance without changing the camera angle. You can also leave the camera recording continuously, perform both parts in sequence, and cut out the repositioning footage later. The source tutorial uses a continuous recording that is divided into separate pieces during editing. [src-1]
For your first attempt, consider a short action with simple timing: one version looks toward the other while the second waves. If you want a conversation, write the lines and pauses in advance so you have a clear timing plan.
Review both performances before changing the setup. Check that each version stays inside its assigned area for the entire portion you intend to combine.
Layer the Clips and Apply a Mask
The source demonstrates this process in VSDC. The instructions here describe the editing concept rather than promising identical controls in every editor. You need an editor that can overlap clips and mask a selected region. [src-1]
- Trim the performances. Remove the footage where you enter, leave, or move between positions.
- Overlap the clips. Place the two performances on separate video layers so they play at the same time.
- Adjust the timing. Move or trim the clips until the actions and pauses line up as intended.
- Mask one region. Hide the portion of one clip that should reveal the other performance beneath it. Position the mask boundary along your planned separator.
- Preview the combined image. Check the whole overlap, not just a single frame.
The VSDC tutorial outlines a region with its Free shape tool and applies an inverted mask. Whether you need to invert a mask in another editor depends on which region that editor keeps visible. Aim for the visual result: one performance visible on each side, with neither covered by the other clip. [src-1]
Check the Join and Recognize the Limits
Before exporting, review these checkpoints:
- Do both versions remain visible for the intended duration?
- Does a hand, prop, or part of your body disappear at the mask boundary?
- Does the background appear to jump or change across the join?
- Do the reactions happen at the intended moments?
- If both recordings contain audio, which track should be audible during each section?
If the camera moved or a performance crossed the dividing line, consider reshooting the simple setup rather than forcing it into a fixed mask. The source's straightforward method relies on a consistent camera angle and separated performances. [src-1]
The source also describes filming against a green background, removing that background with chroma key, and layering the resulting clips. That is an alternative workflow, not part of this basic split-frame exercise. The supplied reference does not establish a method for convincing physical contact between clones or moving-camera shots. [src-1]
Final Review Checklist
Play the full combined section.
Check the mask boundary for disappearing body parts or props.
Compare the background on both sides of the join.
Confirm that reactions and dialogue pauses align.
Review which audio tracks are active.
Export a test and watch it before considering the edit finished.
FAQ
Can I Film Both Versions in One Recording?
Yes. Leave the camera in place, perform each part in sequence, then cut the recording into separate clips and overlap them during editing. The source tutorial uses this approach. [src-1]
Do I Need a Green Screen?
Not for the separated-position masking method described here. It combines footage recorded from the same angle using a mask. The source presents a green background and chroma key as an alternative approach. [src-1]
Can the Two Versions Cross in Front of Each Other?
That is outside this basic workflow. The supplied tutorial recommends keeping distance between the versions and not crossing the planned separator. Start with each performance confined to its own area; the reference does not provide a crossing or physical-contact workflow. [src-1]