How to Make a Digital Poster with a Clear Layout
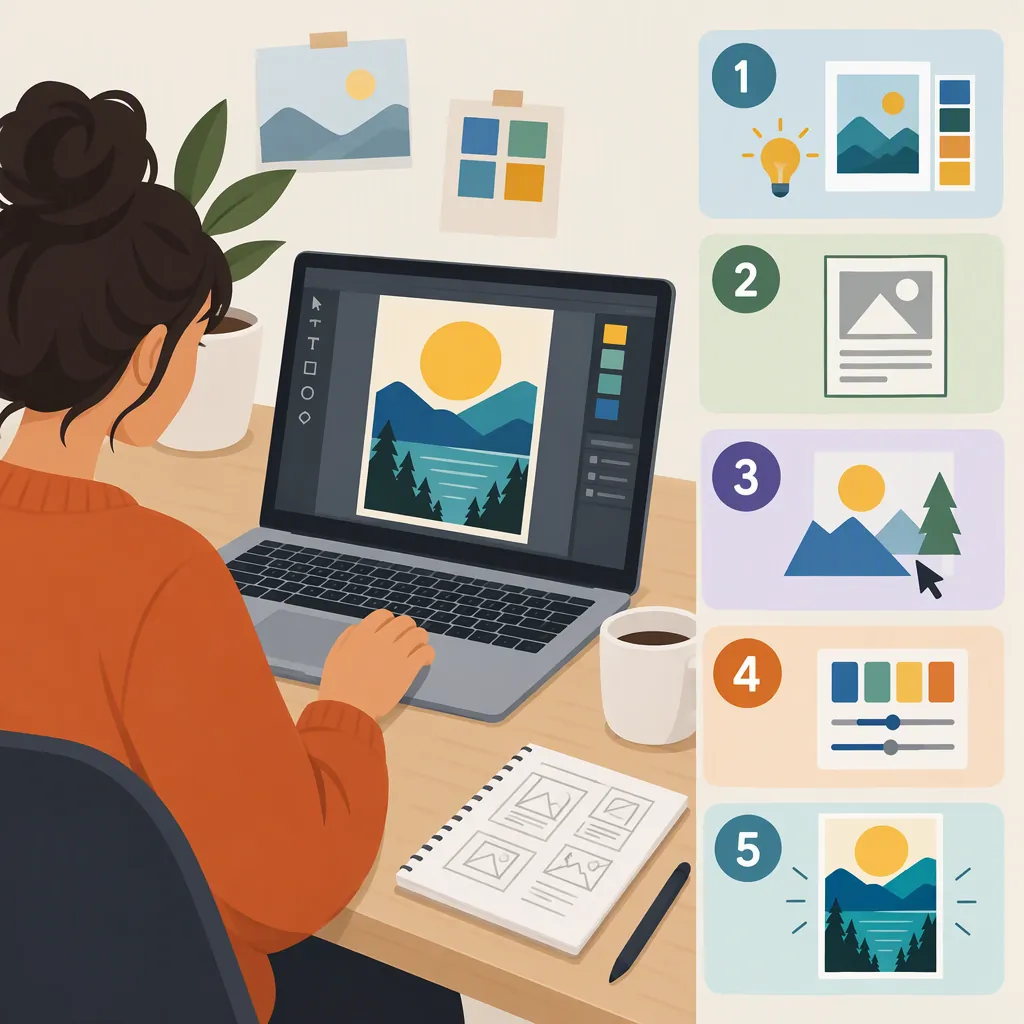
To make a digital poster, choose its destination and dimensions, write one main message, and build a layout around a prominent headline. Add a relevant image, keep supporting details concise, and use contrasting text and background colors. Review the design at its intended viewing size before exporting. Template-based poster workflows follow a choose, customize, and download sequence. [c1] [c2]
Choose the Destination and Message
Start by deciding where the poster will appear: a social post, a website, an email attachment, or a digital display. Check that destination’s current image requirements before setting the canvas dimensions. Do not assume that a print-sized template is the right shape for a screen.
Write the content before arranging the design. For an event poster, prepare the event name, date, time, location or access details, and any essential attendance information. For an informational poster, identify the single point readers should remember.
Use the brief below to separate essential content from optional decoration. It is a planning aid, not a platform specification.
Digital Poster Brief
Destination: __________
Required width and height: __________
Main message: __________
Headline: __________
Essential supporting details: __________
Primary image or graphic: __________
Image source and permission notes: __________
Information that can be omitted: __________
Build a Readable Visual Hierarchy
Choose a template whose structure fits your content, or begin with a blank canvas. A template is a starting layout, not finished copy: replace sample text, images, and details rather than leaving placeholders in the exported poster. The supplied poster references describe choosing templates and customizing text, colors, and imagery. [c1] [c2]
Arrange the poster in three levels:
- Headline: Give the main message the most visual emphasis.
- Supporting information: Group related details beneath or beside the headline.
- Secondary information: Reserve a quieter area for credits or other nonessential context.
Leave open space between these groups. Use clear contrast between text and its background, and avoid placing important words over busy parts of a photograph. MyCreativeShop’s design guidance emphasizes prominent headlines, concise secondary details, open space, and color contrast. [c1]
For a digital poster, review readability on the screen where it is likely to be seen—not only while zoomed in inside an editor.
Add Images and Check the Details
Choose an image that supports the message rather than competing with it. Use your own material or assets whose permissions cover your intended use; do not treat availability in a search result as permission to reuse an image.
After cropping or enlarging an image, inspect it in the final layout. Replace it if it looks visibly blurry or if the crop removes information needed to understand it.
Proofread the complete poster separately from judging its appearance. Check names, dates, time zones when relevant, locations, and any displayed web address. Remove leftover template content.
As a final reading test, look away, return to the poster, and identify what you notice first. If that is decoration rather than the main message, reduce the decoration or increase the headline’s emphasis.
Pre-Export Review Checklist
- [ ] The main message is easy to identify.
- [ ] Supporting details are readable at the intended viewing size.
- [ ] Text has clear contrast against its background.
- [ ] Images look clear after cropping and scaling.
- [ ] Image permissions have been checked.
- [ ] Names, dates, times, and locations have been verified.
- [ ] No sample text or unintended placeholders remain.
- [ ] The canvas matches the destination’s requirements.
Export and Inspect the Final File
Choose a file format accepted by the destination. JPG and PNG are image-export options listed in both the MyCreativeShop and Adobe Express poster references; those references also list PDF. This does not establish the requirements of every sharing platform or editor. [c1] [c2]
For an image post, follow the destination’s image specifications. For a downloadable document, consider PDF if the destination accepts it. Keep an editable version separately so you can correct details without rebuilding the layout.
Open the exported file outside the editor. Check for missing text, unexpected cropping, blurry images, and unreadable details. When possible, preview it in the actual publishing environment before release.
If you also need a printed version, prepare it against the printer’s specifications rather than assuming the digital export is print-ready. MyCreativeShop’s reference distinguishes a standard PDF from a print-ready PDF with bleed settings. [c1]
FAQ
What Size Should a Digital Poster Be?
Use the dimensions required by its destination. Check the current specifications for the social platform, website, or display before designing. The supplied references do not establish one universal pixel size for digital posters.
Should I Use a Template or Start from Scratch?
Use a template if its layout already fits your message; start from a blank canvas if you need a different structure. The supplied poster workflows describe choosing a template and then customizing its content and appearance. Replace all sample details before sharing. [c1] [c2]
Should I Save My Digital Poster as an Image or a PDF?
Choose the format accepted by the destination. An image file is a practical choice for an image post; PDF may suit a downloadable document. The supplied poster references list JPG, PNG, and PDF downloads, but platform requirements and editor availability still need checking. [c1] [c2]