How to Add Subtitles in Vlc
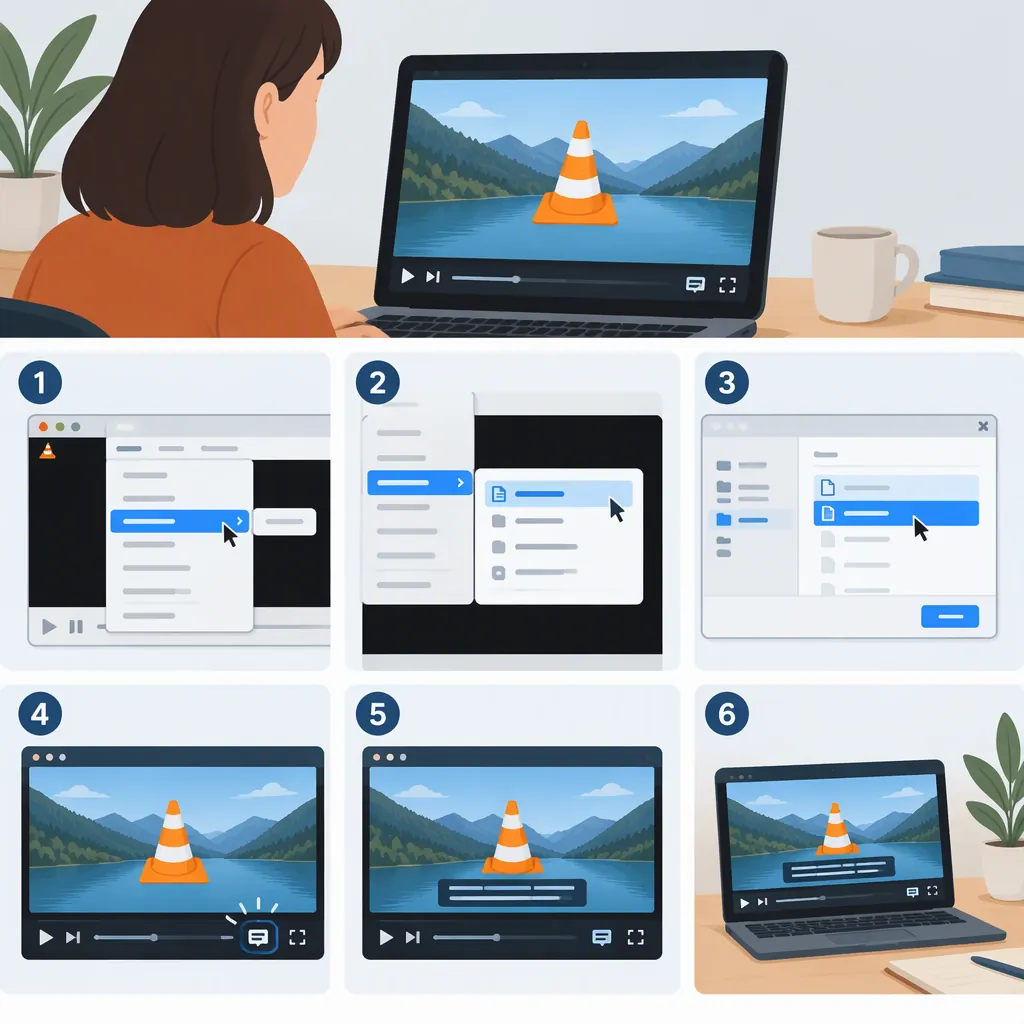
To add subtitles in VLC, open your video, choose Subtitle → Add Subtitle File, and select your subtitle file, such as an SRT. This loads subtitles for playback; it does not burn them into the video. For permanent subtitles, the provided guides describe a separate transcoding workflow with “Overlay subtitles on the video” enabled. Menu wording may differ from the examples below. [c2] [c3]
Choose Playback Subtitles or Burned-In Subtitles
There are two different tasks behind “add subtitles”:
- Display a subtitle file during playback: Load the video and its external subtitle file in VLC. You can then enable or disable the subtitles. [c3]
- Burn subtitles into an output video: Use VLC’s conversion or streaming workflow to transcode the video with subtitle overlay enabled. The Checksub guide describes the resulting subtitles as permanent, or hardcoded. [c2]
If you only want to watch a video with subtitles, use the playback method first. If you need the text to remain visible in the resulting video, use the burn-in workflow.
Scope: These instructions summarize third-party guides, not official VLC documentation. The supplied references do not establish identical menus or results across every VLC version and operating system.
Add an SRT File During Playback
Have the video and its matching subtitle file available on your computer. An SRT file contains subtitle text and timing information; loading a file is separate from creating that text. [c1]
- Open your video in VLC. The Checksub guide uses Media → Open File.
- Choose Subtitle → Add Subtitle File.
- Browse to your subtitle file, select it, and click Open.
- Play a section with dialogue to check that the subtitles appear at the expected time. [c2]
The SyncWords guide labels the menu Subtitles → Add Subtitle File, rather than Subtitle. Both references describe selecting a saved caption file for playback. [c2] [c3]
To turn subtitles off, the Checksub guide describes right-clicking the video, opening Subtitle Track, and choosing Disable. You can also select a subtitle track from that menu. [c2]
Adjust Subtitle Timing
If the subtitles appear too early or too late, the Checksub guide describes this adjustment:
- Open Tools → Track Synchronization.
- Find Subtitle Track Synchronization.
- Adjust the value and replay the same passage to check the alignment.
According to that guide, positive values delay subtitles, while negative values make them appear earlier. [c2]
As a troubleshooting approach, check more than one point in the video before deciding that the timing is correct. The reference describes a synchronization adjustment, but it does not establish that a single adjustment will resolve every mismatch between a video and a subtitle file.
Burn Subtitles into a Separate Video
For permanent subtitles, the Wreally guide describes the following Convert/Save workflow. Treat it as a reference procedure rather than a guarantee for every VLC build or output profile. [c1]
- Open Media → Convert/Save.
- Click Add and select the video.
- Check Use a subtitle file, then click Browse and select the SRT file.
- Click Convert/Save to continue.
- Select an output profile and open its settings using the wrench icon.
- In the Subtitles tab, enable Subtitles and Overlay subtitles on the video. Wreally’s example also selects DVB subtitle as the subtitle codec.
- Save the profile settings, choose an output filename and destination, and click Start. [c1]
The Checksub guide uses Media → Stream instead, with a File destination and Activate Transcoding enabled. It likewise instructs users to enable both subtitle options in the profile settings. These are different workflows; keep the steps from your chosen workflow together. [c2]
For a cautious test, choose a new output filename rather than the original filename. After processing finishes, open the output and inspect the subtitles, picture, and sound. Do not treat the presence of an output file alone as proof that the conversion succeeded.
Output Verification Checklist
- Confirm that you opened the new output file, not the source video.
- Check that subtitle text is visible during dialogue.
- Check timing near the beginning, middle, and end.
- Check that the picture and sound remain usable.
- Keep the source video and subtitle file until verification is complete.
Check Common Subtitle Problems
- No subtitles during playback: Confirm that you selected the intended file through Add Subtitle File, then check whether a subtitle track is selected rather than disabled. [c2]
- Subtitles appear early or late: Try Tools → Track Synchronization and test the adjustment against dialogue. [c2]
- Subtitles appear in VLC but not in the converted output: Review whether the conversion included the subtitle file and whether Subtitles and Overlay subtitles on the video were enabled. Both conversion guides identify these settings as part of their burn-in procedure. [c1] [c2]
- Your menus differ from the guide: The supplied sources show desktop menu workflows, but do not provide a complete version-by-version or platform-by-platform comparison. Avoid assuming that an absent control is available under the same name elsewhere.
FAQ
Does Add Subtitle File Permanently Save Subtitles into the Video?
No. The provided guides distinguish loading a subtitle file for playback from transcoding a video with subtitle overlay. Loading allows subtitles to be turned on or off; burn-in creates hardcoded subtitles in the output video. [c2] [c3]
What Subtitle File Can I Use for These Steps?
SRT is the format used in these instructions. Wreally describes it as containing subtitle text and timing information, and SyncWords explicitly lists .srt as a caption-file option for loading into VLC. These references are not a complete list of supported formats. [c1] [c3]
How Do I Fix Subtitles That Appear Too Early?
The Checksub guide recommends Tools → Track Synchronization. A positive Subtitle Track Synchronization value delays the subtitles. Adjust it and replay a passage to check the result. [c2]