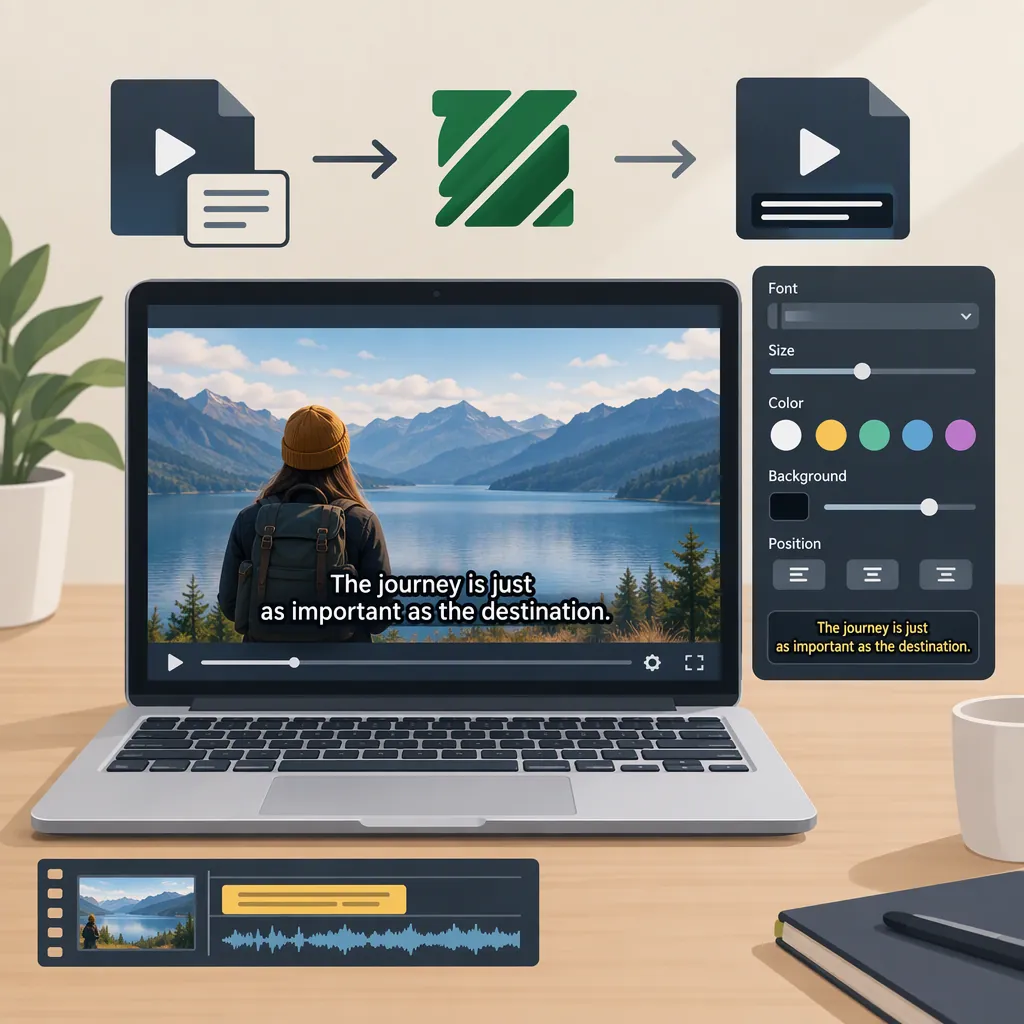
How to Burn in Subtitles with Ffmpeg
To burn subtitles into a video with FFmpeg, supply a timed subtitle file to the subtitles video filter and write a new output video. The examples below use an SRT file and force_style to set the font size. This renders the text into the picture rather than creating a separate, switchable subtitle track. [src_1] [src_2]
Understand What Burn-In Produces
The supplied tutorials describe adding subtitles directly to the video image. That is the workflow covered here: the output contains visible text, not a subtitle track that viewers can turn off. The styled-subtitle tutorial specifically uses burn-in to keep subtitles visible independently of a player's subtitle controls. [src_2]
Before processing, decide whether permanent text is appropriate. If your delivery requirements call for selectable languages or captions that can be disabled, do not treat this burn-in example as a guide to that workflow. The supplied sources do not provide commands for creating selectable subtitle tracks.
Prepare the Video and Subtitle File
Have FFmpeg installed before running the command, and place your video and subtitle file in the working directory. The first tutorial describes preparing numbered subtitle entries containing start and end times, text, and separation between entries. The second tutorial uses an .srt input file directly. [src_1] [src_2]
For this example, name the video input.mp4 and save the illustrative subtitle content below as input.srt. Replace the sample text and timing with your own transcript. These commands render an existing subtitle file; they do not generate a transcript from audio.
The first source uses a .txt filename for its timed subtitles. This guide instead follows the second source's .srt example and uses three-digit millisecond timestamps consistently.
Illustrative Contents for Input.srt
1
00:00:01,000 --> 00:00:04,000
This is the first subtitle.

2
00:00:05,000 --> 00:00:08,000
This is the second subtitle.
Run the Ffmpeg Subtitle Command
From the directory containing both files, run the command below. It adapts the first tutorial's encoding example to the SRT filename used in the second tutorial. Use a distinct output filename so the original and processed files remain easy to distinguish. [src_1] [src_2]
The options have these roles:
-i input.mp4selects the video input.-vfapplies the video filter.subtitles=input.srtidentifies the subtitle file.force_style='Fontsize=20'requests a font size of 20.-c:a copycopies the audio without re-encoding it.-c:v libx264selects the video encoder.-crf 23 -preset veryfastuses the encoding settings shown in the first tutorial.output.mp4names the processed video. [src_1]
Treat these encoding settings as a starting example, not a universal quality or file-size recommendation. Neither supplied tutorial establishes that this command will work unchanged with every FFmpeg installation, input file, or shell.
Burn SRT Subtitles into an Mp4
ffmpeg -i input.mp4 -vf "subtitles=input.srt:force_style='Fontsize=20'" -c:a copy -c:v libx264 -crf 23 -preset veryfast output.mp4
Adjust Styling and Review the Output
The styled-subtitle tutorial demonstrates force_style options for font name, font size, text color, and background styling. Its example combines a semi-transparent black background with BorderStyle=4 and a font size of 18. [src_2]
The command below follows that example. Test it on your own material rather than assuming one style suits every video.
After processing, review the output at several subtitle entries. Check timing, line breaks, legibility against bright and dark scenes, and whether the text obscures important picture content. These are suggested review steps, not results verified for your file.
Source limitation: both references are practical third-party walkthroughs, not comprehensive FFmpeg documentation. They do not fully explain build requirements, shell-specific escaping, font availability, or failure diagnosis. Keep the examples' simple filenames when testing; do not assume the quoting shown covers every path or operating system.
Burn Subtitles with Background Styling
ffmpeg -i input.mp4 -filter_complex "subtitles=input.srt:force_style='BackColour=&HA0000000,BorderStyle=4,Fontsize=18'" output.mp4
FAQ
Does This Ffmpeg Command Create Subtitles from Speech?
No. These examples read an existing timed subtitle file and render its text onto the video. The supplied tutorials describe subtitle preparation and rendering, not speech transcription. [src_1] [src_2]
Can Viewers Turn Off the Burned-In Subtitles?
No. In this workflow, the text is rendered into the picture rather than stored as a separate selectable subtitle track. The styled-subtitle tutorial uses burn-in specifically to keep the text visible. [src_2]
How Do I Change the Subtitle Font Size?
Change the Fontsize value inside force_style, then render and review a new output. The sources show Fontsize=20 and Fontsize=18 as examples; neither establishes a universally suitable size. [src_1] [src_2]