How to Add Subtitles to an Mkv File
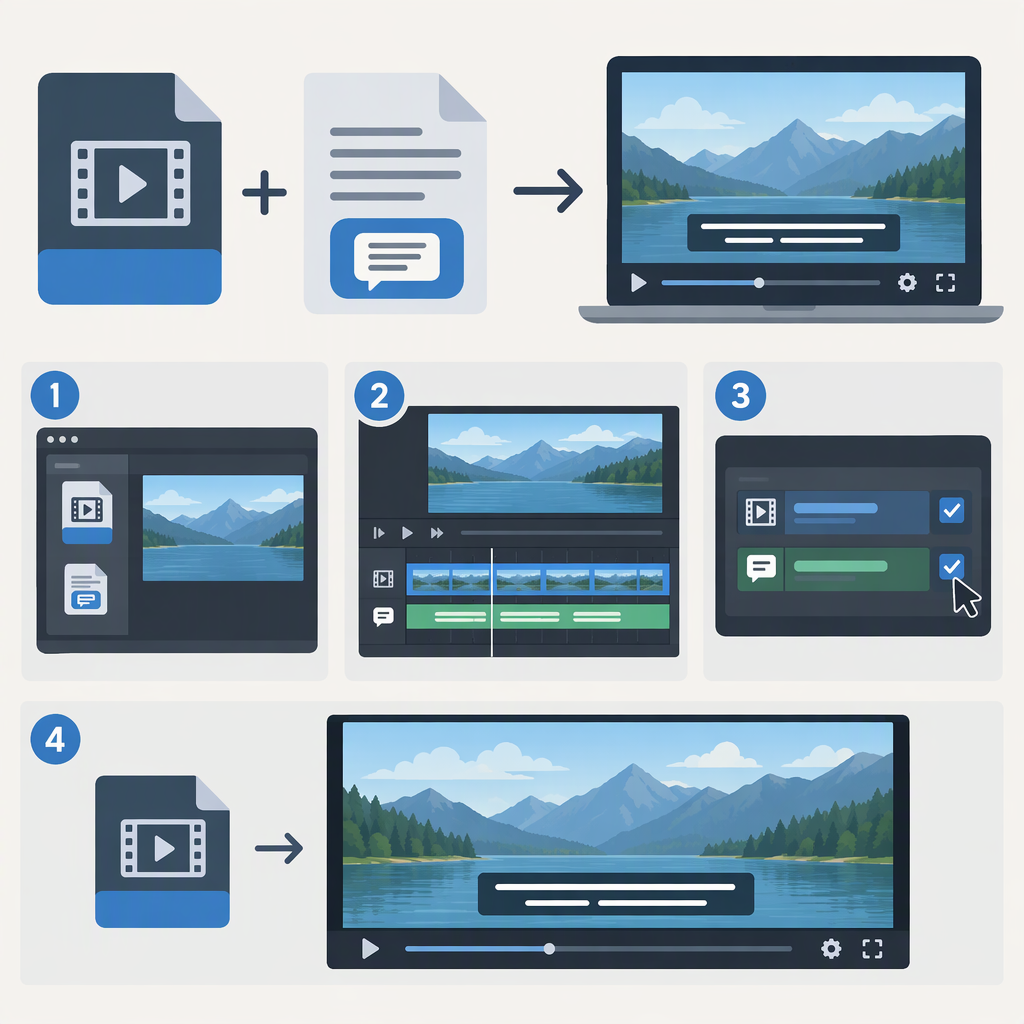
To add subtitles to an MKV as a selectable track, use a muxing tool such as MKVToolNix GUI: add the existing MKV and subtitle file as sources, include the tracks you want, choose an output filename, and start multiplexing. The result is one MKV containing the subtitle track; it is not the same as permanently burning subtitles into the picture. Matroska is a container that can hold multiple audio, video, and subtitle streams, while MKVToolNix GUI provides a graphical interface for its multiplexing tools. (Matroska basics; MKVToolNix GUI documentation)
Choose the Subtitle Outcome
- Add a subtitle track to the MKV: The subtitle stream is stored inside the file and can be turned on or off in compatible playback software. This is usually what people mean when they want to “add subtitles to MKV.” Whether a particular device or player can display that track depends on its support for the subtitle format and the MKV’s contents. (Matroska basics; HandBrake subtitle documentation)
- Burn subtitles into the video: The text is rendered onto the video image, so viewers cannot switch it off. Choose this when subtitles must always be visible, not when you want a selectable track. (HandBrake subtitle documentation)
- Keep a separate subtitle file: The subtitle stays outside the MKV and must be loaded separately or recognized by the player. This avoids changing the MKV, but depends on playback software that can use the separate file.
Add a Subtitle File with Mkvtoolnix Gui
These steps describe the graphical multiplexing workflow. Exact control labels and layout can vary between versions. The MKVToolNix GUI documentation describes the application as a graphical interface for mkvmerge; mkvmerge combines streams from media files into a Matroska file. (GUI documentation; mkvmerge documentation)
- Prepare the files. Locate the MKV and the subtitle file you want to add. Check that the subtitle is for the same video and that its timing is suitable. Do not assume every subtitle format is supported by every tool or player.
- Open MKVToolNix GUI in its multiplexing view. Add the existing MKV as a source file, then add the subtitle file as another source. The GUI’s default mode is for adding files to a multiplexing job. If the subtitle is rejected or does not appear as a subtitle track, stop and check the file format or convert it with an appropriate subtitle tool rather than merely changing its filename extension. (GUI documentation;
mkvmergedocumentation) - Review the track list. Confirm that the video and audio tracks you want to keep, plus the new subtitle track, are included. If the interface offers track language or name fields, use an accurate language or label so the track is easier to identify later. Matroska tracks can store information such as language and track name. (Matroska data layout)
- Choose a new output filename and location. Keeping the source untouched makes it easy to compare or retry if the result is not right. Check that the destination has enough free space.
- Start multiplexing and wait for completion. This creates a new Matroska output from the selected streams. It is a track-combining operation, not the same as burning subtitle text into video frames. (
mkvmergedocumentation; Matroska stream-copy notes)
Check That the Subtitles Are in the Output
First, inspect the finished MKV’s track list. MKVToolNix includes mkvinfo, which can display track headers and track types; look for a track identified as subtitles. (mkvinfo documentation)
Then open the output in the player or device you intend to use. Select the subtitle track in that player and check a few points throughout the video for display, timing, and readability. A track appearing in the file’s track list confirms it is present; it does not guarantee that every player will display it correctly.
If Something Is Wrong
- No subtitle track appears in the file inspection: Reopen the multiplexing job and check that the subtitle file was added as a source and its track was included. If it was not recognized, confirm the input format before trying again.
- The track is listed, but subtitles do not appear during playback: Use the player’s subtitle or track menu to select it. If it remains invisible, try another player that supports the track’s format; playback support can vary.
- Subtitles appear but are out of sync: The subtitle timing may not match this video. Check synchronization at several points before changing timing; a delay that fixes one section may not fix a file whose timing drifts over time.
- Text or styling looks different: Compare the result in another player and consider whether the subtitle format relies on styling or fonts that the playback setup does not render as intended. Matroska can contain subtitle streams, but the player is responsible for displaying them. (Matroska subtitle documentation; Matroska attachments documentation)
The steps above are documentation-based guidance, not a test of a particular MKV, subtitle file, or playback device. For a selectable subtitle, add a track and verify both the file’s track list and playback in your intended player. Burn subtitles in only when they must be permanently visible.