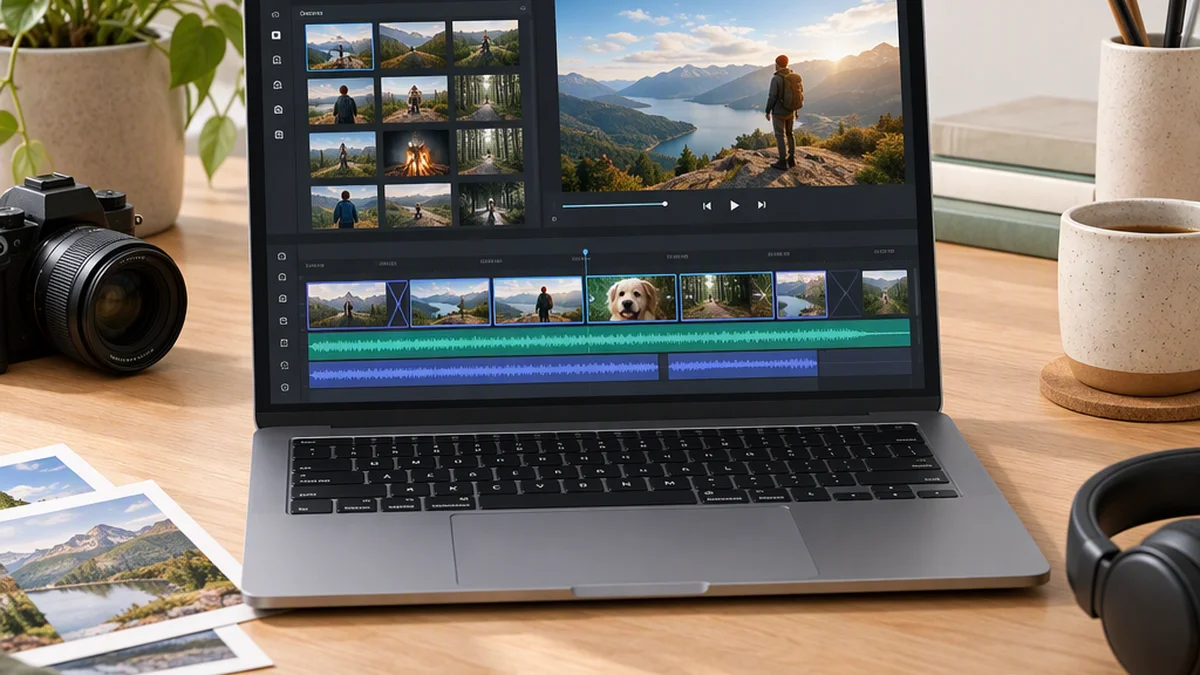
Clideo Video Maker: How to Create a Simple Video Online
Clideo Video Maker is a browser-based tool for combining photos and video clips into a simple video, with optional music. The basic workflow is to upload your media, arrange it, adjust timing and framing, preview the result, and export. It is suited to straightforward projects such as family montages, travel recaps, slideshows, and short social posts. [c2]
This guide focuses on Video Maker, not every tool available across Clideo. Titles, subtitles, and voice recording should not be assumed to be built into this specific tool; Clideo’s wider editing resources cover separate tools and workflows. [c1]
Before You Start
Gather the photos, clips, and music you want to use, and keep copies of the originals. Remove duplicates and footage that does not contribute to the finished video.
Decide where the video will be watched:
- Family montage: a chronological sequence can make the story easy to follow.
- Travel recap: choose highlights rather than including every recording.
- Social post: make the opening clear and check the framing on a phone.
- Presentation: leave enough time to understand each image.
For example, ten photographs or several short clips can make a manageable first project. This is a planning suggestion, not a Clideo file limit.
Check Costs and Upload Requirements First
The sources listed below do not confirm Clideo Video Maker’s current free allowance, watermark rules, maximum output resolution, or file-size limits. Before uploading a large project, review the requirements and plan information shown in the tool. Before exporting, check any watermark, resolution, account, or payment notice.
For sensitive footage, review the service’s storage and privacy terms before uploading. Keep confidential business material, identity documents, and other sensitive files out of the project unless you are comfortable with online processing.
How to Make a Video with Clideo Video Maker
1. Open Video Maker
Open Clideo’s website and select Video Maker. Make sure you are using that tool rather than a separate cropping, subtitle, or merging tool. The official video-editing resource center provides related tutorials and information about Clideo’s other editing workflows. [c1]
Do not confuse the browser service with “Clideo’s Video Edit App Advice” on Google Play. That listing describes an independent educational app, not the official Video Maker. [c3]
2. Upload Your Photos and Clips
Use the tool’s upload options to add your source files. Combining photographs and video clips into a sequence is part of the described Video Maker workflow. [c2]
If a file will not upload, check the requirements shown in the tool before repeatedly trying the same file. Upload time also depends on file size and connection speed.
For a first project, start with a small selection of media. This lets you check the workflow and output requirements before committing to a longer edit.
3. Arrange the Sequence
Put your media in the order you want viewers to see it. A simple structure is:
- An opening image or clip that establishes the subject.
- The main moments in chronological or thematic order.
- A final image or clip that gives the video a clear ending.
Preview the sequence after rearranging it. Remove repeated images and clips that distract from the main idea.
4. Set the Pace
Adjust photo duration using the timing options available in the project. Leave each image visible long enough for viewers to understand it: a detailed group photograph may need more time than a simple landscape.
For clips, keep the useful action and remove unnecessary pauses. If the current Video Maker interface does not provide the trimming control you need, trim the source clip separately before uploading it.
Watch the sequence at normal speed. Do not give every item the same duration simply for consistency; the goal is a video that feels clear rather than rushed or slow.
5. Add Music
Add a music file through the tool’s audio options. Music is part of the described Video Maker workflow. [c2]
Use a track you own or have permission to publish. A license that permits private use does not necessarily cover public or commercial distribution.
Listen to the preview after adding music. Check that it suits the pace and does not obscure speech or important sound in your clips.
If you need narration, record it separately and confirm that the tool accepts your prepared audio file before planning the edit around it. Built-in voice recording is not established by the sources used here.
6. Choose the Frame Shape
Choose an available aspect ratio that suits the destination:
| Frame shape | Typical use | What to check |
|---|---|---|
| Vertical | Phone-first viewing | Faces and subjects near the sides |
| Square | Some social-feed layouts | Whether the composition still works |
| Wide | Presentations and larger screens | How portrait photos fit the frame |
Review every item after changing the shape, especially when mixing portrait and landscape media. Make sure important details remain visible and that any borders or cropping are acceptable.
7. Preview, Export, and Download
Watch the complete project before exporting. Check:
- Media order and pacing.
- Cropping and framing.
- Music and any speech in the clips.
- The opening and ending.
- Unintended blank sections or duplicated media.
If you need titles or subtitles, confirm whether the current interface supports them. Otherwise, plan a separate editing step; Clideo’s wider resource center covers subtitle-related tools, but that does not establish that those controls are available within Video Maker. [c1]
Choose from the export options displayed and review any watermark, resolution, or payment notice before proceeding. Once processing finishes, download the video and open the file outside the editor.
Test it on the intended device. Check that the picture and sound play correctly and that the framing still works at the size viewers will see.
Example: A 60-Second Travel Recap
This is an example structure, not a requirement to make every video one minute long:
- 0–5 seconds: an opening image that establishes the destination.
- 5–20 seconds: arrival and setting.
- 20–45 seconds: selected highlights.
- 45–55 seconds: a memorable final moment or group photograph.
- 55–60 seconds: a closing image.
Shorten or extend the sequence to suit the material. If you include narration, allow enough time to follow both the images and the spoken message.
When Another Editor May Be a Better Fit
Clideo Video Maker is most relevant to straightforward media assembly. For detailed color correction, complex audio mixing, extensive effects, frame-accurate compositing, or advanced asset management, compare your required controls with a specialized editor before starting.
Browser-based editing also depends on uploads, device resources, file compatibility, and service limits. Keep your source files so you can revise the project or move to another workflow.
Before sharing, confirm that you have permission to publish the music, images, clips, and identifiable people shown in the video.
FAQ
Can Clideo Video Maker Combine Photos and Video Clips?
Yes. The described workflow combines photographs and video clips into one sequence and supports adding music. Supported formats and file limits should be checked in the current tool. [c2]
Can I Add Text or Record a Voiceover?
The sources used for this guide do not establish built-in text editing or voice recording in Video Maker. Check those capabilities before starting a project that depends on them. You may need prepared narration audio or a separate title or subtitle editing step.
Is Clideo Video Maker Free, and Will the Export Have a Watermark?
A current free allowance and watermark policy are not confirmed here. Do not assume that the output you need is free or watermark-free. Check the tool’s plan information and export notice for your chosen resolution and any payment requirement.
What Should I Do If the Exported Video Looks Wrong?
Compare the downloaded file with the project preview. Recheck the aspect ratio, crop, media order, timing, and audio. If only the export is affected, review the output settings and try a small test project to help isolate the problem.
Sources
- [c1] Articles about Video Editing — Clideo — official resources covering Clideo’s broader editing tools and workflows.
- [c2] How Clideo Video Maker Helps Ordinary People Create Shareable Videos — Love Happens Mag — a third-party overview of the Video Maker workflow, not a source for current pricing or detailed interface instructions.
- [c3] Clideo’s Video Edit App Advice — Google Play — the independent educational app listing mentioned above.