Online Photo Video Maker: How to Choose One and Make a Slideshow
An online photo video maker is a web-based tool you can use to turn a sequence of photos into a video slideshow. Depending on the tool, you may also be able to change image timing or framing, add transitions, text, or audio, and export a video file. Features and controls vary, so check that a tool supports what your project needs rather than assuming every editor works the same way.
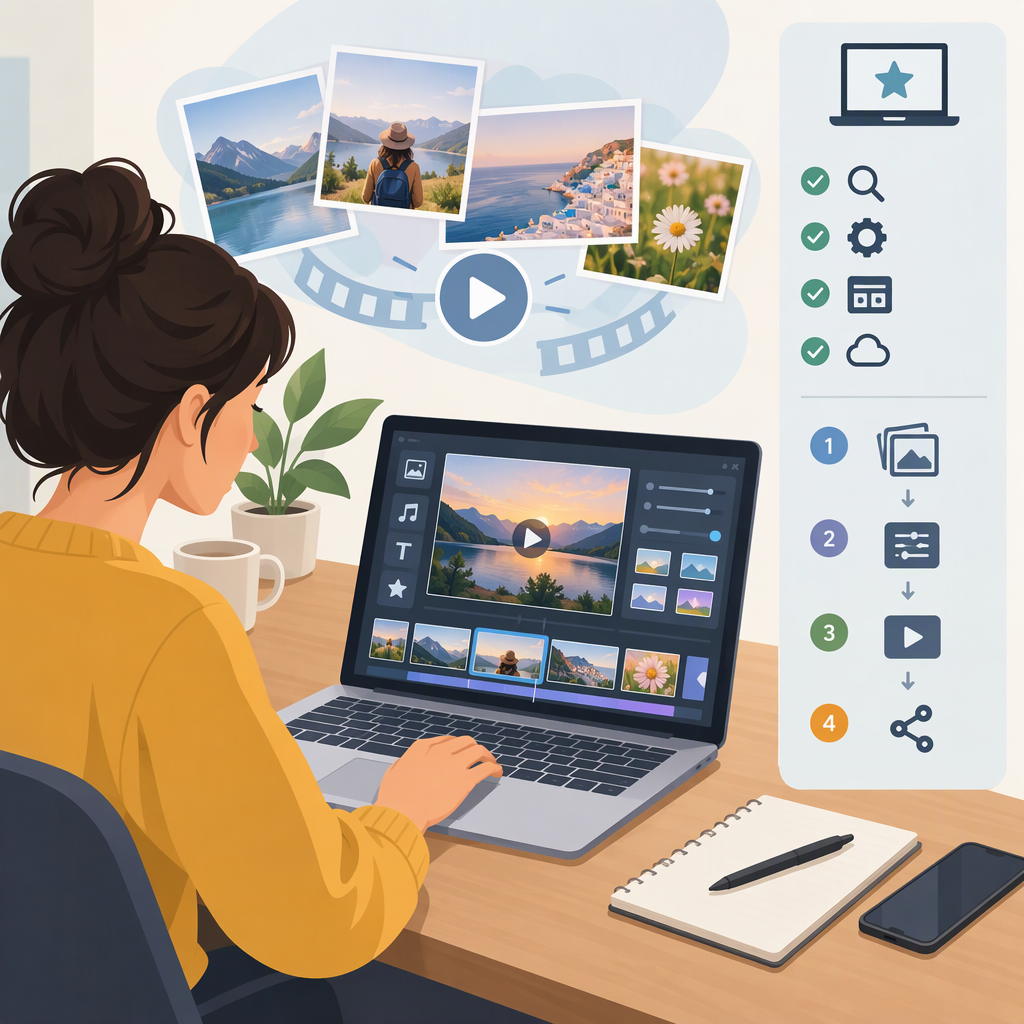
The basic process is straightforward: organize your pictures, arrange them into a sequence, make any edits your tool allows, preview the result, export it, and play the exported file to check it.
How to Choose an Online Photo Video Maker
Start with the video you want to make and where you plan to use it. Then verify the details that could affect the result:
| Check | What to confirm |
|---|---|
| Destination and shape | Does the tool offer an aspect ratio that suits where the video will appear? Will the chosen framing keep important parts of your photos visible? |
| Export | Can you export a file type, resolution, and length suitable for your purpose? Are there watermarks, export limits, or other restrictions that matter to you? |
| Editing controls | Can you arrange images and adjust the framing? If needed, confirm whether timing, transitions, text, or audio controls are available. |
| Access | Does it work in your browser and on your device? Is an account required for the features or export you need? |
| Privacy | Before uploading private images, read the service’s current terms and privacy information. Look for what they say about uploaded files, storage, and deletion. Don’t assume these practices from the fact that a tool is online. |
| Rights to your materials | Make sure you have the rights or permissions needed for photos, music, and other materials you didn’t create or license for this use. |
Treat these as questions to check in the candidate tool’s current official documentation and terms—not as claims that any particular tool meets them. If you plan to publish on a platform, consult that platform’s current requirements too. The right export depends on the destination; there is no single setting that fits every use.
How to Turn Photos into a Video Online
- Choose and organize your photos. Select images that fit the story or occasion. Put them in a folder or other order that makes it easy to find them and decide what should come first, next, and last.
- Start a project and import the images. The interface and import options differ between tools. Check that the images appear correctly before you begin arranging them.
- Arrange the sequence. Put the photos in the order you want viewers to see them. A simple beginning, middle, and ending can make even a short slideshow feel intentional.
- Check framing and pacing. Adjust crops if the tool allows it, especially if a crop would cut off a face or other important detail. If timing controls are available, choose how long each photo should remain onscreen. Add transitions only if they suit the mood and don’t distract from the pictures.
- Add optional text or audio. A title or brief caption can provide context. If you add music or other audio, check that you’re allowed to use it for your intended purpose and that its volume doesn’t overwhelm narration or other important sound.
- Preview, then export. Watch the sequence in the editor and choose export settings suited to your intended use. Labels and available settings vary by tool.
- Play the exported file. Open the file itself—not just the editor preview—and check that the image order, framing, timing, audio, and playback are acceptable. If something is wrong, revise the project and export again.
A Simple Planning Example
For a hypothetical 30-second family-event recap, you might select 10 photos and initially plan for about 3 seconds per photo. That gives you a rough 30-second sequence before allowing for transitions or title cards. It’s a starting point, not a rule: hold a photo longer if viewers need more time to take it in, and shorten the sequence if the finished video feels slow.
Before You Publish or Share
Do a final playback on a device similar to the one your audience may use. Check for unexpected cropping, images appearing in the wrong order, text that is hard to read, missing audio, or a file that won’t play as expected.
Also consider the rights attached to materials you didn’t create. In the United States, the Copyright Office explains that a photographer’s copyright can begin when an original photograph is fixed, such as in a digital file. It also describes permission or a license as one way to clear a use, while noting that permission is not required for every use. If you’re unsure whether your planned use is allowed, check the relevant license or seek qualified advice. (copyright.gov)
Quick Decision Recap
Choose a tool only after checking that its current options match your destination, editing needs, device, and export requirements. Review its upload and privacy terms before adding private photos. Then organize the pictures, build and preview the sequence, export it, and check the actual file before sharing.