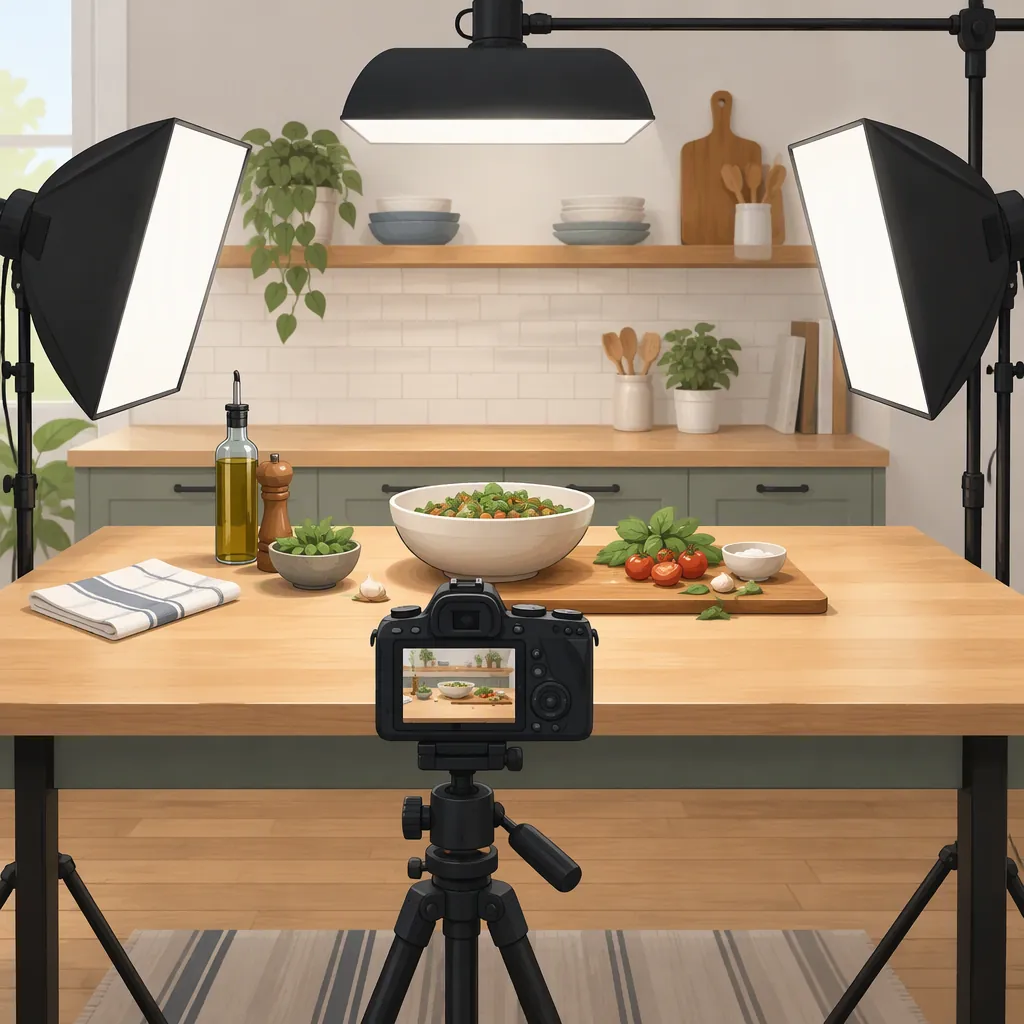
Best Lighting for Cooking Videos: Choosing a Tabletop Setup
A practical starting point for cooking videos is a diffused light positioned to one side and slightly above the work surface, with a white reflector opposite it to soften shadows. Use window light when daylight suits your schedule, or an adjustable artificial light when you need more control. There is no universally best setup: the camera angle, food, cookware, and filming conditions should guide your choice. [lighting-guide]
Choose the Light Source Around Your Shoot
The useful distinction is not simply natural versus artificial light, but how much control your shoot needs. The supplied guide describes daylight as accessible but variable, while artificial lighting provides control over brightness and color temperature. [lighting-guide]
| Option | When to Consider It | What to Check |
|---|---|---|
| Window light | Your filming schedule can follow daylight | Whether changing weather alters the image during a take |
| Light with a softbox | You want a softened main light over the preparation area | Whether its position reveals food detail without deep shadows |
| Adjustable LED panel | You need control over brightness and color temperature | Whether additional diffusion or reflected fill improves the result |
| Ring light | You are filming a presenter or testing an overhead setup | Whether the even illumination suits the food and camera angle |
These are setup options, not a tested product ranking. A softbox modifies a light source; a reflector redirects existing light rather than serving as another powered light. The guide discusses all of these tools, but does not establish a single winner through comparative testing. [lighting-guide]
Start with One Diffused Light and a Reflector
Begin with the main light off to one side and slightly above the cooking area. An angle around 45 degrees is a starting point from the guide, not a fixed requirement. Use a softbox or suitable diffuser to soften the light, then place white cardboard or a reflector on the opposite side to return some light into the shadows. [lighting-guide]
Adjust the reflector before adding another powered light. The aim is to keep preparation details visible while retaining enough shadow to show texture. For a deep pot, test a higher main-light position: the guide recommends this to address shadows inside deeper dishes. [lighting-guide]
Use the actual camera view to judge each adjustment. Repeat the check whenever you change from a close-up to an overhead shot, rather than assuming the first arrangement works for every angle.
Tabletop Lighting Test
1. Put the food, board, and cookware in their intended positions.
2. Frame the shot from the intended camera angle.
3. Place the diffused main light to one side and slightly above the work area.
4. Record a short preparation action, including normal hand movements.
5. Place a white reflector opposite the light and repeat the action.
6. Compare shadow detail, food texture, and reflections.
7. Change one position at a time and repeat until the action remains clear.
Adapt the Setup for Overhead and Presenter Shots
For overhead footage, test the light from the overhead camera's viewpoint. The guide notes that different camera angles may require repositioning the lights. Include stirring, chopping, or plating in the test so you can judge the working shot rather than only an untouched dish. [lighting-guide]
For a presenter, the guide describes ring lights as an option for even facial illumination. It also outlines three-point lighting: a main or key light, fill to soften shadows, and a backlight to separate the subject from the background. [lighting-guide]
Treat three-point lighting as an arrangement to consider, not a minimum equipment requirement. Start with the main light and reflected fill, then test whether a backlight adds a useful distinction in your frame.
Check Color and Reflections Before Recording
If room lights give the scene a different color cast from your main light, switch them off for a comparison. The guide recommends removing conflicting ambient lighting and paying attention to color temperature. Its suggested daylight-style range is 5000–5300 K; treat that as a reference starting point rather than a universal setting for every kitchen. [lighting-guide]
Inspect shiny pots, utensils, and sauces from the recording angle. The guide recommends changing utensil angles to reduce distracting reflections and discusses a lens polarizing filter as another option. It notes that the filter's effect changes with rotation, so it requires adjustment for each shot. [lighting-guide]
Start by changing the arrangement and checking the result. A filter is an optional tool, not a substitute for evaluating the reflections in the frame.
What This Guidance Can Establish
This article draws on one supplied public lighting guide. That reference supports the setup principles discussed here, but it does not provide controlled comparisons establishing the best fixture, brand, or configuration for every cooking video. [lighting-guide]
The proposed workflow is therefore a starting point for testing your own scene, not a performance guarantee. Judge the setup by visible preparation detail, useful texture, manageable reflections, and consistency across the shots you need.
FAQ
Is Window Light Enough for Cooking Videos?
It can be a workable starting point when daylight suits your filming schedule. The limitation is variability: the guide notes that weather changes can require camera adjustments. Artificial lighting is an alternative when control over brightness and color temperature matters more. [lighting-guide]
Should I Use a Ring Light or a Softbox?
The guide describes ring lights as useful for even presenter illumination and overhead shots, while softboxes soften a main light and allow angled placement over food. Neither is established as universally better. Compare them from your intended camera angle and check texture, shadows, and reflections. [lighting-guide]
Do Cooking Videos Require Three Lights?
Not as a starting requirement. The guide explains three-point lighting but notes that fill can come from a reflector. A reasonable initial test is one diffused main light with reflected fill, adding a backlight only if you want the background separation described in the guide. [lighting-guide]