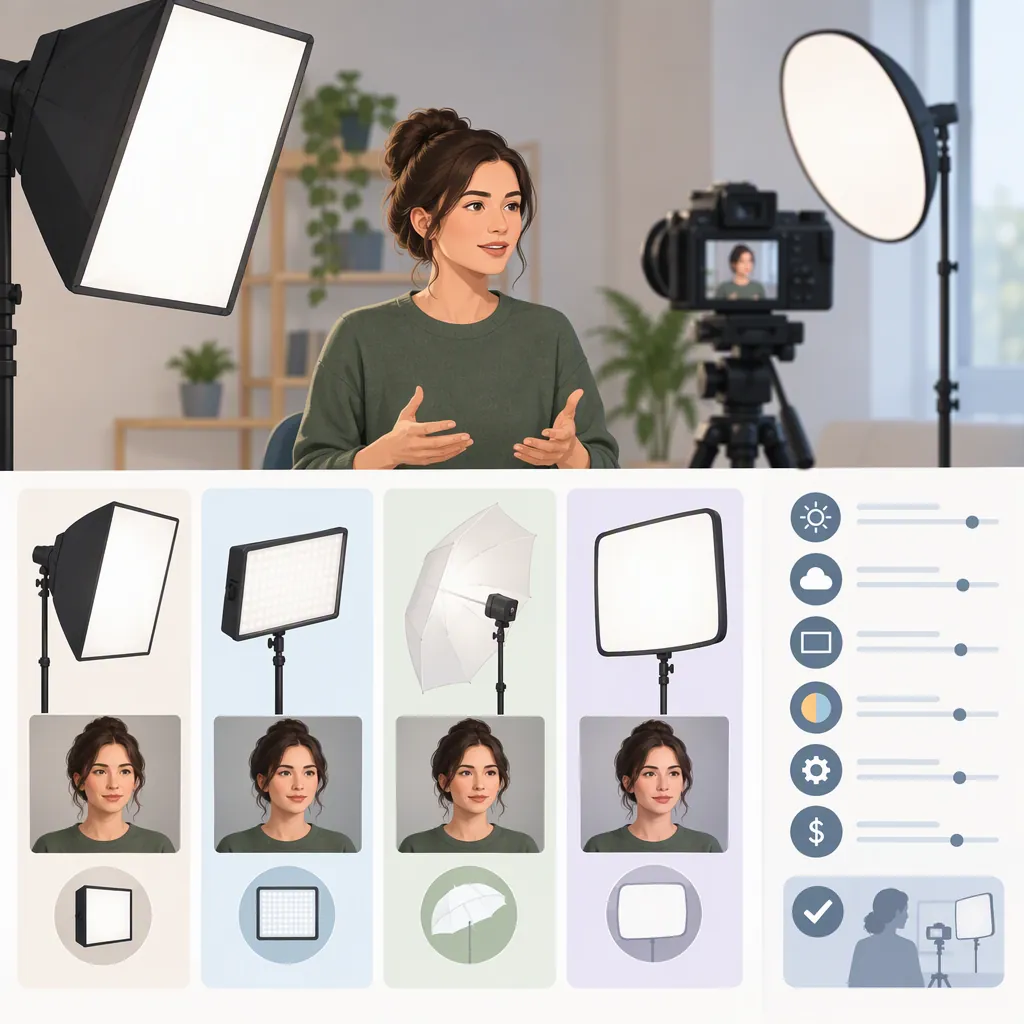
Choosing the Best Soft Light for Video
Choose a softbox when you want soft, directional light for talking-head videos, interviews, or demonstrations. Choose a ring light when you prefer even, front-facing illumination for close-up face-to-camera content. A softbox’s size and placement matter: moving it closer to the subject makes its light softer. Neither option is best for every video setup. [c1]
Start with the look you want, then check whether the light and modifier fit your space and work at your actual recording settings.
What Makes a Light Soft?
A softbox diffuses light through a translucent fabric panel, creating a large illuminating surface that reduces harsh shadows and hot spots. It is a light modifier, not simply another name for a lamp. [c1]
Judge the illuminated surface together with its distance from the subject. Bringing a softbox closer makes the light softer; moving it farther away makes shadows more defined. A softbox label alone does not tell you how the light will look at your intended filming distance. [c1]
Softness and direction are separate decisions. You can use a softbox to soften shadow edges while keeping some shadow on one side of a face. A camera-centered ring light provides comparatively flat, even illumination instead. [c1]
Softbox Vs. Ring Light
| Your intended look | Starting option | What to check |
|---|---|---|
| Soft light with visible facial shape | Softbox placed to one side | Adjust its angle and distance to control the remaining shadow. |
| Even, front-facing close-up illumination | Ring light centered around the camera | Check whether you like the flatter result and circular catchlights. |
| Demonstrations that show an object’s texture and shape | Directional softbox | Test the angle, coverage, and reflections on the object. |
These are starting points, not guarantees. Softboxes offer control over light direction and shadows, while ring lights suit even, close-up illumination. Ring lights can also create unwanted circular reflections on shiny products. [c1]
For face-to-camera video, decide whether you want to retain some cheek and nose shadow or minimize it. That visual goal is more useful than treating either category as universally better.
How to Choose a Softbox Size for Your Space
Choose size and placement together—not by a universal dimension. The relevant comparison is how large the illuminated surface appears from the subject’s position at the distance you can actually use. Ted’s Cameras’ comparison guide emphasizes source size and explains that closer softbox placement produces softer light. [c1]
Use this sequence to compare candidates:
- Set your framing first. Establish the camera position, shot width, and where the subject will sit or move.
- Identify usable light positions. Record the space beside and above the subject, including where the softbox can sit without entering the frame.
- Compare illuminated surfaces at those positions. Consider both the candidate’s dimensions and its planned distance. Do not judge size from the product dimensions alone.
- Check coverage in a sample recording. Confirm that the face, hands, or demonstration area you need to show is adequately lit. For a moving subject, test the intended range of movement.
- Verify physical fit and support. Confirm that the light, modifier, and stand are compatible and that the complete setup fits in the available space.
If you cannot position a candidate close enough without putting it in the shot, compare another size or placement rather than assuming its diffusion panel will produce the look you want. The final decision should come from the recorded result, not a fixed size or distance threshold.
Check the Setup, Not Just the Light
The cited Ted’s Cameras guide is a retailer-authored comparison, not a standardized equipment test. It supports the general diffusion and placement guidance here, but it does not establish a universal best model or provide sufficient comparative measurements to rank output, color accuracy, flicker performance, or fan noise. [c1]
Treat those performance characteristics as items to verify through documentation and testing.
Soft-Light Selection Worksheet
| Item | What to record or verify |
|---|---|
| Intended shot | Close-up, seated talking head, interview, or demonstration; include any subject movement. |
| Preferred look | Even frontal illumination or soft directional shadows. |
| Available space | Usable positions beside and above the subject, including room for the stand. |
| Size and distance | Candidate illuminated-surface dimensions and the distance each could occupy without entering the frame. |
| Coverage | Whether a sample shows adequate illumination across the required subject area. |
| Compatibility | Whether the light, modifier, and support are designed to work together. |
| Brightness | Whether usable exposure is possible at your intended camera settings and placement. |
| Color controls | Whether the available adjustments suit the other light sources in the scene. |
| Flicker | Whether the recorded image shows flashing or bands at your planned frame rate, shutter setting, and dimming levels. |
| Operating noise | Whether the actual microphone captures objectionable light-related noise. |
| Decision rule | Accept the setup only if its recorded image and sound meet the scene’s needs. |
Start with Placement, Then Test
For a directional talking-head setup, start with the softbox roughly 45 degrees to one side of the subject, at eye level or slightly above. If the opposite side is too dark for your intended look, try a reflector or a second softbox as fill. These are suggested starting arrangements, not mandatory positions. [c1]
For a ring light, start with it directly in front of a nearby subject and the camera looking through its center. This arrangement supports even, close-up illumination. [c1]
Run a Short Video and Audio Test
Use the camera, microphone, framing, and room lighting you intend to use for the recording.
- Check the lighting pattern. Record the subject in position. Review shadow edges, eye reflections, background illumination, and reflections on objects. Include any planned movement.
- Confirm usable brightness. At your intended camera settings, check whether the subject is adequately exposed at the planned light distance and output level. If you change placement or dimming, repeat the check.
- Inspect for flicker or bands. Record at each frame rate, shutter setting, and dimming level you expect to use. Review the footage for visible pulsing, flashing, or bands.
- Check color in the scene. With the intended white-balance setting and other light sources present, test whether the light’s available color adjustments produce an acceptable result. Do not treat matching control labels as proof of matching color.
- Listen for operating noise. Record a quiet segment with the actual microphone in its intended position. Compare clips with the light operating and switched off, and listen for noise that would interfere with the recording.
- Change one variable at a time. Adjust distance, angle, fill, or output separately, then record another sample. Keep notes on the arrangement and settings that work.
These checks validate only the configurations you tested. A clean clip at one shutter setting or dimming level does not establish flicker-free performance at every setting, and an acceptable audio test does not guarantee silence in every microphone arrangement.
FAQ
Is a Softbox Better than a Ring Light for Video?
A softbox is a useful choice when you want directional light and control over shadows. A ring light suits close-up, front-facing content where even illumination is the priority. Choose according to the look you want rather than assuming either type is universally better. [c1]
What Size Softbox Should I Choose?
Compare the illuminated surface and its planned distance together. Source size matters, and moving a softbox closer produces softer light. [c1] Start with your actual framing and available space, then check that the candidate stays out of the shot, covers the required subject area, and fits its support. There is no universal size recommendation established by the cited guide.
How Close Should a Softbox Be?
There is no single distance specified in the cited guide. Moving the softbox closer makes its light softer. [c1] Begin with a position outside the frame, then test softness, coverage, and brightness together. Include any subject movement before deciding on the final placement.
Do I Need Two Softboxes?
Not necessarily. Evaluate one key light first. If you want less shadow on the opposite side, a second softbox or a reflector can provide fill. [c1] Add fill to achieve your intended look, rather than treating a two-light kit as a requirement.