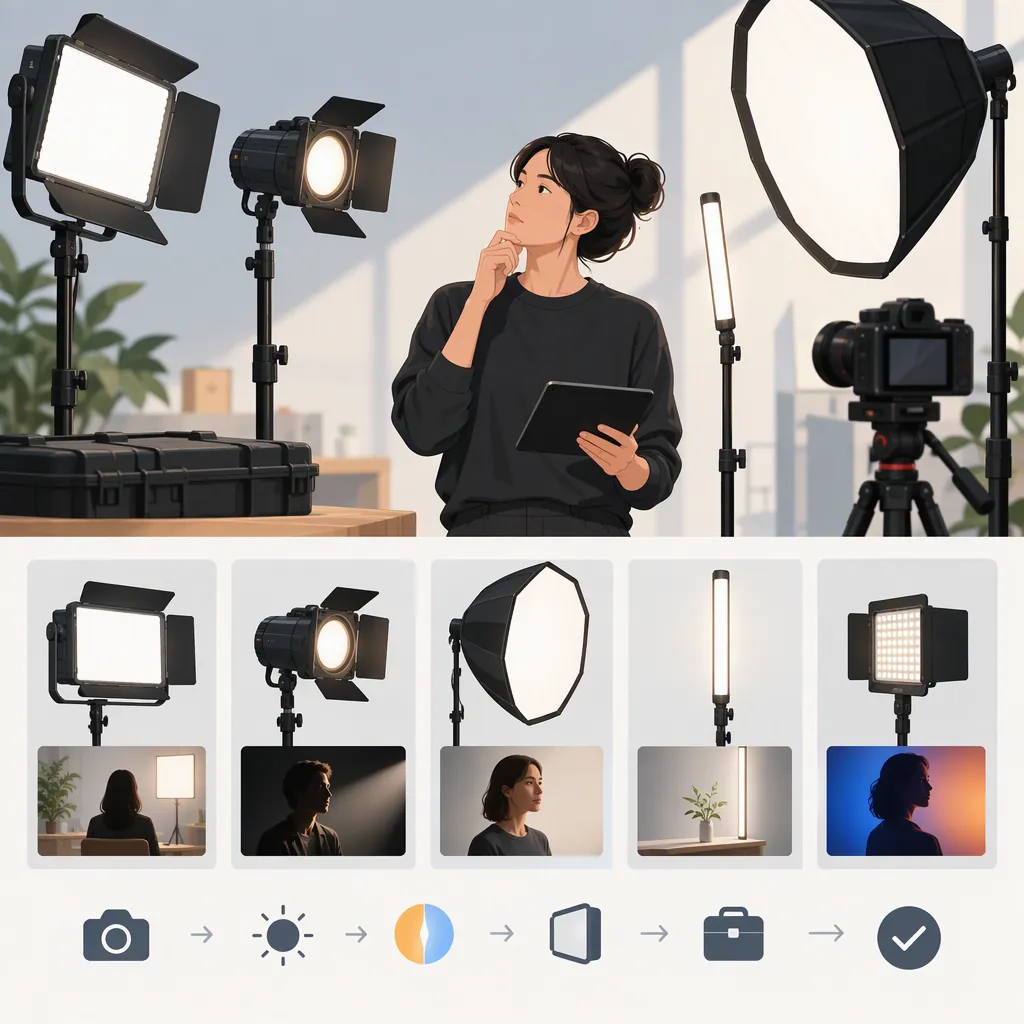
Smallrig 120: How to Choose a Filming Light Setup
“SmallRig 120” does not identify a single light. SmallRig’s manufacturer listings distinguish the RM120 RGBWW video light from the RC 120 point-source family, which includes RC120B and RC120D. Confirm the full model name and SKU before comparing specifications or instructions. [sr-rm120] [sr-rc120]
For filming, choose by the requirements of the shot—not the shared number in the name. Exclude configurations that cannot meet essential requirements, leave unverified configurations unresolved, and compare practical trade-offs only among setups that pass your checks and camera test. The two cited SmallRig listings provide manufacturer information, not an independent performance comparison. [sr-rm120] [sr-rc120]
Identify the Exact Model and Configuration
Record the complete model name, SKU, power arrangement, support, and intended modifier. Do not transfer specifications, accessories, or operating instructions between models merely because their names contain “120.”
Both cited product pages include feature descriptions and user-manual listings. Use the documentation for the exact model and SKU to verify its configuration. [sr-rm120] [sr-rc120]
This guide does not rank the lights’ brightness, battery endurance, color accuracy, or noise performance. The cited manufacturer listings do not establish how the models compare under the same filming conditions. [sr-rm120] [sr-rc120]
Define What the Light Must Do
Before evaluating a candidate, write a shot requirement. Specify the subject, framing, light position, desired shadow pattern, ambient conditions, and uninterrupted recording time.
Use these questions to define the lighting role:
- Primary subject lighting: Can the setup achieve your intended exposure and shadow pattern at the actual subject distance?
- Fill lighting: Can it produce the desired balance without unintentionally changing the overall look?
- Background or accent lighting: Does it provide the color and placement control the shot requires?
- Mobile filming: Can the complete arrangement—including power, supports, and cables—be moved and operated safely?
These are evaluation questions, not promises about any model. A successful close-framed test does not establish suitability for a wider scene.
Shot Requirement Worksheet
- Exact model and SKU: __________
- Lighting role: __________
- Subject and framing: __________
- Planned light position and distance: __________
- Desired exposure and shadow pattern: __________
- Ambient lighting conditions: __________
- Essential color controls: __________
- Uninterrupted recording time: __________
- Available power: __________
- Support and modifier arrangement: __________
- Camera settings and microphone position: __________
- Pass criteria for the test: __________
Separate must-haves from preferences. For example, covering the planned uninterrupted take may be essential, while minimizing the number of items to carry may be a preference. Set the criteria before testing so that convenience does not override a failed requirement.
Compare the Complete Setup
Use the exact model’s documentation to check each candidate. Compare the fixture together with its support, modifier, power accessories, and placement needs.
The rules below are general selection guidance—not recommendations for RM120, RC120B, or RC120D.
| Decision area | What to verify | How to use the result |
|---|---|---|
| Color control | Whether the documented controls cover the scene’s essential color requirements. | Exclude a configuration that lacks a required control. Verify the resulting appearance on camera. |
| Power | Supported connections and power arrangements, plus coverage for the planned recording session. | If coverage is insufficient, revise the power plan or exclude that configuration. If coverage is unverified, leave suitability unresolved. |
| Mounting | Attachment method, support requirements, and stated load limits. | Do not include a configuration in the filming plan until the support arrangement is confirmed. |
| Modifiers | Compatibility with the intended diffuser, reflector, or other light-shaping accessory. | Exclude an incompatible combination; evaluate any replacement modifier as a different configuration. |
| Package contents | Which required components are included and which are separate. | Account for every necessary component before treating the setup as complete. |
| Operation | Controls, cooling instructions, and restrictions relevant to the recording environment. | Follow the documentation and test the intended operating settings for image and sound acceptability. |
Manufacturer feature descriptions and manual listings are starting points for these checks, not proof that a configuration will meet your shot requirements. [sr-rm120] [sr-rc120]
If several configurations meet all essential requirements, compare their practical differences:
- Complete carrying load and number of separate items
- Space needed for supports, modifiers, and cables
- Setup and adjustment steps
- Access to controls during recording
- Changes required between planned shots
Prefer the configuration whose trade-offs best fit the production. A model name alone is not enough to decide.
Use a Repeatable Camera Test
If equipment access is available, test each candidate in its intended arrangement. Keep the camera, framing, exposure settings, white balance, subject, and ambient conditions consistent for the initial comparison. Record any later adjustments separately.
- Place the complete setup. Use the planned subject distance, support, modifier, and power arrangement.
- Record the intended subject. Check whether the setup reaches your predetermined exposure and appearance goals.
- Inspect the image. Review highlights, shadow edges, skin or product appearance, and unwanted reflections.
- Check for visible artifacts. Review footage at the intended frame rate and shutter setting for flicker or banding.
- Check recorded sound. Use the planned microphone position and listen for operating noise that is unacceptable for the production.
- Rehearse the required duration. Note interruptions, power changes, or adjustments needed during the planned take.
Set acceptance criteria according to the production rather than applying an unsupported universal threshold. Examples include:
- The subject reaches the chosen exposure target without unacceptable highlight clipping.
- Shadows and reflections match the intended shot.
- No unacceptable flicker or banding is visible in the reviewed footage at the tested camera settings.
- Equipment noise is acceptable in the recording at the planned microphone position.
- The rehearsal completes the required take duration without an unplanned interruption.
Test Result Record
Use one record for each configuration.
| Record item | Notes |
|---|---|
| Model and SKU | __________ |
| Support, modifier, and power arrangement | __________ |
| Light position and subject distance | __________ |
| Camera settings and ambient conditions | __________ |
| Microphone position | __________ |
| Required and tested recording duration | __________ |
| Exposure and appearance criteria met? | Pass / Fail / Unresolved — notes: __________ |
| Flicker or banding acceptable at tested settings? | Pass / Fail / Unresolved — notes: __________ |
| Recorded operating noise acceptable? | Pass / Fail / Unresolved — notes: __________ |
| Take completed without unplanned interruption? | Pass / Fail / Unresolved — notes: __________ |
| Adjustments made during testing | __________ |
| Final decision | Retain / Revise and retest / Exclude / Unresolved |
Keep conclusions tied to the tested configuration and settings. A pass does not establish performance at every distance, frame rate, power setting, or microphone position. If testing is unavailable, mark the relevant requirements unresolved rather than treating manufacturer descriptions as guaranteed results.
Turn the Results into a Selection
Use the documentation checks and test record together:
- Exclude a configuration that cannot meet an essential requirement.
- Revise and retest when a change to power, placement, support, or modifier could address a failure.
- Leave unresolved any requirement that has not been verified. Do not count missing evidence as a pass.
- Retain configurations that meet the documented setup requirements and pass the shot-specific test.
- Choose among retained options by comparing carrying load, footprint, and operating complexity against the production’s preferences.
For example, if two configurations pass the same interview test, a tight room may favor the one with the more manageable verified footprint. If one fails an essential sound or exposure criterion, easier transport does not compensate for that failure. These are conditional decision rules, not claims about which SmallRig model will pass.
FAQ
Are Rm120 and Rc 120 the Same Light?
No. SmallRig lists RM120 separately from the RC 120 point-source family, which includes RC120B and RC120D. [sr-rm120] [sr-rc120]
Which Smallrig 120 Option Is Best for Interviews?
The two cited manufacturer listings do not establish a universal interview winner. [sr-rm120] [sr-rc120] Retain only configurations that meet your framing, exposure, shadow, color, power, and recorded-sound requirements. If more than one passes, compare the complete setups’ footprint and operating complexity for the interview location.
What If I Cannot Test the Light Before Selecting It?
Use the exact model’s documentation to check compatibility and required components, but leave image quality, recorded noise, and session-duration suitability unresolved where they have not been verified. Manufacturer descriptions are not an independent test of your filming arrangement. [sr-rm120] [sr-rc120]
Do the Sources Establish Real-World Performance?
The two cited sources are SmallRig manufacturer product listings. They provide model information, feature descriptions, and user-manual listings, but they do not constitute an independent, controlled comparison in the same filming setup. [sr-rm120] [sr-rc120]