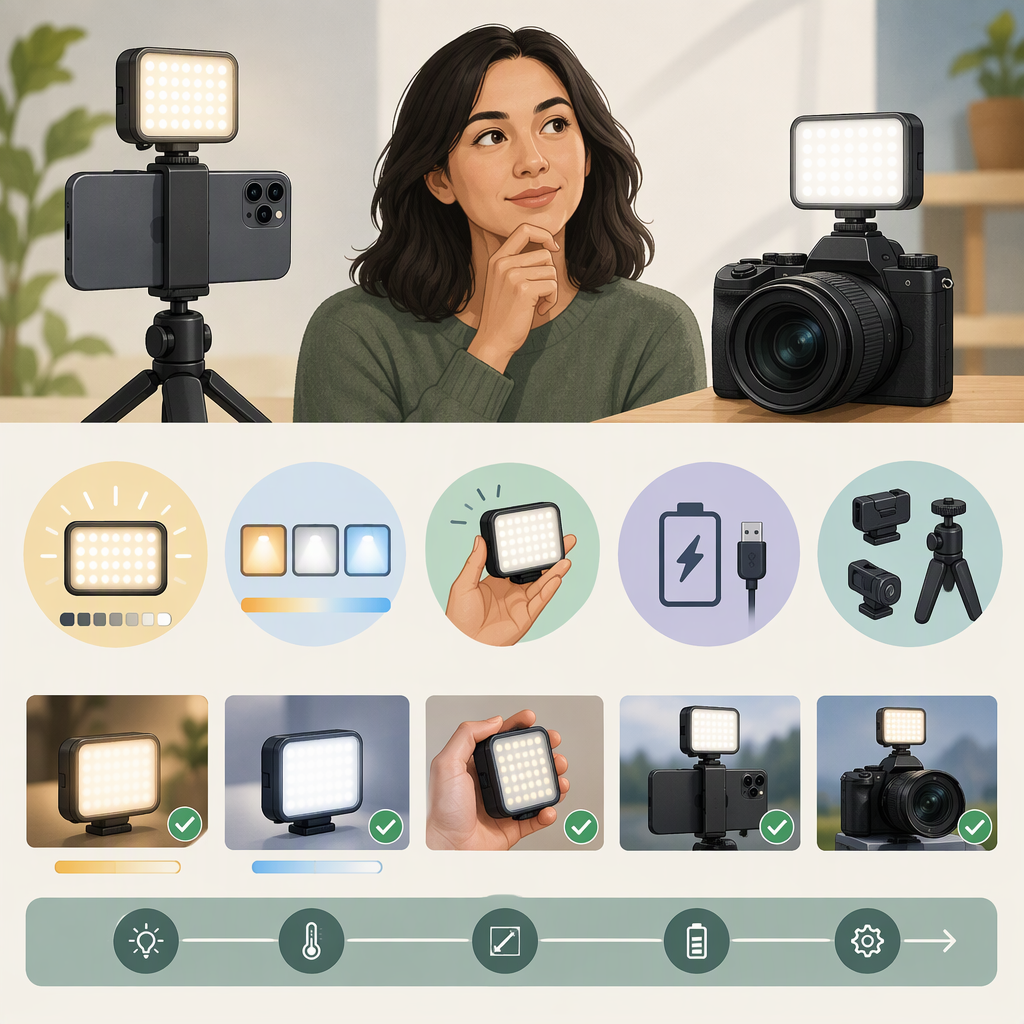
How to Choose a Pocket Video Light for a Phone or Camera
Short answer: Choose a pocket video light by checking whether it can provide the coverage you need at your actual filming distance, whether its color controls suit the scene, and whether it fits and can be powered in your phone or camera setup. “Pocket video light” is used here as a practical description of a small, portable light for video—not as a formal product category with one standard size or specification. A compact light may be convenient, but portability alone does not tell you whether it suits your framing, distance or session length.
When Might a Portable Video Light Be Useful?
Consider supplemental light when you want a light source you can bring along and position near a phone or camera setup. Whether it is useful depends on your scene and where you can place it; a small light is not necessary for every video, and a pocket-sized form factor does not settle how well it will serve a particular shot.
Start with the practical question: Where will the light be, and how far away will it be from the subject? Then compare published output and coverage information for that distance and setup. Illuminance is measured in lux, a unit describing light falling on an area—not a complete measure of how a light will look in every scene. (cie.co.at)
What to Compare
Output at Your Working Distance
If a specification lists illuminance in lux, check the stated distance and the conditions under which it was measured. A figure at a short distance does not, by itself, tell you what to expect farther away. Also check whether the figure applies to the light alone or to a particular accessory or setting. Compare figures only when their measurement conditions are sufficiently alike; otherwise, treat them as separate pieces of information, not a direct ranking.
Coverage and Diffusion
Check whether the published information describes the area the light covers, its beam angle or an illumination distribution. That matters when you need to light more than a small part of the frame. If you plan to use a diffuser or another modifier, look for output information for that configuration. As one example of why setup details matter, manufacturer photometric data for a single light lists different lux readings for different diffusers at the same distance and color setting. This is an illustration of configuration-specific data, not a recommendation or a comparison between products. (help.aputure.com)
Color Information
CCT, usually expressed in kelvin (K), describes a light’s color appearance in relation to a reference radiator; it does not tell you everything about how the light renders object colors. CRI is a color-rendering measure, but the CIE notes that the general CRI has recognized technical limitations. Treat these figures as clues to compare, not guarantees of a particular result on camera. If color consistency is important for your work, check the full color information the manufacturer publishes and assess it in your own intended setup. (cie.co.at)
Controls and Power
Check which adjustments are available and whether you can reach them once the light is mounted. If you expect to film without a power connection, check the exact model’s documentation for runtime, charging method and the conditions behind any runtime figure. Do not assume that a runtime listed for one brightness or mode applies to another.
Check That It Fits Your Phone or Camera Setup
Before choosing a mounting arrangement, check the light and your complete rig together—not just whether two parts appear to connect.
- Mount: Identify the light’s mounting interface and the matching mount, clamp or support you intend to use. Confirm the applicable specifications for both parts; do not assume every light attaches directly to every phone or camera.
- Position: Decide where the light can sit relative to the lens and subject. Check that the phone’s camera view remains clear and that the light can be aimed as intended.
- Clearance: Check space around the lens, screen, controls, microphone, cables and any other accessories you use. Make sure you can still adjust or operate the setup.
- Size and weight: Consider the complete mounted arrangement, including any phone holder or support. Confirm that the arrangement is stable and usable for the way you plan to film.
- Power access: Check whether your intended session requires an outlet or a charged, untethered setup, then verify the model-specific power and charging details in its documentation.
These are checks to apply to your own equipment, not claims of universal compatibility. Where a specific connection, accessory or device is involved, rely on the documentation for those exact items.
Match the Choice to the Filming Situation
The following examples are hypothetical planning checklists, not tested results or product recommendations.
| Filming situation | What to prioritize | What to verify |
|---|---|---|
| Close-up phone video at a desk | Output information at the planned subject distance; accessible controls; a mounting position that leaves the camera view clear | The measured distance and setup behind any lux figure; mounting fit and clearance around the lens and screen |
| A wider view of a person or small demonstration area | Coverage information, not just a brightness figure; whether a modifier is part of the planned setup | The illuminated area or distribution for the intended configuration; whether the light can be positioned without interfering with the rig |
| A session where you expect to film untethered | Power and charging details for the exact model; controls you can reach while it is mounted | Runtime conditions in the documentation and whether the charging or power arrangement suits the planned session |
The decision is conditional: prioritize the feature that addresses your main constraint, then confirm the trade-off. For example, if a close, compact mounting position is important, check coverage and placement; if filming time is the constraint, check power documentation rather than inferring runtime from size.
Final Checklist
Before settling on a pocket video light, confirm that:
- You know your working distance and have compared output information measured at a relevant distance and configuration.
- The light’s coverage suits your framing, including any diffuser or modifier you plan to use.
- You understand what its CCT and color-rendering figures do—and do not—tell you.
- The mount, position, clearance, size and weight work with your actual phone or camera rig.
- The documented power and charging details fit the length and conditions of your intended session.
The right choice is the one whose documented output, coverage, fit and power arrangement match your setup—not simply the smallest light or the largest number on a specification sheet.