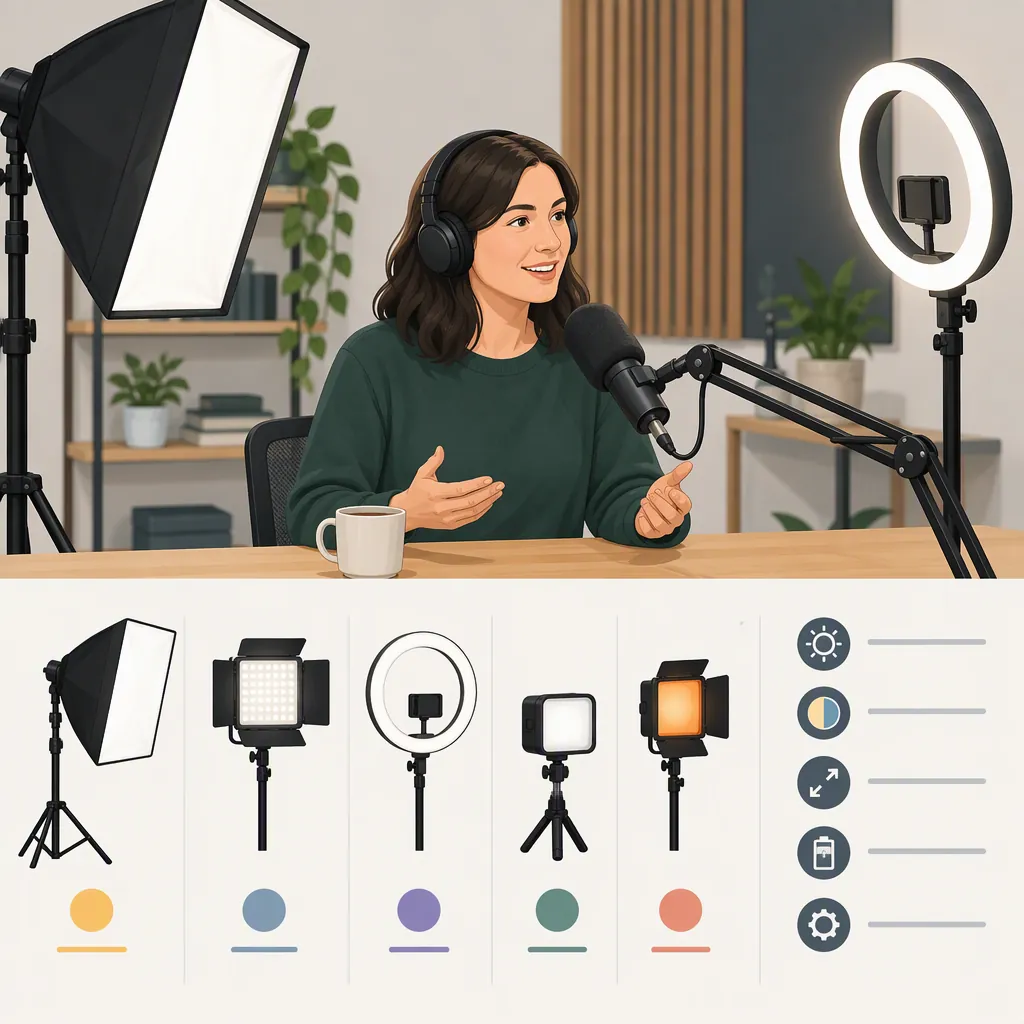
How to Choose a Podcast Lighting Kit
Choose a podcast lighting kit that fits your seats, camera views, mounting space, and power access. Compare the complete package—not just the number of lights—and test whether you can recreate a comfortable, usable image for every participant.
For a single-person recording, a practical test starting point is one light slightly above eye level and to one side of the camera. Adjust its position and brightness while reviewing the image before deciding whether another light is needed. This is a starting experiment, not a guaranteed result or a universal kit requirement.
Define the Recording Setup First
Sketch the recording area before comparing equipment. Include seats, cameras, microphones, desk edges, outlets, and windows. Decide whether the lights can remain installed or must be packed away after each session.
For a solo desk setup, look for a repeatable position that does not block the screen, camera, or microphone. For an interview, map every seat and camera view; do not assume a placement that works for one participant will work for everyone.
Answer these questions:
- Where can each light sit without entering any camera frame?
- Is there room for stands, or does the space require desk-mounted equipment?
- Is there a suitable attachment surface for a clamp or clip?
- Can power cables remain clear of chairs and walkways?
- Can you reach the controls without disrupting the recording?
- Will the arrangement still work if seats or cameras move?
Recording-Space Planning Sheet
| Planning Item | Your Setup |
|---|---|
| People on camera | ___ |
| Camera positions and framing | ___ |
| Available stand or mounting locations | ___ |
| Suitable clamp or clip surfaces | ___ |
| Nearby outlets and cable routes | ___ |
| Window and room-light conditions to test | ___ |
| Equipment that must pack away | ___ |
| Maximum budget, including accessories | ___ |
Try a Simple Lighting Layout
Use this example to learn what your space needs before committing to a larger kit.
Single-Person Test Starting Point
- Set the camera and seat first. Use the framing you expect to record, with the microphone in its intended position.
- Place one light to one side of the camera, slightly above the participant’s eye level. Keep the fixture out of frame and follow its mounting instructions.
- Begin at a comfortable brightness. Record a short sample rather than judging only by how bright the room looks.
- Adjust one variable at a time: position, angle, distance, or brightness.
- Evaluate the unlit side of the face and the background. If the appearance is not what you want, try repositioning the existing light before adding equipment.
If another light is available, test it at a lower setting on the other side of the camera and compare the result. Keep it only if it helps achieve your intended image without creating new reflections, discomfort, or placement problems.
Multi-Person Podcast Test
Seat all participants and check both the wide shot and individual camera views. Record a brief conversation with normal head turns and movement, not just a still pose.
Review each person separately. If you change a light for one seat, check the other seats again. Note whether shared lighting is sufficient or whether particular seats need separate adjustments. Let those tests inform the required light count.
Compare Lighting Formats by Placement Needs
Best Buy search results include a bi-color studio light kit, a bi-color ring light kit, a compact clip light, and an LED streaming light. These listings identify formats to investigate, not a ranking of image quality. [c1]
The following are category-level selection considerations, not verified performance claims about the listed products.
| Format | Placement Consideration | What to Verify |
|---|---|---|
| Studio light kit | Consider where each fixture and any stand could fit around the seats and cameras. | Number of lights, included stands, assembled dimensions, adjustment range, and power accessories. |
| Ring light kit | Consider the relationship between the ring, camera, and participant. If the camera is intended to sit within the ring, check the available space and mounting arrangement. | Camera support, light mount, microphone clearance, and whether the intended framing is possible. |
| Compact clip light | Consider whether the recording area has a suitable, accessible attachment surface. | Compatible surface thickness, attachment instructions, load limits where specified, and adjustment range. |
| Streaming light | Treat the label as a starting category, not proof that the light suits every podcast setup. | Mount type, physical controls, power requirements, and any software or operating-system requirements. |
Compare the exact package and its placement options. A format that fits one desk arrangement may not fit another, even when both recordings are called podcasts.
Check What the Kit Actually Includes
Make a package checklist before comparing prices. Record the lights, mounts or stands, adapters, batteries, chargers, cables, and any included light modifiers. Mark unconfirmed items as unknown, rather than assuming they come in the box.
The retailer search includes plug-in and battery-powered filters. Use them to narrow the options, then verify the power requirements and included accessories for the exact model. [c1]
Kit Comparison Worksheet
| Item to Verify | Candidate A | Candidate B |
|---|---|---|
| Exact model and package name | ___ | ___ |
| Number of lights | ___ | ___ |
| Included stands or mounts | ___ | ___ |
| Mounting requirements and dimensions | ___ | ___ |
| Included power accessories | ___ | ___ |
| Brightness and color controls | ___ | ___ |
| Physical or software control requirements | ___ | ___ |
| Additional equipment needed | ___ | ___ |
| Unverified specifications | ___ | ___ |
| Total cost, including missing accessories | ___ | ___ |
Turn Unknown Specifications into Checks
- Adjustment controls: Consult the exact model’s documentation for the available brightness and color settings and how to operate them.
- Power: Confirm the required adapter or battery, whether it is included, and any documented runtime conditions.
- Brightness and color: Read the published specifications, but also evaluate the camera image at the placement you intend to use.
- Flicker: Record a sample at your intended frame rate and shutter setting; inspect it for pulsing or moving bands.
- Operating noise: Record a quiet segment with the podcast microphones in position and listen for sound from the equipment.
Evidence limitation: The cited retailer search excerpt supports the listed formats and power-source filters. It does not establish brightness, runtime, color accuracy, flicker behavior, operating noise, or a best-kit recommendation. [c1]
Run a Controlled Camera Test
When equipment is available to evaluate, use the actual camera, microphones, seating, and framing planned for the podcast.
For a clearer comparison, keep the camera position, frame rate, shutter setting, exposure, and white balance consistent where the camera allows. Automatic exposure or white balance can change between samples, making it harder to separate a lighting adjustment from a camera adjustment. If you cannot lock those settings, note that limitation when reviewing the footage.
Record a baseline sample, then change one lighting variable at a time.
Common Problems and Adjustments to Try
| What You Notice | Adjustment to Test | What to Recheck |
|---|---|---|
| More facial shadow than you want | Move the main light closer to the camera’s direction, change its height, or test a second light at a low setting. | Both sides of the face and every other seat affected by the change. |
| Reflections in glasses | Move the light farther to one side or change its height and angle. | Reflections during normal head turns, not just a straight-ahead pose. |
| Background appears too bright | Test reducing a controllable background light, changing the main light’s aim, or altering the framing. | Facial visibility with the same camera settings. |
| Participant finds the light uncomfortable | Reduce brightness or try a different position. | Comfort during a short conversation and the resulting image. |
| Light, stand, or cable enters the shot | Reposition the equipment or revise the mounting plan. | Every camera view and the space needed for normal movement. |
| Pulsing or bands appear in footage | Compare permitted light settings and review the camera and light documentation. | A new sample at the intended recording settings. |
| Unwanted equipment sound is audible | Test permitted operating settings or placement changes without obstructing ventilation. | A quiet recording using the actual microphones. |
These are troubleshooting experiments, not promises of a particular result. If an adjustment does not help, return to the baseline before trying another.
Repeat the test under the room conditions you expect during recording, including relevant window and room-light conditions.
Save a Repeatable Setup Record
Keep a reference image and note:
- Seat and camera positions.
- Light locations, heights, and aiming directions.
- Light settings and power arrangement.
- Camera settings.
- Room lights and window conditions.
- Remaining problems or unverified details.
Choose among candidates based on the complete setup: usable camera views, participant comfort, workable mounting and cables, confirmed accessories, and total cost.
FAQ
How Many Lights Should a Podcast Kit Include?
Start with the seats and camera views, not a fixed light count. For a solo recording, test one main light first and add another only if the image calls for it. For multiple participants, check every seat and shot before deciding how many fixtures are needed.
Is a Ring Light Better than a Studio Light Kit?
Neither format is automatically better. Compare how each can be positioned around your camera, microphone, and seating, then evaluate the recorded image. The cited search lists both formats but does not provide comparative testing that establishes a winner. [c1]
Should I Choose Battery-Powered or Plug-In Lights?
Choose according to outlet access, cable routing, and how often the setup moves. For battery use, verify the exact model’s runtime conditions and charging requirements; for plug-in use, confirm the required adapter and a workable cable route. Both power-source options appear in the retailer’s search filters. [c1]
How Can I Reduce Reflections in Glasses?
Try changing the light’s height, angle, or position to one side, then record normal head movements. Check that the adjustment does not create unwanted facial shadows or make another participant’s shot worse.
What Should I Check Before Comparing Lighting Samples?
Keep framing and camera settings as consistent as possible, especially exposure and white balance. Change one lighting variable at a time, and review both the image and a quiet audio segment using the intended recording equipment.