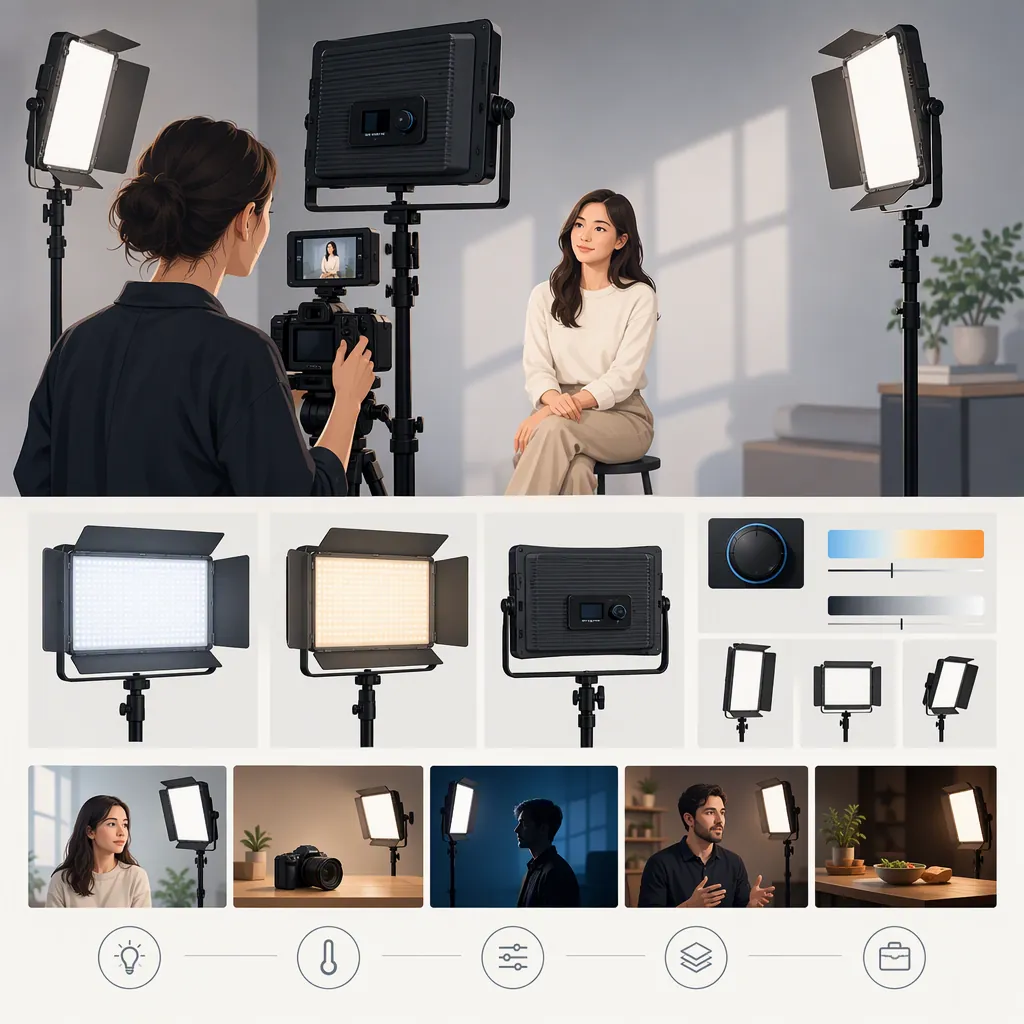
Choosing a Phottix Nuada S3 for Your Filming Setup
Before choosing a Phottix Nuada S3 for filming, confirm the exact model, define your shot requirements, and evaluate the light with your recording setup. The available Phottix Hong Kong reference names the Nuada S3 II as a second-generation model; it does not establish the original S3’s specifications or performance. Do not treat the two models as interchangeable. [c1]
Use the process below to reach one of three outcomes: suitable for the tested setup, does not meet an essential requirement, or not yet possible to judge.
Confirm the Exact Model First
Check the model name on the unit against its packaging and documentation. Record whether it says Nuada S3 or Nuada S3 II before comparing specifications or accessories.
For the original S3, verify output information, color-temperature range, power requirements, control options, mounting compatibility, and included accessories using documentation for that exact model. Leave any unresolved item marked unverified.
Model Verification Record
| Item | What to record |
|---|---|
| Exact name on unit | Full model name, including any suffix |
| Matching documentation | Document title and model covered |
| Power requirements | Requirements stated in the matching instructions |
| Mounting compatibility | Interface and any required mounting hardware |
| Included accessories | What is documented and what is actually present |
| Unresolved differences | Any mismatch between the unit, packaging, and documentation |
Follow the relevant equipment instructions when checking power and mounting. A product-family name alone is not evidence of compatibility.
Define the Shot Before Comparing Lights
Describe the scene in which you intend to use the S3. For an interview, identify the subject position, framing, background, and available stand space. For tabletop recording, identify the working area, camera angle, and reflective surfaces you need to inspect.
Then define what would count as an acceptable result. These are your production requirements—not established S3 capabilities.
| Requirement | Define before testing |
|---|---|
| Exposure | Intended image brightness and the camera-setting changes you will allow |
| Shadows and spill | Desired facial shadows, background illumination, and reflections |
| Recorded color | Skin tones or important objects that must look acceptable at your intended white balance |
| Temporal artifacts | Whether visible flicker or banding would make the recording unusable |
| Sound | Whether unwanted noise would interfere with the intended audio |
| Placement | Available space, planned light position, and subject distance |
| Session duration | Typical recording length and power arrangement |
Make each essential criterion specific enough to review later. For example: “At the planned subject distance, achieve the intended exposure without exceeding my chosen ISO limit.” This is an illustrative acceptance criterion, not an S3 test result.
If you compare another light, use the same scene and camera settings. Record any differences in position, accessories, or brightness setting rather than assuming the comparison conditions are identical.
Test the Light with Your Recording Setup
If an exact-model test unit is available, use the camera, lens, microphone, and recording mode intended for the project.
A Repeatable Test Sequence
- Set up the intended shot. Mark the subject and light positions. Record the light-to-subject distance, framing, background, and any modifiers or other lights.
- Fix or document camera settings. Record resolution, recording mode, frame rate, shutter speed or shutter angle, aperture, ISO, white balance, and picture profile. Where practical, lock exposure and white balance so automatic changes do not obscure the comparison.
- Record each planned brightness setting. Make a separate sample at every brightness level you expect to use. Note the light’s color setting, if applicable. Keep the rest of the setup unchanged for the initial comparison.
- Review the recorded image. Check exposure, facial shadows, background spill, reflections, and color. Inspect normal playback for visible flicker and review frames for banding.
- Listen to the recorded audio. Use the intended microphone position and gain. Include a quiet segment and a spoken segment, then note any unwanted sound. Do not assign its cause to the light without checking.
- Document adjustments and retest. If you move the light or change a camera setting, record the change and make a new sample. If session duration is essential, also test for a representative duration within the equipment instructions.
A short sample supports only the conditions tested. It does not establish laboratory performance, prove behavior at other recording settings, or demonstrate reliability across a longer session.
Recording Test Log
Create one record for each combination of camera settings and light settings.
| Field | Entry |
|---|---|
| Exact light model | ___ |
| Scene, framing, and subject position | ___ |
| Camera and lens | ___ |
| Resolution and recording mode | ___ |
| Frame rate | ___ |
| Shutter speed or shutter angle | ___ |
| Aperture and ISO | ___ |
| White balance and picture profile | ___ |
| Light position and subject distance | ___ |
| Brightness and color setting, if applicable | ___ |
| Modifiers and other lights | ___ |
| Microphone position and gain | ___ |
| Sample filename and test duration | ___ |
For each review item, record both the observation and the reason for your decision:
| Review item | Personal acceptance criterion | Observed result | Outcome |
|---|---|---|---|
| Exposure | ___ | ___ | Pass / fail / unverified |
| Shadows, spill, and reflections | ___ | ___ | Pass / fail / unverified |
| Recorded color | ___ | ___ | Pass / fail / unverified |
| Flicker or banding | ___ | ___ | Pass / fail / unverified |
| Unwanted recorded sound | ___ | ___ | Pass / fail / unverified |
| Session-duration requirement | ___ | ___ | Pass / fail / unverified |
Write observations such as “No visible banding in this sample at the recorded settings,” rather than a general claim that the light is flicker-free. If you did not complete a check, mark it unverified, not pass.
Make a Conditional Selection
Combine the documentation checks and recording results. Separate essential requirements from preferences: an unresolved essential requirement prevents a confident suitability decision, even if other checks pass.
| Outcome | Decision |
|---|---|
| All essential requirements pass | Consider the light suitable for the documented, tested setup—not automatically for other scenes or settings. |
| An essential requirement fails | Do not treat the current setup as suitable. Record a proposed change and retest if that change is practical. |
| An essential requirement remains unverified | Mark the selection not yet possible to judge. Identify the documentation or test evidence still needed. |
When comparing lights, apply the same acceptance criteria to each. If one requires a different position or accessory, include that difference in the decision rather than comparing only the final image.
No hands-on S3 results, original-S3 manual, or independent measurements were available for this guide. It therefore provides a selection method, not a finding that the Phottix Nuada S3 is sufficient for interviews, tabletop recording, or another particular production.
FAQ
Can I Use Nuada S3 Ii Specifications to Evaluate the Original S3?
No—not without documentation that applies to the original model. The available reference identifies the Nuada S3 II as a second-generation model; its advertised details should not be assigned to the original S3. [c1]
Is the Phottix Nuada S3 Suitable for Filming Interviews?
That remains a setup-specific question. Test the exact unit at your intended subject distance, framing, camera settings, and microphone position. A suitable result requires your essential exposure, shadow, color, artifact, sound, power, and mounting requirements to pass.
What If I Cannot Test the Light Before Selecting It?
Separate documentation checks from recording-dependent checks:
- Check against exact-model documentation: model identity, stated power requirements, mounting interface, compatible accessories, and package contents. Confirm what is actually included with the unit under consideration.
- Seek test evidence matching your conditions: visible banding or flicker at your frame rate, shutter setting, and brightness levels; unwanted sound captured by your microphone setup; and exposure in your planned scene.
- Keep unmatched evidence qualified: a sample made with different settings or placement does not confirm your intended result.
If an essential requirement cannot be confirmed, record not yet possible to judge rather than assuming the light will pass.
Does Passing a Short Recording Test Prove the Light Will Work for Every Project?
No. Record the conditions and duration of the test, and limit the conclusion to them. Recheck when essential conditions change, such as recording mode, shutter setting, brightness level, placement, microphone arrangement, or session length.