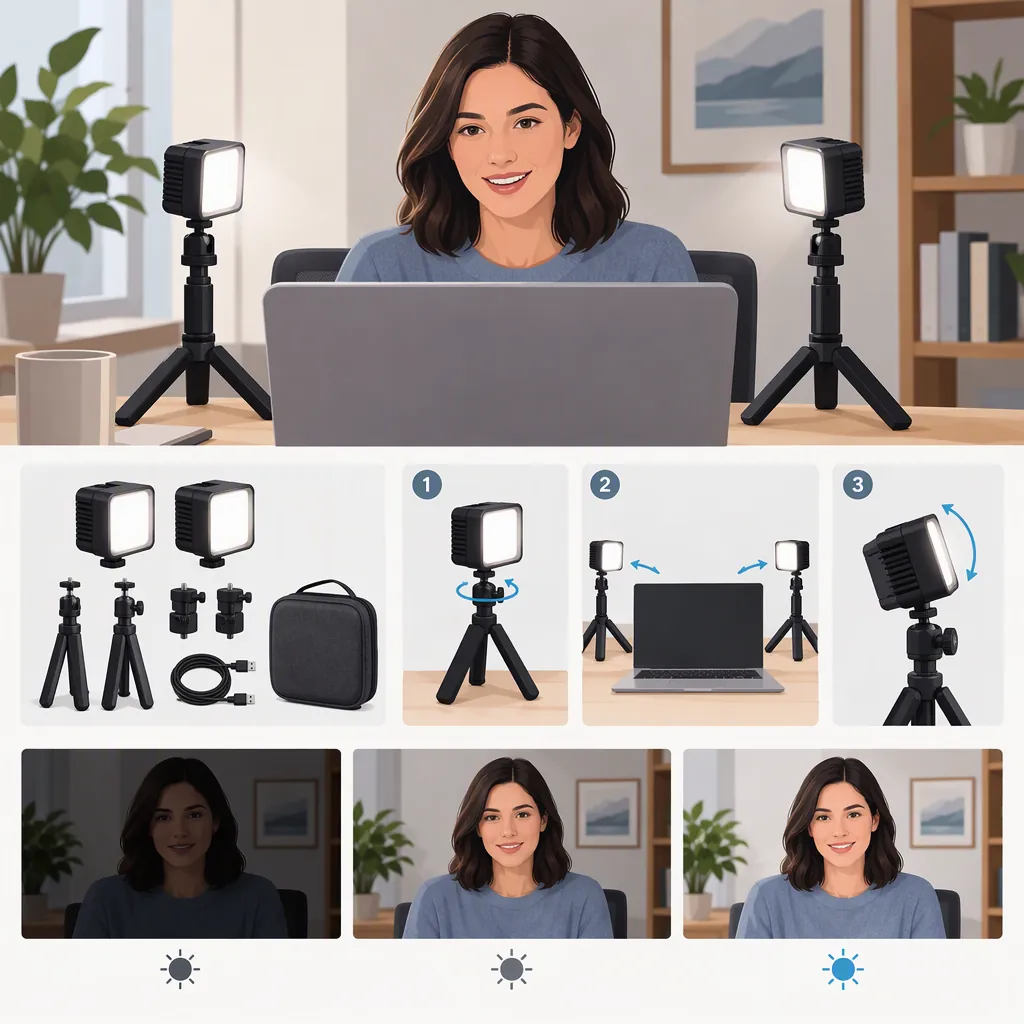
Choosing a Lume Cube Video Conferencing Lighting Kit for Filming
Evaluate the Lume Cube video conferencing lighting kit against your intended framing, mounting surface, and session length—not its name alone. The Amazon.in retailer page presents it for calls, self-broadcasting, and live streaming, but those descriptions do not establish suitability for every filming setup. [c1]
Selection method: Leave the setup unresolved until the included mount is confirmed. If it cannot meet your framing or recorded-image requirements after adjustment, compare other candidates. Retain it as a candidate only when mounting, image quality, and a full-duration power test meet your requirements. This is a decision process, not a verified performance conclusion about the kit.
Identify the Exact Kit
The Amazon.in listing identifies the product as the Lume Cube Video Conference Lighting Kit, model LC-VC2. Its feature text describes a suction-cup mount, while its box contents specify a spring-loaded laptop clip. Treat that conflict as unresolved rather than assuming both attachments are included. [c1]
Before planning a setup, record:
- Exact model and selected variant
- Confirmed included mount
- Diffuser and charging cable contents
- Intended mounting surface and light position
A shared product name is not enough to establish that different listings describe an identical package. If the attachment or its compatibility with your intended surface remains unclear, do not treat the mounting plan as settled.
Evidence boundary: This guide draws on a retailer listing and a manufacturer collection page, not independent testing. These sources do not verify brightness, runtime, mounting reliability, or recorded image quality. The Amazon.in listing also does not establish a US offer or model-specific US warranty terms; its prices, seller terms, and warranty wording should not be carried over to an en-US decision. [c1]
Match the Light to Your Filming Setup
The retailer describes video conferencing, remote work, self-broadcasting, and live streaming as intended uses. That is not evidence that the kit can adequately light a wider scene, several people, or a subject farther from the camera. [c1]
Define the scene you need to record, then use these questions to guide evaluation:
| Filming setup | What to check | How the result affects selection |
|---|---|---|
| Seated calls | Can the confirmed mount position the light without covering the webcam or interfering with the screen? | If the attachment obstructs your setup, resolve the placement problem before retaining the candidate. |
| Recorded talking-head videos | Are facial detail, shadows, and reflections acceptable in the recording? | Adjust one factor at a time and retest. If the result still fails your requirements, compare another candidate. |
| Standing presentations | Can the mounting arrangement place the light where the subject needs it throughout the intended movement? | If useful placement cannot be achieved with a confirmed, permitted mounting arrangement, compare a different setup. |
| Products or multiple subjects | Does the entire required subject area look acceptable in the recorded frame? | If coverage remains inadequate after adjustment, continue comparing candidates rather than relying on the conferencing label. |
These are evaluation criteria, not claims about the kit’s capabilities. Keep framing, camera settings, subject position, and room conditions consistent when comparing candidates. Review an actual recording made with your intended filming settings rather than relying only on a call preview.
Check Mounting, Power, and the Recorded Image
The retailer lists adjustable brightness, warm-to-cool color adjustment, a diffuser, and battery or USB operation. Treat these as described features, not verified performance results. Its battery-life and extended-operation statements are not guarantees for your recording session. [c1]
If a unit is available for evaluation, follow its supplied mounting and power instructions. Do not improvise an attachment based on the conflicting listing text.
A Minimal Recording Test
- Define your requirements. Write down the intended framing, subject movement, session duration, and image problems you need to avoid.
- Record a baseline without the candidate light. Use the intended camera, recording settings, subject position, and room lighting. Note any automatic camera settings so you can keep the comparison conditions consistent.
- Record with the candidate light. Keep the same framing and conditions. Check that the attachment does not obstruct the camera or screen.
- Adjust one factor at a time. Change light position, brightness, or color setting separately where the unit and its instructions permit. Record each change so you can identify which arrangement meets your needs.
- Review the recordings. Look for facial detail, distracting shadows, reflections in glasses or nearby surfaces, color consistency, visible flicker, and brightness changes.
- Test the planned power arrangement for the full intended duration. Use the light settings and recording setup you expect to use. Review the result for interruptions or visible changes, and note whether the mounting position stayed usable.
Do not set a universal numerical pass threshold from these sources. Judge the result against the requirements you recorded before testing.
Lighting Evaluation Worksheet
Complete one copy for each candidate setup.
- Exact model and variant: ______
- Confirmed included mount and intended surface: ______
- Camera and recording settings, including automatic settings: ______
- Subject framing, position, and movement: ______
- Room lighting conditions: ______
- Required session duration: ______
- Baseline observations: ______
- Light position and settings tested: ______
- Single change made between recordings: ______
- Power arrangement and actual test duration: ______
- Webcam or screen obstruction: ______
- Facial detail and shadows: ______
- Reflections in glasses or nearby surfaces: ______
- Color consistency: ______
- Visible flicker, brightness changes, or interruptions: ______
- Mounting position during the test: ______
- Result: acceptable / needs adjustment / unresolved / does not meet requirements
- Remaining questions or next test: ______
Use the result labels consistently:
- Acceptable: The confirmed mounting arrangement, recorded image, and full-duration power test meet your stated requirements under the tested conditions.
- Needs adjustment: You observed a problem—such as distracting reflections, unwanted shadows, or screen obstruction—and have a permitted adjustment to test. This is not yet a pass.
- Unresolved: Essential information or testing is missing, such as confirmed mount contents or a completed duration test.
- Does not meet requirements: The tested arrangement still fails a required condition after the adjustments you can use. Compare another candidate or mounting setup.
An acceptable result applies to the tested arrangement; it does not establish suitability for different framing, room conditions, or session lengths.
Compare Lume Cube Categories Without Assuming a Winner
Lume Cube’s camera-light collection page lists Panel Mini, Panel Go, and RGB Panel Pro 2.0 products. Its navigation also separates video conference lighting from photo, video, and studio categories. Those listings establish product names and categories—not a performance ranking or proof that one option fits your scene. [c2]
Compare the conferencing kit and other candidates against the same requirements:
| Requirement | Decision rule |
|---|---|
| Mounting | Keep the plan unresolved until the attachment and intended placement are confirmed. |
| Subject coverage | If the recorded frame does not meet your coverage needs after adjustment, evaluate another candidate. |
| Image quality | Retain candidates whose test recordings meet your needs for detail, shadows, reflections, and color consistency. |
| Power | Do not treat a short image test as evidence that the setup will complete a long session; finish the intended-duration test. |
| Controls and available space | Verify that the candidate offers the controls and placement options your setup requires. |
Do not infer kit contents from the name of a standalone panel, or assume that a camera-light category guarantees compatibility with your camera.
The practical outcome is a shortlist, not an automatic winner: retain candidates that pass your checks, exclude tested arrangements that fail required conditions, and label missing evidence as unresolved.
FAQ
Is the Lume Cube Video Conferencing Lighting Kit Suitable for Filming?
It is described for calls, self-broadcasting, and live streaming, but those uses do not establish performance in every filming scene. [c1] Retain it as a candidate only if the confirmed mounting arrangement, recorded image, and full-duration power test meet your requirements.
Does the Kit Include a Laptop Clip or a Suction-Cup Mount?
The Amazon.in listing conflicts: its feature text mentions a suction-cup mount, while its box contents name a spring-loaded laptop clip. Confirm the attachment for the exact package; do not assume both are included. [c1]
Can the Listed Battery Life Be Used to Plan a Long Recording?
Not as a tested guarantee. The retailer describes battery and USB operation, but does not establish runtime under your intended settings. [c1] Complete a test using the planned power arrangement for the expected session duration.
Should I Choose Panel Mini, Panel Go, or RGB Panel Pro 2.0 Instead?
The manufacturer collection page lists those products, but does not establish which is best for your filming setup. [c2] Compare each candidate using the same mounting, coverage, image, control, and power requirements rather than choosing by category name alone.