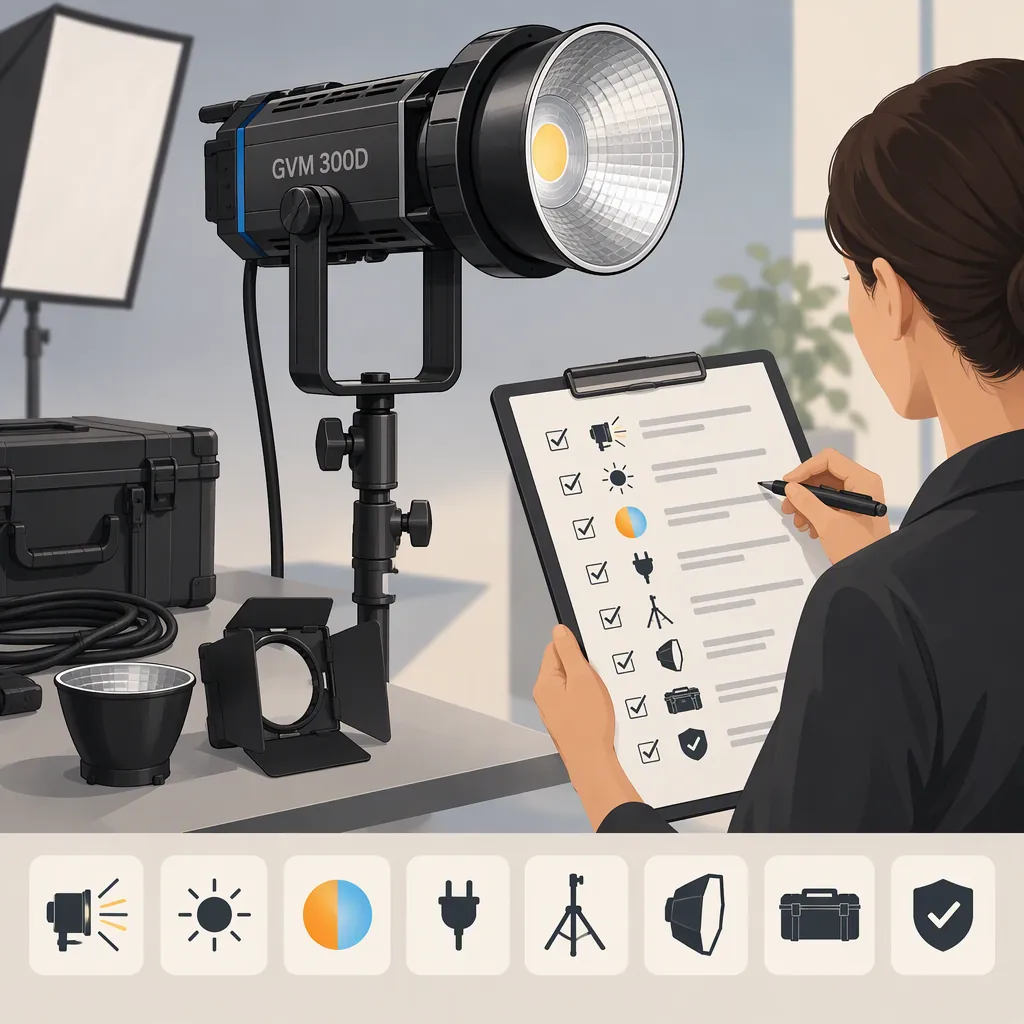
GVM 300D: How to Evaluate a Light for Your Filming Setup
To evaluate a GVM 300D for filming, confirm the exact model and package, then check exposure, image quality, recorded sound, mounting, and power against your shooting requirements. The GVM product page cited here identifies the model as GVM-SD300D; it does not establish which light is best for your shoot. [c2]
Confirm the Model Before Comparing Lights
The search phrase gvm 300d is less specific than the model name GVM-SD300D on GVM’s Spanish-language product page. The cited GVM shop collection also contains PRO-SD300B and PRO SD300C entries, plus an SD300D entry whose title mentions a softbox. These are distinct listing names—not evidence that the products or packages are equivalent. [c1] [c2]
Record the exact model and package contents separately. Mark an item unconfirmed unless documentation for that specific package identifies it. A collection-page title alone is not a complete inventory of included accessories.
Model and Package Verification Sheet
- Exact model name: ______
- Listing URL: ______
- Package or variant name: ______
- Included modifier: confirmed / unconfirmed
- Included stand: confirmed / unconfirmed
- Power supply and cables: confirmed / unconfirmed
- Model-specific documentation reviewed: ______
- Unresolved differences between listings: ______
Do not carry specifications or accessory assumptions from an SD300B or SD300C listing into an SD300D comparison.
Define the Shot Before Evaluating Output
Use the intended shot as the comparison target rather than choosing from a model number or headline specification.
Write down:
- Framing: seated interview, tabletop demonstration, full-body presentation, or another specific shot.
- Placement: available light-to-subject distance and where stands can remain outside the frame.
- Camera settings: frame rate, shutter setting, aperture, ISO, and white balance.
- Lighting arrangement: intended modifier, background treatment, and other lights or windows.
- Sound requirements: microphone position and whether dialogue will be recorded while the light operates.
- Session length: how long the setup needs to operate during a representative recording.
- Delivery: the resolution and viewing size at which the finished footage will be assessed.
Set acceptance criteria before testing. For example, require your intended exposure at the planned distance without changing the aperture or ISO you need for the shot. These are user-defined evaluation criteria, not claims that the GVM-SD300D will meet them.
Run a Repeatable Camera and Sound Test
If a demonstration or evaluation unit is available, compare candidate lights using the same subject, background, camera settings, and intended modifier. Record each light’s placement and control settings so the setup can be repeated.
Test every frame rate and shutter setting you plan to use. Include a recording period representative of your session, and note whether results change over that period.
Define What “Acceptable” Means
Use the following checks to set your own pass/fail criteria. They are proposed evaluation methods, not measured results for this model.
| Test item | What to observe | Example user-defined acceptance criterion |
|---|---|---|
| Exposure | Review the subject at the planned distance, modifier, aperture, and ISO. Use the camera’s exposure tools if available. | The intended subject exposure is achievable without unwanted clipping in areas you need to preserve. |
| Banding or flicker | Inspect recorded footage at each intended frame rate and shutter setting, including playback at the expected delivery size. | No visible bands or brightness pulsing that would make the shot unusable. |
| Shadows and reflections | Check faces, glasses, reflective products, and the background in the intended framing. | No unwanted shadow or reflection obscures important detail; any repositioning remains practical for the shot. |
| Color consistency | Keep camera white balance fixed and compare the same subject at the light settings you intend to use. | No visible color shift that exceeds what you are willing to correct in the finished footage. This is not a laboratory color-accuracy measurement. |
| Recorded sound | Record room tone and the same dialogue with the light off and on, keeping microphone placement, recording gain, and playback volume unchanged. | Any added noise does not mask speech or require more cleanup than your workflow allows. |
| Session consistency | Compare footage and sound from the beginning and end of a representative recording period. | No change in exposure, visible color, or recorded noise makes the later material unacceptable. |
| Practical fit | Check positioning, control access, cable routing, modifier attachment, and documented mounting and power requirements. | The planned setup follows equipment instructions and leaves no unresolved critical support or power requirement. |
For the sound comparison, keep other room conditions as consistent as practical and label the off/on recordings. Record whether a difference is merely audible or actually affects dialogue usability; those are not the same decision.
Follow equipment instructions rather than improvising power connections or mounting arrangements. A successful image test does not resolve an undocumented support or power requirement.
Filming Comparison Test Log
Repeat for each candidate:
- Record the exact model, package, modifier, light-to-subject distance, and light settings.
- Record camera settings, white balance, microphone position, and recording gain.
- Capture the same subject and background at every intended frame rate and shutter setting.
- Check exposure, banding, shadows, reflections, and visible color consistency against your written criteria.
- Record comparable room tone and dialogue with the light off and on.
- Compare results at the beginning and end of the representative session.
- Check control access, cable routing, accessory documentation, mounting instructions, and power requirements.
- Mark each item acceptable / unacceptable / not tested, with a brief reason.
- List unresolved issues and any changes needed to make the setup work.
If testing is unavailable, mark performance results not tested. Missing evidence should not become a passing score.
Understand What the Listed Brightness Figures Show
GVM’s Spanish-language product page presents several illuminance figures. Its specification table distinguishes 10,840 lux at 1 meter for the bare light from 92,600 lux at 1 meter with a standard reflector. The descriptive copy separately states 43,500 lux at 1 meter, without enough measurement context to compare it directly with those table entries. These are figures reported by the listing, not independently verified measurements in this article. [c2]
The distinction matters: the table explicitly describes different accessory conditions, so different numbers should not automatically be treated as contradictory measurements under identical conditions. The unresolved issue is whether the descriptive figure and the table figures share comparable measurement conditions. [c2]
Before using listing figures to compare candidates, seek clarification of:
- The modifier or reflector used.
- The measurement distance and measurement position.
- The light’s output and color-temperature settings.
- Whether each candidate’s figure was obtained under equivalent conditions.
Even clarified listing figures would not replace a test with your intended modifier, distance, and camera settings.
Make a Selection Without Overstating the Evidence
The sources cited here are a GVM shop collection and a Spanish-language product page—not an independent comparison or a recorded filming test. [c1] [c2] They do not establish a performance ranking for your setup.
This guide does not endorse advertised output, color accuracy, quietness, reliability, or accessory compatibility. Keep three kinds of information separate:
- Documented: the exact model, package contents, and requirements identified in model-specific documentation.
- Observed: results from your recorded test, with the test conditions attached.
- Unresolved: missing documentation, ambiguous listing information, or checks you could not perform.
A defensible selection is a candidate that meets your defined shooting requirements, has confirmed required accessories, and leaves no unresolved critical mounting or power constraints. If several candidates remain untested, keep them as a shortlist rather than assigning a performance ranking.
FAQ
Does “GVM 300D” Identify the Exact Model?
Not precisely enough for checking specifications or package contents. Use GVM-SD300D, the model named on the cited product page, and verify the package separately. The collection’s similarly named SD300B and SD300C listings should not be treated as interchangeable. [c1] [c2]
Is the GVM 300D Suitable for Interviews?
The cited shop collection and product page do not establish suitability for a particular interview setup. [c1] [c2] Test the exact candidate at your intended framing, distance, camera settings, and modifier arrangement. Compare dialogue and room tone with the light off and on at the same recording gain, then decide whether exposure and recorded noise meet your requirements.
Can the Listed Brightness Figures Settle the Comparison?
No. The product page’s specification table distinguishes bare-light and standard-reflector measurements, while a separate figure in the descriptive copy lacks enough context for direct comparison. Treat them as listing information with unresolved comparability—not as a verified prediction for your filming setup. [c2]
What If I Cannot Test the Light Before Selecting It?
Use model-specific documentation to narrow the options, but leave exposure, banding, recorded sound, and session consistency marked not tested. The cited listings are not filming-test evidence. [c1] [c2] A documentation-based shortlist is more defensible than assuming that untested performance will meet your criteria.