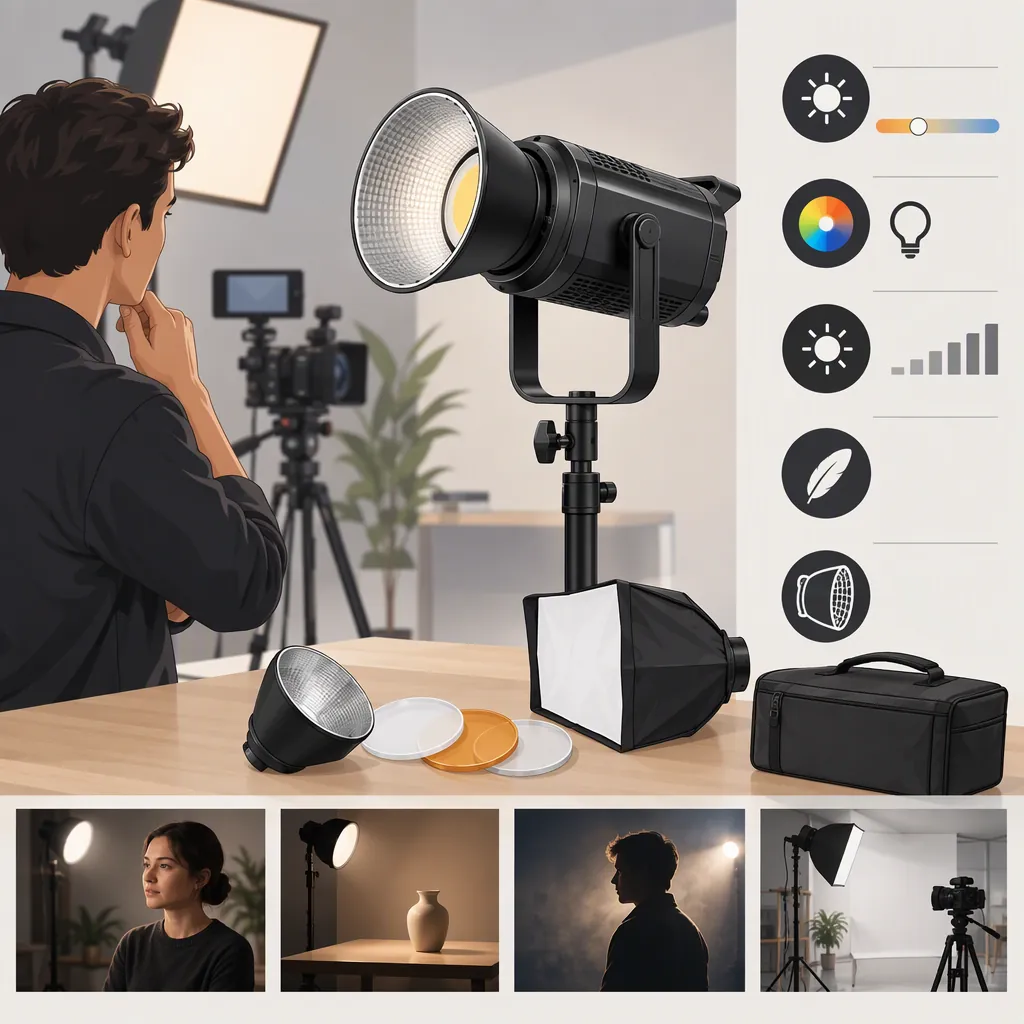
Godox Sl100bi: How to Evaluate It for Your Filming Setup
Evaluate the Godox SL100Bi against the shot you need to film—not the model name alone. Define your exposure, placement, sound, modifier, and power requirements, then separate documentation checks from tests of the complete setup. The available manufacturer page and retailer listing help identify documentation and package information, but they do not establish independently tested suitability for your shoot. [src_godox] [src_roberts]
Use two decision stages: first determine whether the documented operating and compatibility requirements fit your setup; then evaluate whether the recorded picture and sound meet your criteria. If you cannot test the light, you can complete the documentation screening without declaring it suitable for the production.
What the Sources Can Establish
Godox’s shared SL100D/SL100Bi product page lists separate model-specific manuals, including “SL100Bi(Chinese/English)”, and “Important Safety Instructions for LED Lights.” Select the SL100Bi manual rather than applying the neighboring SL100D model’s documentation. The full documents are not included in the supplied reference text. [src_godox]
The Roberts Camera listing identifies the SL100Bi and includes a specification table and package list. Use these as items to check, not as independent performance findings. This guide does not adopt the listing’s promotional descriptions or specifications as verified filming results. [src_roberts]
No hands-on evaluation is claimed here. The steps below are a proposed selection protocol, not reported test results.
Define the Shot Before Comparing Lights
Describe a representative scene:
- Interview: subject position, framing, background, and microphone location.
- Tabletop demonstration: working area, objects, and reflective surfaces.
- Moving subject: the positions and area that must remain acceptably lit.
Record the intended camera settings and the available space for the light, stand, and modifier. Establish your acceptance criteria before evaluating equipment. Avoid a generic “looks good” judgment: specify which parts of the image and recording matter for the production.
Filming Requirements Worksheet
| Item | What to record |
|---|---|
| Scene and subject | Framing, subject positions, background, and representative materials |
| Camera and lens | Camera, lens, and recording mode |
| Exposure settings | Frame rate, shutter setting, aperture, and ISO |
| Color settings | White balance, tint if applicable, and picture profile |
| Lighting arrangement | Intended modifier, position, angle, and light-to-subject distance |
| Coverage | Area or subject positions that must meet your criteria |
| Sound setup | Microphone, position, recording settings, and gain |
| Environment | Existing room light and whether it can be controlled |
| Logistics | Power arrangement, support, cable routing, and transport constraints |
| Acceptance criteria | Required picture, sound, and setup outcomes |
| Open questions | Conditions that still need documentation or testing |
Set criteria specific to your work. For example, you might require that important detail remain visible in a reflective object, that the subject remain acceptably exposed across a marked movement area, or that room tone be acceptable at the intended dialogue playback level. These are production requirements—not universal thresholds or claims about the SL100Bi.
Screen Documentation and Setup Logistics
Start with the SL100Bi manual and LED-light safety information linked from the manufacturer page. Because their full contents are not supplied here, this article does not assert electrical requirements, mounting compatibility, operating limits, or safety clearances. [src_godox]
Use the following table to turn documentation checks into a selection path. A check passes only when the applicable documentation confirms the proposed arrangement—not merely because a photograph appears to show it.
| Requirement | Material to check | Passing condition | If unresolved |
|---|---|---|---|
| Power arrangement | SL100Bi manual and applicable power-equipment instructions | The planned supply and connections meet the documented requirements | Pause selection for that setup; do not improvise a power solution |
| Stand and support | Light, support, and modifier documentation | The documented support requirements can be met with the planned assembly and placement | Resolve before assembling or testing |
| Modifier connection | SL100Bi manual and exact modifier documentation | The connection and intended use are confirmed for the combination | Do not treat the modifier as compatible |
| Operating conditions | Model-specific manual and safety instructions | The location and layout meet the applicable operating and safety requirements | Change the plan or resolve the question before use |
| Package and accessories | Exact package list and accessory documentation | Every required item is identified as included or separately available for the planned setup | Keep the setup incomplete until the missing items are identified |
| Picture and sound | Footage and recordings from the intended setup | Observed results meet the criteria set in advance | Keep filming suitability unverified |
The Roberts Camera page includes its own package list. Check it separately from accessories pictured or described elsewhere; do not assume every item shown is included. [src_roberts]
If a required control accessory is part of your workflow, verify that exact accessory and its intended function too. Record unresolved questions rather than converting them into assumed features.
Test the Complete Lighting Setup
If the light is available and the documentation checks are resolved, evaluate it with the camera, modifier, placement, and microphone arrangement you intend to use. A bare-light demonstration is not a substitute for a planned modified-light setup.
1. Establish a Repeatable Baseline
Record:
- Camera settings, including white balance and picture profile.
- Light position, angle, light-to-subject distance, and modifier.
- Every adjustable light setting used, including any applicable color setting.
- Subject position and the representative objects in the frame.
- Existing room light, including changes during the test.
- Microphone position, recording settings, and gain.
Use the same baseline scene for each candidate. For an initial comparison, keep camera settings and the planned lighting geometry fixed where feasible. If you later adjust a candidate to meet your criteria, record the change as a separate configuration rather than silently replacing the baseline.
2. Record and Review the Image
Capture a short clip of the subject, background, and representative materials. Include the full movement area if the subject will move.
Review the footage against the criteria you established:
- Exposure: inspect the intended subject area and important highlight detail using the camera or editing tools available to you. Record what you observe rather than assigning a pass based only on overall brightness.
- Shadows and reflections: check whether their placement and appearance are acceptable in the actual framing.
- Color appearance: compare the same materials under recorded, consistent white-balance and viewing conditions. Note visible differences or problems relevant to the production.
- Coverage: check each required subject position, not just the easiest position to light.
A practical visual check can establish whether the footage meets your production criteria; it should not be presented as a laboratory measurement of color accuracy.
3. Record Dialogue and Room Tone
Keep microphone placement, recording settings, and gain fixed. Capture a room-tone sample with the light off, then another with the light operating in the tested configuration. Record representative dialogue as well.
Review all samples at the same playback level. Note any audible difference, whether it matters beneath dialogue or during pauses, and any other room sounds that could affect the comparison. A change in the recording does not, by itself, establish its cause.
Repeat this check for each operating configuration you expect to use. Do not change microphone placement or apply different processing between samples without documenting it.
4. Preserve the Evidence
Keep the clips, audio samples, and configuration notes together. If a condition changes—such as ambient light, placement, or microphone gain—mark that limitation or repeat the affected comparison.
Repeatable Evaluation Record
Configuration: candidate model, date, room conditions, camera settings, white balance, light settings, modifier, distance, placement, microphone position, and gain.
| Check | Acceptance criterion set beforehand | Observation | Evidence file | Judgment |
|---|---|---|---|---|
| Subject exposure and highlights | Your required result | What is visible at the tested settings | Clip or frame name | Pass / fail / unverified |
| Shadows and reflections | Your required appearance | Location and appearance of any issue | Clip or frame name | Pass / fail / unverified |
| Color appearance | Your production requirement | Differences or concerns under recorded conditions | Clip or frame name | Pass / fail / unverified |
| Subject coverage | Required positions or area | Results at each position | Clip name | Pass / fail / unverified |
| Recorded sound | Your dialogue and room-tone requirement | Off/on comparison and dialogue observations | Audio file names | Pass / fail / unverified |
| Setup practicality | Required space and workflow | Obstructions, adjustments, or unresolved items | Notes or setup photo | Pass / fail / unverified |
Also record changes required, untested conditions, and remaining limitations. A pass applies only to the configuration evaluated.
Make the Selection Decision
Keep documentation and performance evidence separate:
- Required documentation check unresolved: pause selection for that setup. Resolve essential power, support, connection, or operating questions before testing.
- Documentation checks pass, but no scene test is available: retain the SL100Bi as a candidate. Picture and sound suitability remain unverified.
- Documentation checks pass and tested results meet your criteria: conclude that the evaluated configuration meets those stated requirements—not that the light is universally suitable.
- A tested result fails: record the failed requirement. If you revise placement, settings, or the modifier within documented limits, retest and keep the revised configuration distinct.
When comparing another light, use the same requirements and evidence format. Compare not only the result but also the changes each candidate needed to achieve it.
FAQ
Can I Shortlist the Godox Sl100bi Without Testing It?
Yes, as a documentation-screened candidate if all essential operating and compatibility questions are resolved. That shortlist status does not confirm exposure, color appearance, or recorded-sound performance in your scene.
Which Manual Should I Look for on the Shared Godox Page?
Look for “SL100Bi(Chinese/English)” under the product manuals, alongside “Important Safety Instructions for LED Lights.” The supplied page lists these links, but the full documents are not reproduced in the available reference text. [src_godox]
What Should Stop Me from Reaching a Suitability Conclusion?
An unresolved essential requirement should stop the conclusion: for example, an unconfirmed power arrangement, support or modifier connection, or an untested picture or sound condition that matters to the production. Resolve documentation questions before use; resolve performance questions through a representative test.
What Can the Retailer Listing Help Me Check?
The Roberts Camera listing provides specifications and package information to review when identifying setup questions and required items. It is not an independent test report and does not establish results with your camera, modifier, microphone, or room. [src_roberts]
What If the Light Passes Only After I Change the Setup?
Record and assess the revised configuration. If it meets your criteria and documented requirements, the conclusion applies to that arrangement. Do not transfer the result to a different modifier, distance, camera setting, or room without checking the changed conditions.