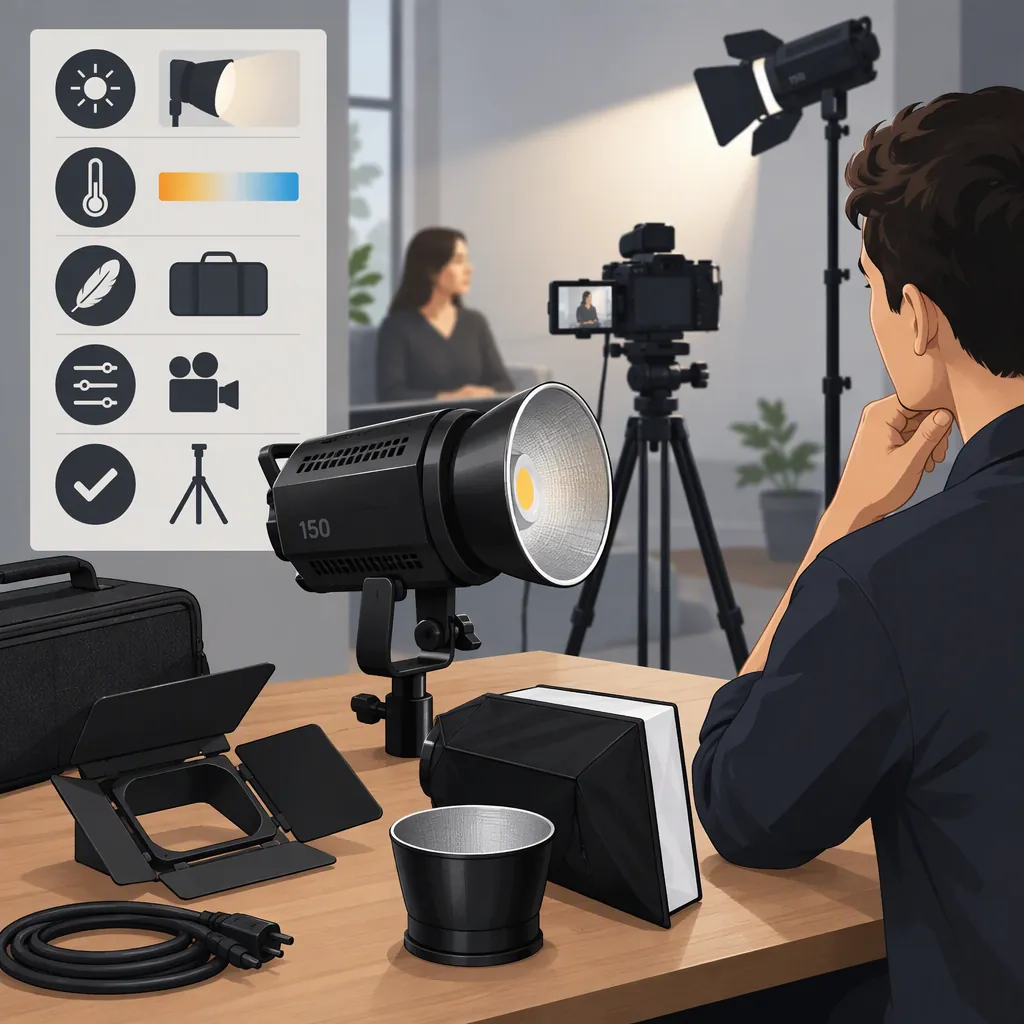
Godox 150W: How to Choose a Light for Your Filming Setup
To choose a light from a “Godox 150W” search, identify the exact model, verify its documentation, and test it in the shot you intend to film. Base the decision on acceptable exposure, recorded audio, image appearance, modifier compatibility, and safe power and support arrangements—not the wattage wording alone.
The Godox UL150 page identifies it as a “Silent LED Video Light,” but that manufacturer label does not establish measured brightness or guarantee inaudibility during recording. [godox-ul150]
Identify the Exact Model First
Record the complete model name and version from the product label or documentation. Do not assume that “150W” in a search result establishes the specifications of the unit being considered.
What the References Establish
The available text from the Godox UL150 manufacturer page identifies the model, uses the “Silent LED Video Light” label, and lists manual downloads and optional accessories. It does not include a numerical specification table or acoustic measurements, so it cannot verify wattage, output, color performance, or power options. [godox-ul150]
The Photo Center retailer URL includes an SL-150 daylight-balanced description, but the available page text contains no substantive product specifications. It is not sufficient evidence for comparing that candidate with the UL150. Together, these references do not support a brightness ranking, a best-model recommendation, current pricing, or confirmed package contents. [photo-center-listing] [godox-ul150]
Model Verification Record
Complete a separate record for each candidate. Mark missing information as unverified, rather than inferring it from the model name or another light’s specifications.
| Item | What to record |
|---|---|
| Model | Complete model name and version |
| Documentation | Specification document and date checked |
| Rated power | Value stated in the exact model’s documentation |
| Output | Measurement, including distance and attached modifier |
| Color | Documented color temperature options |
| Power | Requirements and included supply |
| Modifiers | Mount and explicitly supported accessories |
| Cooling and noise | Documented information and any stated test conditions |
| Package | Confirmed included items |
| Open questions | Anything still undocumented or untested |
Define Your Shot’s Acceptance Criteria
Before testing, decide what counts as a usable result. Otherwise, two candidates may receive different judgments simply because the camera settings, monitoring method, or expectations changed.
Write down:
- Exposure target: What must be correctly exposed, and which camera settings must remain fixed?
- Image requirements: What skin-tone, neutral-object, shadow, reflection, and background appearance is acceptable?
- Audio requirement: What light-related sound, if any, is acceptable in the intended dialogue recording?
- Placement limits: How close can the light be without entering the frame or interfering with the setup?
- Operating conditions: Which frame rates, shutter settings, dimmer settings, and ambient-light conditions will the shoot use?
- Comparison method: Which camera exposure tool or monitoring method will you use consistently?
Separate essential requirements from preferences. For example, usable dialogue audio may be essential for an interview, while a particular shadow shape may be adjustable. For a tabletop shot without location audio, recorded device noise may not be a selection constraint.
Evaluate the Light in Your Intended Shot
Use the same test conditions for each candidate. This is a practical screening method, not a certification of any model’s performance.
- Set the camera. Use the intended frame rate, shutter setting, aperture, ISO, and white balance.
- Build the planned setup. Place the subject and light at the intended working distance and attach the intended modifier.
- Check exposure consistently. Use the exposure target and measurement or monitoring method defined before the test. Record the dimmer setting.
- Review the image. Inspect skin tones, neutral objects, shadows, reflections, and the background using the same viewing method for each candidate.
- Check the recorded clip for flicker. At each intended frame-rate, shutter, and dimmer combination, record a clip and inspect it for visible bands or brightness fluctuations. Do not rely only on how the illuminated scene looks to the eye.
- Repeat under expected ambient conditions. If the shoot uses more than one setup or operating mode, test each required configuration.
For a talking-head shot, evaluate the face and background together. For tabletop filming, use the actual objects so that reflection and shadow judgments relate to the planned composition.
Repeatable Shot Test Record
| Field | Record |
|---|---|
| Candidate | Exact model and version |
| Camera setup | Camera, lens, frame rate, shutter, aperture, ISO, white balance |
| Placement | Subject-to-light distance and light position |
| Modifier | Exact modifier used |
| Environment | Ambient-light conditions |
| Output setting | Dimmer setting |
| Exposure method | Tool or monitoring method and target |
| Exposure result | Pass / Fail / Not tested |
| Color and shadow result | Pass / Fail / Not tested |
| Flicker check | No visible issue / Visible issue / Not tested |
| Audio result | Pass / Fail / Not tested / Not required |
| Changes needed | Placement, modifier, or other permitted adjustments |
| Remaining questions | Unverified requirements |
If you change the setup to address a failure, record the change and repeat the relevant checks. Keep the original and revised results separate.
Check Audio and Modifier Compatibility
Record Audio in the Dialogue Setup
Godox’s “Silent LED Video Light” wording is a manufacturer description. The available UL150 page text contains no sound-level measurements or recording conditions, so it does not establish that the light will be inaudible in your recording. [godox-ul150]
For a dialogue test:
- Put the microphone where it will be during filming.
- Record room tone with the light off and on, keeping microphone gain and placement unchanged.
- Repeat at the dimmer settings you expect to use.
- Listen using the same playback setup and compare against your project’s audio requirement.
- If you change light or microphone placement, repeat both the audio and image checks.
If the recording contains unacceptable light-related noise and no permitted adjustment resolves it, do not select that candidate for the dialogue setup.
Verify the Complete Modifier Arrangement
The UL150 page lists optional accessories, including parabolic softboxes and a Bowens mount softbox. That does not establish package inclusion or compatibility with every similarly described modifier. [godox-ul150]
Before finalizing the setup, confirm:
- The exact modifier’s compatibility with the exact light model.
- Any required adapter or separate support.
- The documented load and the planned stand’s suitability.
- Which accessories, power components, and cables are actually included.
Treat undocumented compatibility or support requirements as unresolved—not as a pass.
Turn Test Results into a Selection Decision
Use two stages: first check the requirements that must be met, then compare preferences among the candidates that pass.
Required Conditions
| Result | Selection response |
|---|---|
| Exposure meets the target in the planned setup | Keep the candidate under consideration; continue the other checks. |
| Exposure falls short | Determine whether placement, modifier, or camera settings can change within the production requirements. Retest after any permitted change. If no acceptable configuration passes, continue screening other candidates. |
| Unacceptable noise appears in dialogue recordings | Retest any practical placement adjustment. If the audio requirement still fails, exclude the candidate from that dialogue setup. |
| Unacceptable color appearance, banding, or brightness fluctuation appears | Check the other operating settings the shoot permits. Do not select the candidate for a required configuration that still fails. |
| Power, mounting, or support information is missing | Keep the complete configuration provisional until the requirements are verified. |
| A required condition has not been tested | Mark it unresolved rather than assuming suitability. |
Do not count a workaround as a pass if it compromises another essential requirement. For example, a revised light position must still satisfy framing, exposure, modifier, and support needs.
Preferences to Weigh After the Required Checks
Among candidates that meet the essentials, compare the setup choices your production allows:
- Preferred shadow and reflection placement.
- Flexibility across the planned shots.
- Access to controls in the working position.
- Ease of arranging the required stand, modifier, power supply, and cables.
- How much adjustment is needed between shots.
The outcome can be suitable for this tested setup, unsuitable for a required setup, or provisional pending verification. A successful test supports the tested configuration; it does not establish universal suitability.
FAQ
Does “Godox 150W” Identify One Specific Light?
No—not sufficiently for a verified selection. Record the exact model and version before comparing specifications. The references here point to a UL150 manufacturer page and an SL-150 retailer URL, but do not establish that those candidates have equivalent specifications. [godox-ul150] [photo-center-listing]
Is the Ul150 Guaranteed to Be Inaudible During Filming?
That guarantee cannot be established from the cited page text. Godox calls it a “Silent LED Video Light,” but the available text includes no acoustic measurements or test conditions. Test the recording with your intended microphone placement, gain, and light settings. [godox-ul150]
Is a Godox 150W Light Enough for My Filming Setup?
Select it only if the exact candidate meets your exposure and image requirements in the planned configuration, passes any required audio check, and has verified power and support arrangements. If exposure falls short, test only adjustments your shoot can accommodate; if none passes, continue screening other candidates. The cited pages do not provide matched output measurements that answer this question for you. [godox-ul150] [photo-center-listing]
Are the Softbox and Other Accessories Included?
Do not assume inclusion from an accessory listing. The UL150 page describes optional accessories, including parabolic softboxes and a Bowens mount softbox. Verify the exact package contents and the compatibility of each planned accessory before treating the setup as complete. [godox-ul150]
Sources
-
[godox-ul150] UL150-Product-GODOX Photo Equipment Co.,Ltd.
-
[photo-center-listing] Shop products | The Photo Center Bricktown NJ