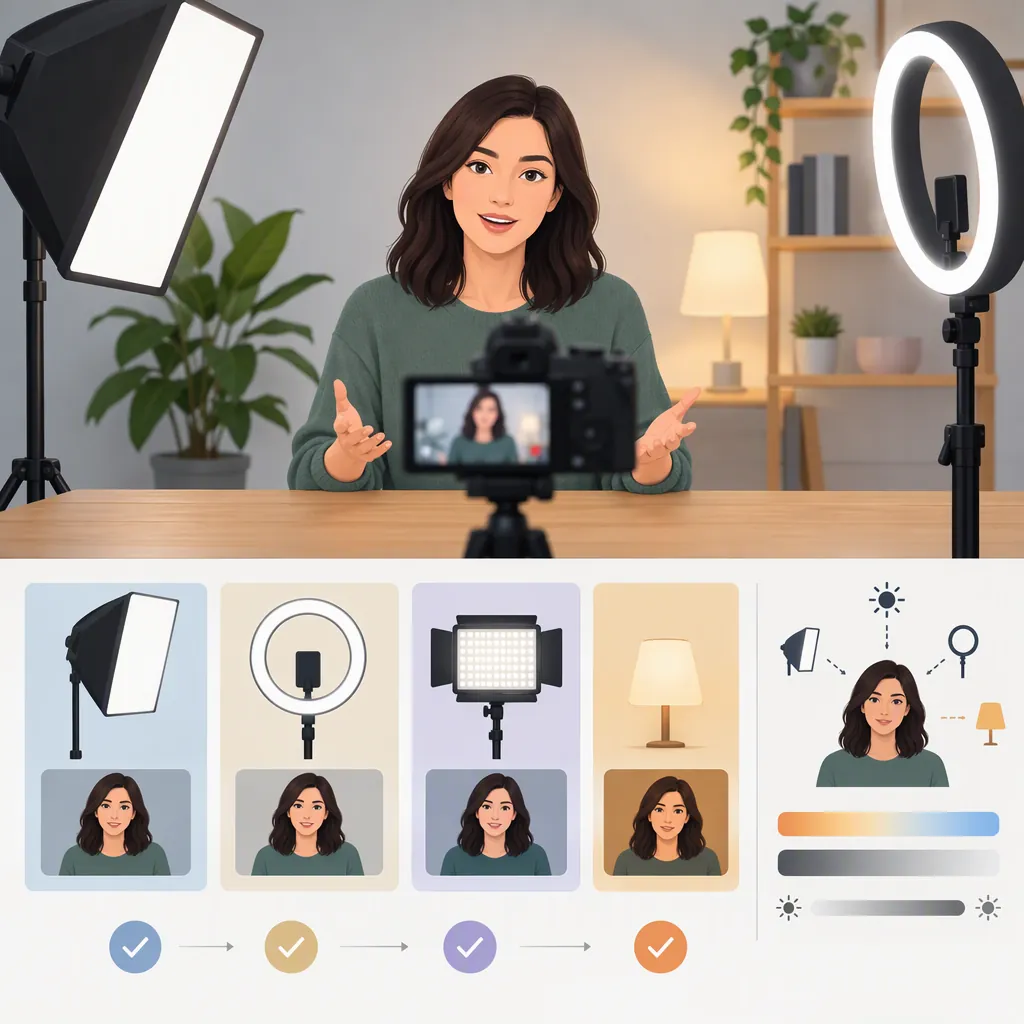
Best Lighting for YouTube Videos: Choosing a Setup That Fits
The best lighting for YouTube videos is a setup that gives you the look you want, fits your filming space, and is practical to use repeatedly. For seated videos, start by testing one main light. If you have usable window light, test it during your normal recording hours before deciding whether you need an artificial light. For location shoots, include power, portability, mounting, and color adjustment in your selection criteria. These are also considerations discussed in Unique Photo’s documentary and location-lighting guide. [c1]
Choose a complete setup—not just a fixture—by considering your subject, camera position, available space, and recording routine.
Choose by Your Shooting Situation
Before comparing lights, write down what you record, where you record it, and how much setup time you can tolerate. Use those answers to narrow the options.
| Shooting situation | Suggested starting setup | What to check before choosing |
|---|---|---|
| Seated talking-head videos | One main light near the camera, with placement adjusted to your preferred look | Face detail, shadows, glasses reflections, and room for the light and its support |
| Desk tutorials or demonstrations | A light positioned for the actual work area | Whether your hands obscure important details or surfaces show distracting glare |
| A room with usable window light | Window light during your usual recording hours | Whether the appearance stays acceptable for a full recording and your schedule allows that timing |
| Interviews in changing locations | A portable setup with a workable power and mounting plan | Carrying effort, setup time, available outlets, and adjustment to ambient lighting |
For changing locations, portability, battery operation, mounting flexibility, and color control are useful requirements to evaluate—not proof that any particular fixture is best for every creator. [c1]
Compare Lighting Options as Complete Setups
Window light, ring lights, and LED panels are starting options. Diffusion is a separate configuration choice: a panel or another artificial light may also use a diffusion accessory. These are overlapping setups, not four mutually exclusive categories.
The following comparison is a conditional selection aid, not a performance ranking.
| Setup | Consider it first when… | Constraint to evaluate | Verify before buying or relying on it |
|---|---|---|---|
| Window light | You can position your subject near a usable window and film at suitable times | Whether the light available during your recording schedule gives you an acceptable result | Record for the expected session length; check the beginning and end rather than one attractive frame |
| Ring light | You want to test a light positioned around or close to the camera | Whether that placement produces the face lighting and reflections you want | Camera clearance, mounting, glasses reflections, and reflections in objects shown on screen |
| LED panel | You want to test an artificial light at different positions around a desk or seated subject | Whether the fixture and its support fit the positions you need | Mount compatibility, placement range, power access, and the result in your normal framing |
| Artificial light with diffusion | You want to compare a diffused setup with the same light used without that accessory | Whether the complete assembly fits your room, storage, and setup routine | Modifier compatibility, stand requirements, usable brightness in your frame, and total cost |
Narrow the Choice in Two Steps
First, choose the light source and placement. If your recording schedule is flexible, test window light. If you need to record without depending on the available window light, evaluate an artificial-light setup. For an artificial light, decide whether you want placement close to the camera or flexibility to move it elsewhere.
Then, evaluate accessories. Test whether diffusion, a reflector, or another light improves a specific issue in your footage. Include every required stand, mount, modifier, cable, and power accessory in the space and cost comparison.
Keep the subject, framing, and camera settings consistent where possible. Select the complete setup whose footage and practical requirements suit you, rather than choosing by fixture shape or advertised power alone.
Test Placement Before Adding More Lights
For a seated video, use one main light as a starting experiment. Try it slightly to one side of the camera and above eye level. These are trial positions, not mandatory angles.
Record a short clip, then change one lighting variable at a time: position, distance, brightness, or diffusion. Review the footage at the size viewers are likely to watch it. Check:
- Whether the face looks the way you intend.
- Whether bright areas retain visible detail.
- Whether shadows obscure anything important.
- Whether glasses, screens, or objects show distracting reflections.
- Whether the background supports the intended composition.
Only then test another light or a reflector. Name the problem it should solve—such as a shadow you dislike or insufficient background separation—and compare footage with and without it.
Repeatable Lighting Test
- Set the scene. Use your normal camera position, framing, subject position, and background.
- Record camera settings. Note exposure settings, white balance, and frame rate. Keep them fixed where your device allows.
- Record a baseline clip. Use the lighting already available in the room.
- Add or reposition one main light. Record the same passage or action again.
- Change one lighting variable per clip. Test position, distance, brightness, or diffusion separately.
- Check automatic adjustments. If you cannot lock exposure or white balance, note any visible or reported changes. Avoid judging the light solely from brightness or color differences when camera settings may also have changed.
- Compare the footage. Review face detail, shadows, reflections, work-area visibility, and background appearance.
- Save the preferred setup. Record placement, light settings, camera settings, and required accessories so you can repeat it.
Evaluate Power, Color, and Practical Fit
A setup that works in one frame still needs to work for the full recording session. For location work, the retailer’s guide discusses battery operation when wall power is inconvenient or unavailable, along with adjustable color temperature for different ambient lighting conditions. [c1]
Before choosing a setup, make a requirements sheet:
- Power: Identify where electricity will come from. For battery use, verify compatibility and runtime at the intended operating settings.
- Color adjustment: Decide whether you need to adapt to different rooms or can control the lighting environment. Test the result with the ambient lights you expect to use.
- Support and space: Check the mounting requirements for the light and any modifier. Include the stand’s footprint and cable routing in your room assessment.
- Audio: Run the light during a test recording and listen for unwanted equipment noise.
- Complete setup cost: Include required stands, modifiers, batteries, chargers, and cables—not just the fixture price.
- Recording duration: Test for the length of a normal session rather than relying only on a brief preview.
- Repeatability: Time assembly and packing. Decide whether that workload suits your recording routine.
Treat missing specifications as unresolved questions, not favorable assumptions.
Make the Final Choice
Use your test footage and requirements sheet together:
- If the appearance is acceptable and the setup fits your space, schedule, power plan, and budget, keep it as a candidate.
- If the appearance is acceptable but the setup is impractical, compare a simpler configuration before adding equipment.
- If the appearance is not acceptable, identify the specific problem and test one change.
- If a specification remains unverified, resolve it before relying on that setup for a planned recording.
The goal is not the largest lighting kit. It is a setup you can use consistently for the videos you make.
Evidence and Scope
The cited reference is a retailer-published documentary and location-lighting guide. It recommends a particular product, but does not provide a controlled comparison of the lighting options discussed here or independent battery-runtime testing. Its support is limited to the location-work considerations cited above. [c1]
This article therefore provides a neutral selection and testing workflow, not a verified product shortlist. It does not establish a best brand, minimum wattage, ideal budget, universal configuration, or category winner.
FAQ
Can I Start with Just One Light?
Yes—as a starting test. Record with one main light, review the result, and add another only when it addresses a specific issue. One light is not a requirement or a guarantee that every scene will look the way you want.
Is a Ring Light Better than an Led Panel?
Neither is established as universally better by the cited reference. [c1] Test the placement you would actually use: check whether the ring-light arrangement works with your camera and reflections, or whether a panel fits the positions available in your room. Compare complete setups, including their mounts and accessories.
Can Window Light Be Enough for YouTube Videos?
Treat it as a candidate if it gives you an acceptable result during your usual filming hours. Record for a typical session and check whether the appearance remains suitable. If your schedule or room makes that unreliable for your needs, compare an artificial-light setup.
Do I Need a Diffusion Accessory?
Not automatically. Compare footage with and without it, keeping other variables fixed where possible. Keep the accessory if you prefer the result and the complete setup still meets your space, support, brightness, and cost requirements.
When Should I Consider Battery-Powered Lighting?
Consider it when filming locations lack convenient wall power or a power cable would complicate the setup. Battery operation is a location-work consideration discussed in the retailer’s guide. [c1] Verify compatible batteries and runtime at your intended settings before depending on them for a recording.
How Much Should I Spend on Lighting?
Define the result and practical requirements first, then compare the total cost of setups that meet them. Include support equipment and power accessories. The cited guide does not establish an ideal budget for YouTube lighting. [c1]