Talking Head Videos: What They Are and How to Make Them
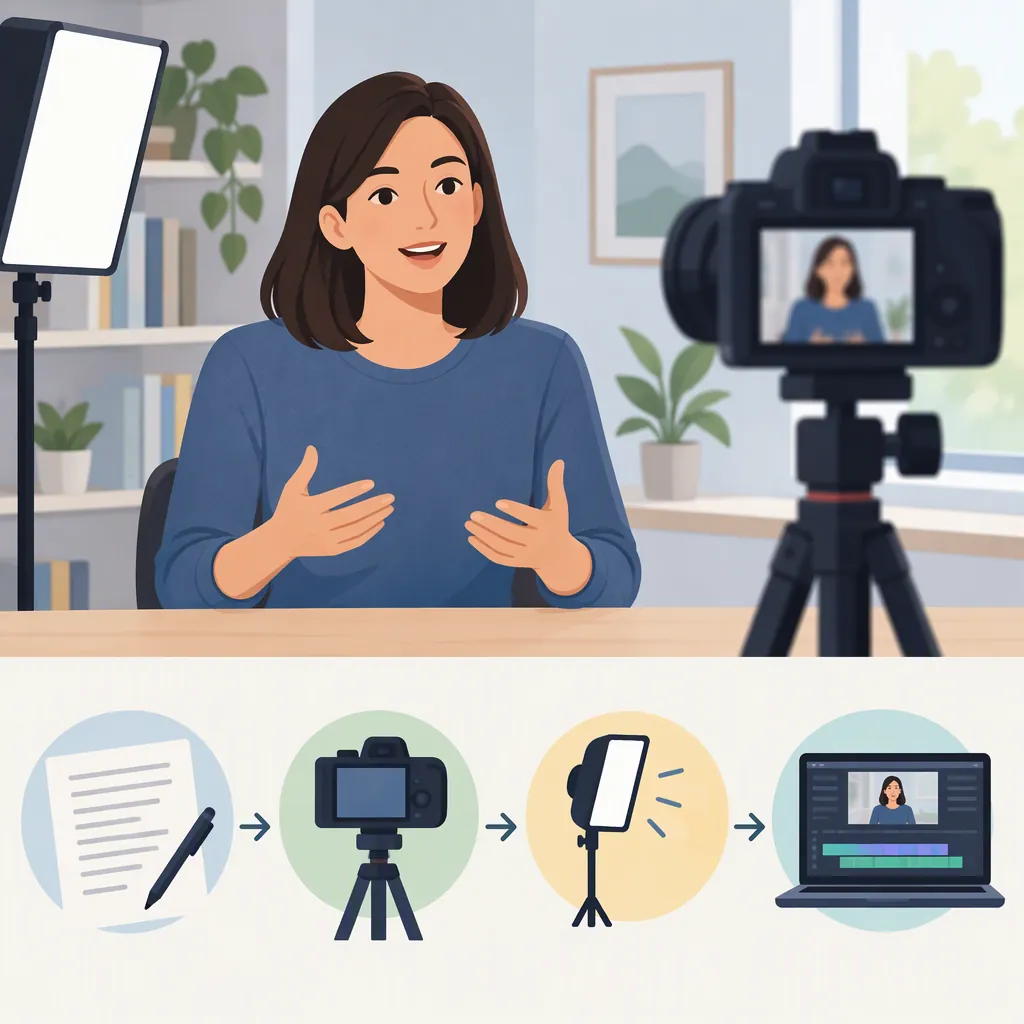
A talking head video features a person speaking on camera, typically framed from the chest or shoulders up. The speaker’s explanation is the main content. To make one, define a focused message, prepare talking points, film at eye level with clear audio, and edit for clarity. Supporting B-roll or graphics can illustrate the explanation without replacing the speaker’s role. [citation-1]
What Is a Talking Head Video?
The defining feature is a visible speaker whose words carry the message. A straightforward version shows one person addressing the camera, but the format also includes seated interviews where the speaker looks slightly toward an off-camera interviewer. It does not have to be a completely static shot. [citation-1]
Talking head videos are used for explanations, expert commentary, announcements, and interviews. Choose the format when the audience mainly needs to understand what someone is saying. If the audience needs to see a process or physical action, a demonstration may deserve more screen time than the presenter. [citation-1]
A visible face is not, by itself, proof that a statement is accurate. Treat the presenter’s explanation and the evidence supporting it as separate questions.
Talking Head Footage Vs. B-Roll
Talking head footage supplies the spoken explanation. B-roll supplies supporting visuals: footage of the place, activity, or subject being discussed. In a hybrid edit, the speaker’s voice can continue while the picture switches to those visuals. The talking head remains the narrative anchor rather than the only image on screen. [citation-1]
For example, in a video explaining how to organize a workspace, the presenter could introduce the problem on camera, then continue speaking over footage of sorting supplies. This is an illustrative editing plan, not a documented production example.
Use a cutaway when it helps viewers understand the sentence they are hearing. Avoid adding unrelated footage simply to keep the picture moving. The source guidance recommends visuals that add clarity rather than distraction. [citation-1]
Plan One Clear Explanation
Start by deciding who the video is for and what one idea they should understand by the end. Build the outline around an opening idea, brief context, a focused explanation, and a concluding takeaway. The production guide recommends clear talking points rather than relying entirely on improvisation or a rigid word-for-word script. [citation-1]
The following worksheet is an editorial starting point. Adapt it to the subject; it is not a required script or a promise of audience engagement.
Talking Head Planning Worksheet
Complete these prompts before recording:

- Audience: Who needs this explanation?
- Main idea: What single point should they remember?
- Opening: State the question or idea directly.
- Context: Explain why the point matters.
- Explanation: List the essential talking points in order.
- Illustration: Identify anything viewers need to see, not just hear.
- Closing: Summarize the takeaway without introducing a new topic.
- Visual plan: Mark each beat as presenter, supporting footage, or graphic.
Record with Clear Sound and Intentional Framing
Choose a setting that supports the topic, place the camera at the speaker’s eye level, and prioritize clean audio. Chest-up or shoulders-up framing is typical, but it is a convention rather than a requirement. Allow pauses between ideas and give the speaker permission to restart or rephrase. [citation-1]
Use this practical pre-recording check:
- Message: Can the speaker describe the video’s purpose in one sentence?
- Frame: Is the camera at eye level, with an intentional composition?
- Sound: Record and listen to a short sample before continuing.
- Delivery: Work through talking points rather than rushing through a paragraph.
- Pauses: Leave room between ideas so the edit does not depend on cutting through a sentence.
This checklist translates the reference’s production priorities into preparation steps. It is not an equipment specification; microphone placement, camera settings, and lighting need to suit the actual recording space.
Edit for Meaning Before Visual Variety
Build the spoken explanation first. Remove repetition and detours while preserving the speaker’s meaning, then add cutaways or graphics where they clarify a point. The reference recommends editing for pacing rather than perfection and keeping music or motion from distracting from the message. [citation-1]
For a final review, ask:
- Does the opening make the subject clear?
- Can each sentence be understood without guessing what was cut out?
- Do supporting visuals match the explanation?
- Does the ending reinforce the main idea?
- Does the framing and length suit where the video will appear?
There is no single length to prescribe for every talking head video. Plan around the explanation and its destination rather than treating a duration as a guarantee of effectiveness. The source specifically advises considering distribution when choosing length, framing, pacing, and visual treatment. [citation-1]
FAQ
Does the Speaker Have to Look Directly at the Camera?
No. Direct address uses a camera-facing eye line, while a seated interview can have the speaker looking slightly off camera toward an interviewer. Both are talking head formats. [citation-1]
Do Talking Head Videos Need B-Roll?
No. A solo presentation can stand on its own. B-roll, graphics, or other supporting visuals are options when they help explain the subject; a static talking head is not inherently a problem. [citation-1]
Should I Write a Full Script?
The reference recommends a structured middle ground: clear talking points, defined opening and closing lines, and bullet-point beats. Use enough preparation to stay focused while leaving room to rephrase naturally. [citation-1]
Sources
- [citation-1] Talking Head Videos: A Guide to On-Camera Content