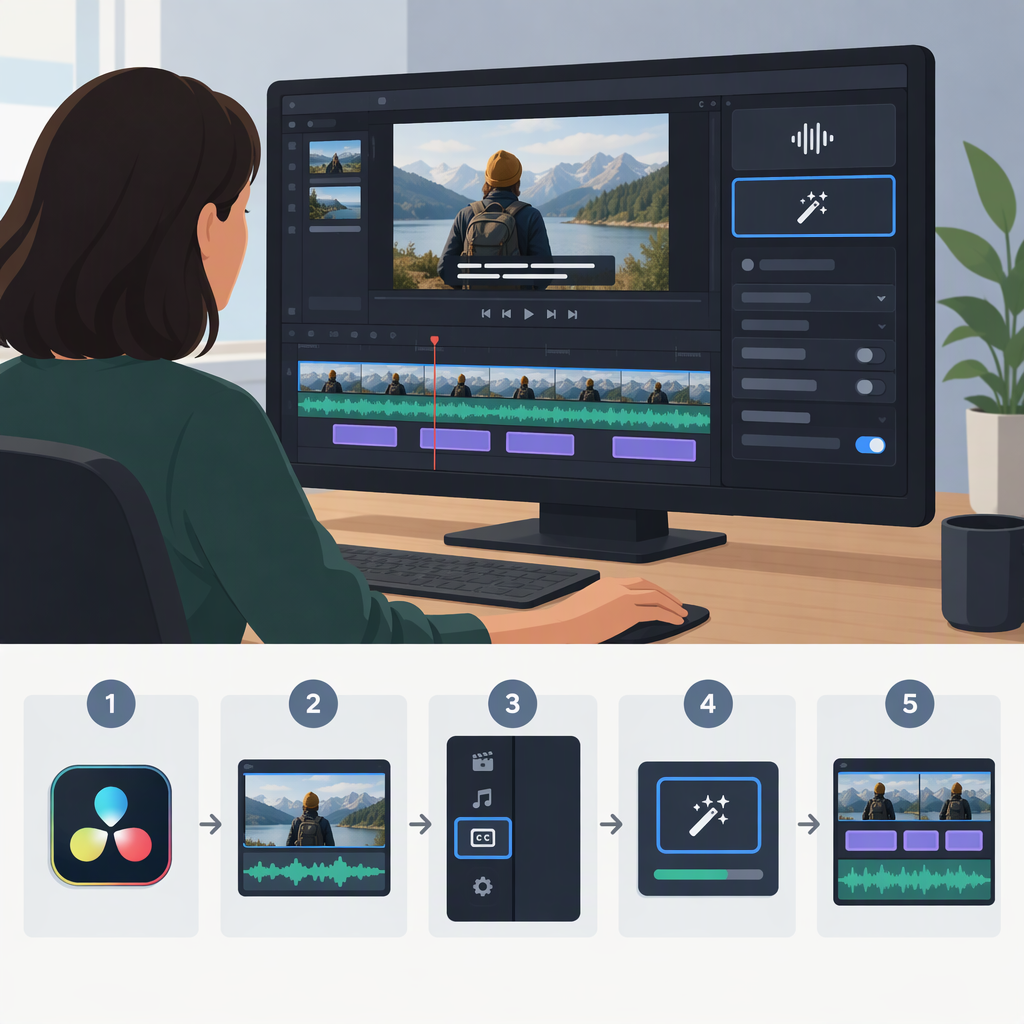
How to Generate Automatic Subtitles in DaVinci Resolve
DaVinci Resolve can generate subtitles from speech in a timeline, but the automatic transcription feature is a DaVinci Resolve Studio feature. On recent versions, look for Timeline > Create Subtitles from Audio; Blackmagic’s earlier Resolve 18.5 guide calls the feature Auto Caption and identifies it as Studio-only. (documents.blackmagicdesign.com)
Generate Subtitles from Timeline Audio
- Open the edited timeline that contains the speech you want to subtitle.
- From the Timeline menu, choose Create Subtitles from Audio. The command may appear under the earlier name Auto Caption in some versions.
- In the dialog, choose the spoken language and the available subtitle settings, then start the transcription.
- When processing finishes, Resolve adds the generated subtitles to a subtitle track. Review and correct that track before delivery. Blackmagic’s Resolve 18.5 guide describes the generated subtitles being added to the subtitle track; its current manual page lists Resolve 21.1 as the available manual version. (documents.blackmagicdesign.com)
If you’re using the free edition, you can still work with subtitle tracks, but native automatic speech-to-subtitle generation is not included. You can create cues manually or bring in an already timed subtitle file instead. Blackmagic describes subtitle and transcription tools on its Edit page, and documents Auto Caption as Studio-only. (blackmagicdesign.com)
Review and Correct the Transcript
Treat the generated track as a draft, not a checked transcript. Play the video while following each cue. Check names, numbers, punctuation, short words that change meaning, and whether each caption appears and disappears at the right time. You can edit subtitle text and adjust subtitle clips on the track; the Resolve 21 manual chapter on subtitles describes subtitle clips as editable, movable, and resizable. (imaster.org)
Illustrative example: If the audio says “Turn left at the old mill” but the generated text says “Turn right,” correct the text in the subtitle cue, then replay that moment to check its timing. This example is illustrative, not a reported test.
Export Subtitles or Include Them in the Video
Choose the delivery that matches how the video will be watched:
- Separate subtitle file: Keeps the timed text apart from the picture, so the recipient can use it as a separate caption file. For a subtitle file without rendering the video, right-click the subtitle track header and choose Export Subtitle; the documented export choices include .srt and .vtt. (clapr.app)
- Burn subtitles into the video: Makes the text part of the image, so viewers cannot turn it off. In the Deliver page’s subtitle settings, choose the burn-in option and render the video. The Resolve manual’s subtitle chapter covers exporting, burning, and embedding subtitles during delivery. (imaster.org)
Before sending either output, check the exported file or rendered video—not only the timeline preview—to confirm that the wording and timing are right. For exact labels and options in your installed release, consult the matching Resolve reference manual; Blackmagic lists its Resolve 21.1 manual in the instruction-manual section. (blackmagicdesign.com)