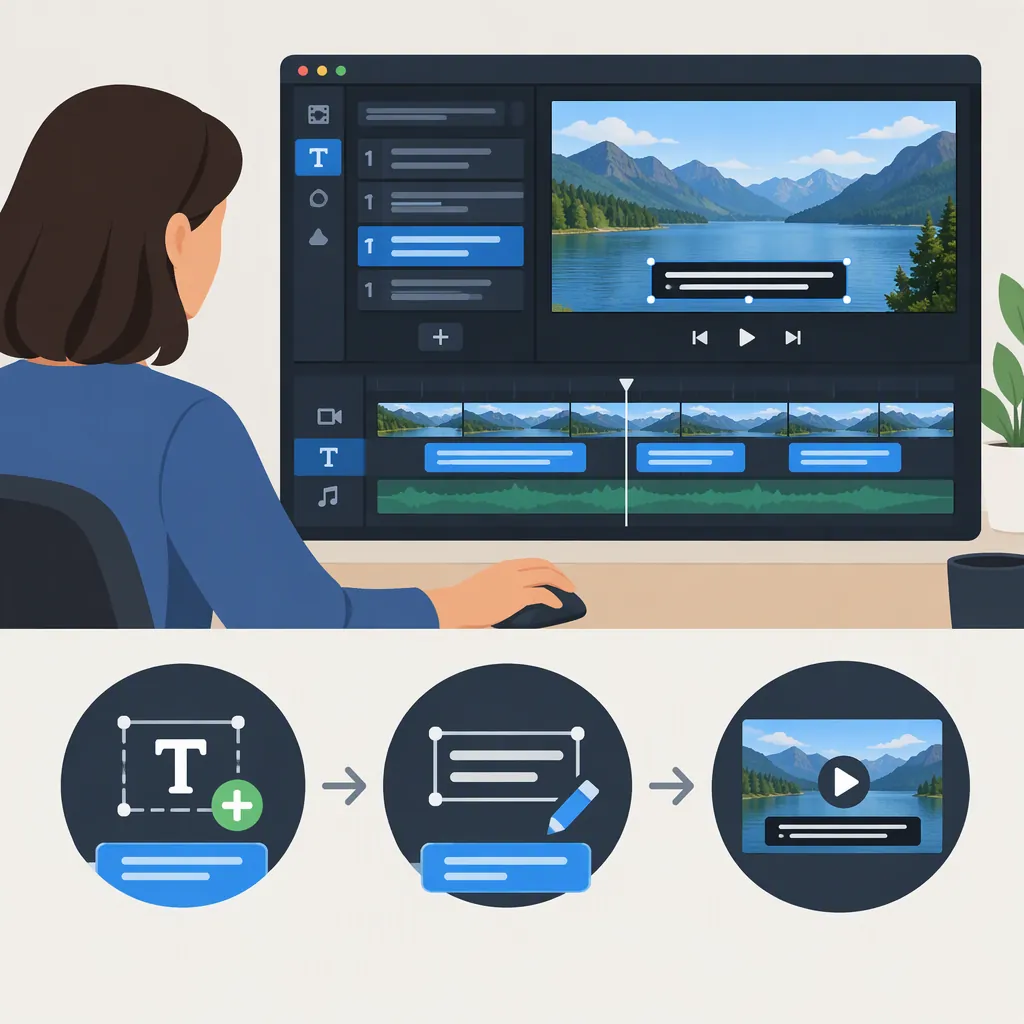
Shotcut Subtitles: How to Add, Edit, and Preview Text
To add subtitles in Shotcut, distinguish manually placed text overlays from subtitles authored in the Subtitles panel. A manual text overlay lets you enter dialogue and place it on the video timeline. For an existing native subtitle track, choose Burn in subtitles on output, then select that track in the Subtitle Burn-In filter on the Timeline Output. [amberscript-guide] [shotcut-preview]
This guide covers manual text entry, editing subtitle text and timing, and displaying native subtitle tracks. The native-panel instructions begin with an existing track; they are not a walkthrough of native cue creation or SRT import. The Subtitle Burn-In filter was introduced in Shotcut 24.08. [shotcut-preview]
Prepare the Subtitle Text
Review your transcript against the audio before adding it to the video. Correct names, missing words, spelling, and punctuation, especially when starting from automatically generated text. An SRT file is one way to store a time-coded transcript, but it is not a prerequisite for the manual text-entry workflow below. [amberscript-guide]
Prepare each subtitle as a short passage with an intended start and end. A simple working table can help:
| Subtitle text | Intended start | Intended end |
|---|---|---|
| Welcome to the tutorial. | 00:00:02.000 | 00:00:04.500 |
| First, open your project. | 00:00:05.000 | 00:00:07.500 |
These are illustrative timings, not recommended durations for every subtitle. Match each passage to your recording.
If you want the text to convey more than dialogue, include relevant audio descriptions, such as a doorbell or music. Captions can include this information alongside speech. [amberscript-guide]
Add Subtitles as Manual Text Overlays
For a small number of subtitles, you can use separate text items on a video track. This is a text-overlay workflow, not the same as creating cues in Shotcut’s native Subtitles panel. The third-party guide describes creating text through More, entering the wording, and placing the resulting text item on an added track. Menu labels may differ by version. [amberscript-guide]
1. Put Your Video on the Timeline
Open your video in Shotcut and place it on the timeline. The guide describes dragging the loaded video from the preview to the timeline. If your project already contains the video, work with that existing timeline instead. [amberscript-guide]
Before adding text, identify where the first spoken passage starts and ends. Keep the working table or transcript nearby.
2. Add a Video Track for the Text
Right-click the timeline’s V1 track area and use the option to add or insert a video track. Use the added track for your text items so their timing can be reviewed separately from the underlying footage. The guide describes this separate-track approach for adding subtitle text. [amberscript-guide]
3. Create and Place the First Text Item
Follow the manual text-entry sequence described by the guide:
- Open More and choose the text option.
- Select the text item to open its input window.
- Enter the first subtitle’s wording and confirm with OK.
- Drag the resulting text item onto the added video track.
- Position it at the point where that passage should begin. [amberscript-guide]
Preview the placed item over your video. Check that you can see both the subtitle and the intended background footage before creating the remaining items.
4. Add the Remaining Passages
Repeat the text-entry and placement process for each passage. Keep separate items for passages that need different start and end times.
Work through a short section first, then review it with the audio. The guide recommends checking subtitle synchronization and adjusting timing before export. [amberscript-guide]
Edit Subtitle Wording and Timing
Text corrections and timing corrections are separate tasks. Changing the font or position will not fix an incorrect word or a subtitle that appears at the wrong moment.
Edit a Manual Text Item
For the text-item workflow above, select the text item to access its input window, then correct the wording. This is the text-entry route described by the third-party guide; it is not a native Subtitles-panel editing procedure. [amberscript-guide]
Check one item at a time:
- Compare its wording with the spoken passage.
- Correct names, punctuation, and omitted words.
- Check line breaks after changing the text.
- Preview the revised item over the video.
If the item is too crowded, consider dividing the passage into separate text items rather than only reducing the font size.
Adjust Manual Overlay Timing
On the timeline, use the text item’s position and clip boundaries to control when that overlay is visible:
- Move the text item so its beginning matches the intended subtitle start.
- Adjust its end boundary so it remains visible for the intended passage.
- Play through the transition into the next subtitle.
- Check for accidental gaps or overlapping text items.
These are timeline adjustments for manual text overlays, not instructions for editing native subtitle cue fields. Review synchronization before exporting, as the third-party guide recommends. [amberscript-guide]
Edit an SRT Draft Outside Shotcut
If you are preparing an SRT file, you can correct its text and time codes in a text editor before using it in a subtitle workflow. SRT stores time-coded transcript text. [amberscript-guide]
For example:
1
00:00:02,000 --> 00:00:04,500
Welcome to the tutorial.
To correct the wording, edit the final line. To change when this cue starts or ends, edit the corresponding time code while preserving the structure. Keep the end later than the start, and compare both times with the audio.
This is a file-preparation step. It does not establish the native Shotcut import controls or replace checking subtitles in the project.
Display an Existing Native Subtitle Track
If your subtitles are already authored in Shotcut’s Subtitles panel, use the native-track display workflow rather than recreating them as manual text items:
- In the subtitles menu, choose Burn in subtitles on output.
- Check the Subtitle Burn-In filter on the Timeline Output.
- In that filter, select the subtitle track name you want to overlay.
- Preview a timeline position containing text on that track. [shotcut-preview]
The Subtitle Burn-In filter can only be added to the Timeline Output. It is not a clip-level filter for this workflow. [shotcut-preview]
Adding this filter controls the display of an existing subtitle track; it does not create subtitle wording or timing.
Edit the Burn-In Appearance
After selecting the intended native subtitle track, adjust its overlay appearance. The Shotcut documentation excerpt describes configuration similar to the Simple:Text filter, including preview controls for size and position. [shotcut-preview]
Use a representative subtitle to establish placement, then check:
- A short line and a long line.
- Bright and dark backgrounds.
- Scenes with important information near the text.
- The first and final subtitles.
Keep appearance editing separate from wording and timing review. A readable overlay can still contain transcription errors or be out of sync.
Troubleshoot Subtitles Missing from Preview
For native subtitle tracks, the Shotcut forum explains that an output filter is needed to display subtitles in the preview player. [shotcut-preview]
Check the following before recreating your subtitles:
| Check | What to verify |
|---|---|
| Filter location | Subtitle Burn-In is on the Timeline Output, not an individual clip. |
| Target track | The filter selects the subtitle track you intend to display. |
| Preview time | The playhead is at a time containing text on that track. |
| Version | The documented Subtitle Burn-In filter was introduced in Shotcut 24.08. |
The filter location, track selection, and version details are documented in the forum thread. These checks do not cover every possible cause of missing subtitles. [shotcut-preview]
For a manual text overlay, check its placement on the timeline and whether the playhead falls within that text item’s visible interval. Do not assume that adding a native-track burn-in filter will fix a separate manual text item.
If the problem persists, record your Shotcut version, the workflow used, the affected timestamp, and the relevant track or filter selection.
Review Before and After Export
Preview the complete subtitle sequence and correct synchronization before exporting. The third-party guide recommends this timing review. [amberscript-guide]
Use this final checklist:
- Confirm that every intended passage has text.
- Check wording against the audio.
- Review subtitle start and end times.
- Look for overlapping manual text items.
- Check long lines for readability and placement.
- Export a short representative sample when practical.
- Play the exported file and confirm that the text appears as intended.
Treat these workflows as visible text-overlay or burn-in workflows. Do not assume the exported video contains a caption track viewers can switch on and off; that requires a separately verified export workflow.
FAQ
Can I Add Shotcut Subtitles Without an SRT File?
Yes, the third-party guide describes manually entering text and placing text items on an added video track. The Shotcut forum also documents subtitles authored in the native Subtitles panel. This guide does not provide native SRT import or cue-creation steps. [amberscript-guide] [shotcut-preview]
How Do I Edit Subtitle Text and Timing?
For manual text items, use the text input window to correct wording, then adjust the item’s position and boundaries on the timeline to change its visible interval. Review the result against the audio. The third-party guide supports manual text entry and synchronization checks; these steps are distinct from editing native subtitle cues. [amberscript-guide]
Why Are My Native Shotcut Subtitles Not Showing in the Preview?
A native subtitle track needs an output filter to display in the preview, according to the forum response. Check that Subtitle Burn-In is on the Timeline Output and targets the intended subtitle track. [shotcut-preview]
Can I Change Native Subtitle Size and Position?
Yes. The Subtitle Burn-In filter includes preview controls for size and position, with configuration similar to Simple:Text. [shotcut-preview]
Does Burning in Subtitles Make Them Selectable Captions?
Do not treat burn-in as a selectable-caption export procedure. The documented Subtitle Burn-In workflow overlays a selected subtitle track; it does not establish that viewers will receive a switchable caption track. [shotcut-preview]
Sources
-
[shotcut-preview] Subtitles not showing up in preview - Help/How To - Shotcut Forum
-
[amberscript-guide] How To Add Subtitles In ShotCut | Amberscript