How to Add and Edit Subtitles in Premiere Pro
How to Add and Edit Subtitles in Premiere Pro
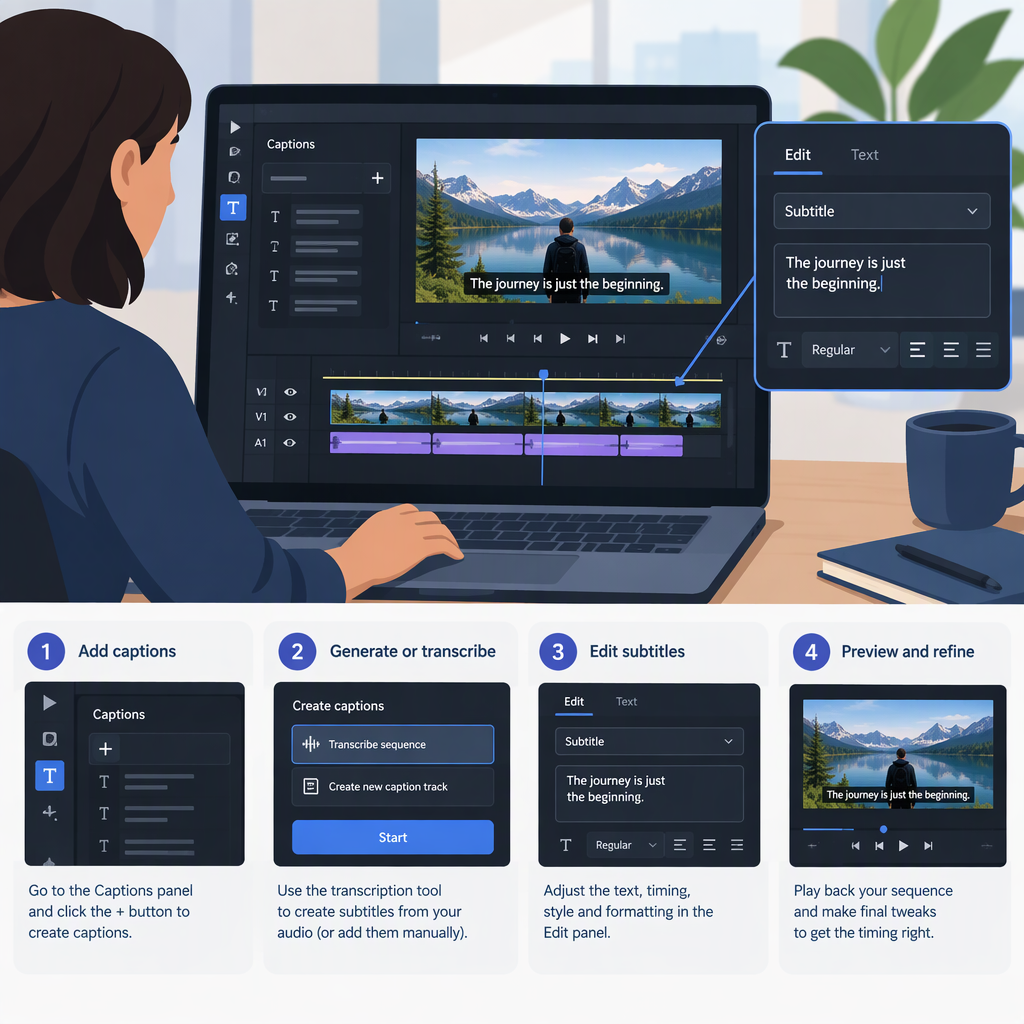
In Premiere Pro, the most direct routes are to create captions from a speech-to-text transcript or import an existing SRT caption file. Review the wording, adjust caption timing in the timeline, and choose an export method that matches how the subtitles will be delivered: burned into the video, exported as a separate file, or embedded in a compatible format. Adobe’s current desktop guides describe these caption workflows and export options. (helpx.adobe.com)
Choose a Subtitle Workflow
- You have dialogue in your sequence but no subtitle file: Use Speech to Text to generate a transcript, review it, then create captions from that transcript. This gives you text and timing to correct before export. Adobe’s documentation includes settings for transcription language, speaker labeling, and the audio to analyze. (helpx.adobe.com)
- You already have an SRT file: Import it into the project like other media, then drag it from the Project panel into the sequence. Premiere creates a caption track that you can align and edit. (helpx.adobe.com)
- You need subtitles entered from scratch: The sources cited here document editing transcripts and caption tracks, but do not establish a current step-by-step manual caption-creation route. If you do not have a transcript or SRT, use the documented transcription route as a starting point and edit its text; don’t assume a particular manual-entry control from this guide.
Create Captions from a Transcript
- Open your project and sequence. If you have not transcribed the sequence, open Window > Text and use the Transcript tab to start a transcription. Set the language and other available transcription preferences, then select Transcribe. A language pack may be needed for the language you select. (helpx.adobe.com)
- Review the transcript and correct errors before creating captions. Automatic speech recognition is a starting point, not a substitute for checking names, punctuation, technical terms, and wording against the audio.
- In the Text panel, choose Create captions from transcript. In the dialog, select a caption preset and format, and adjust available preferences such as maximum characters, duration, gaps, and one- or two-line layout. Select Create captions to add a caption track aligned with the dialogue. (helpx.adobe.com)
- Play the sequence and compare each caption with the spoken audio. Correct the text in the Text panel or on the caption track, and use the timeline’s editing tools to move a caption or change its duration. Premiere treats captions in the timeline like other media for editing. (helpx.adobe.com)
Example: If a caption begins before a speaker starts, move that segment later until its first frame matches the spoken line. If it ends too soon, extend its end in the timeline, then replay the passage to check the new timing. These are editing examples, not a claim that a particular project was tested.
Import and Edit an SRT File
- Import the
.srtfile into the Premiere project as you would other media. - Drag the SRT from the Project panel into the sequence. Premiere creates a caption track.
- Check that the captions line up with your edited sequence. If they do not, align the track or adjust individual captions in the timeline; then correct wording in the Text panel. (helpx.adobe.com)
An SRT file is useful when captions have already been prepared elsewhere. Because its timing is tied to the media it was made for, check synchronization after placing it in your sequence, especially if the video edit has changed.
Format Captions and Choose an Export Method
To change the on-screen look, select caption text or a caption track and use the Properties panel. Adobe documents appearance controls including text fill, stroke, shadow, and alignment. What a viewer sees can depend on the delivery method: styling burned into the picture travels with the video image, while a separate caption file or embedded caption stream is delivered separately from the visible picture. (helpx.adobe.com)
In the Export workspace, choose the caption output that fits the destination:
- Burn-in: Captions are rendered directly onto the video. Choose this when they must always be visible in the picture; viewers cannot switch them off.
- Sidecar file: Export a separate caption file, such as
.srt, alongside the video. Adobe notes that SRT sidecar export supports one stream per file, so select the intended track and deliver the file with the video. - Embedded captions: Use this only when the sequence’s caption format and export format are compatible. Adobe’s documented embedded options include CEA-608, CEA-708, and OP-47 in specified configurations; these are not universal choices for every sequence or output format. (helpx.adobe.com)
If a platform or client specifies a delivery format, follow that specification. A separate subtitle file, burned-in text, and embedded captions are not interchangeable in every playback context.
Check the Finished Result
Before delivery, play the exported video—or open it in the intended playback context—and check:
- The words match the audio, including names and specialized terms.
- Captions start and end with the corresponding speech and remain readable on screen.
- The chosen output behaves as intended: burned-in text is visible in the picture, a sidecar file accompanies the video, or an embedded track is available in a compatible player.
- The intended caption track is the one exported, especially if the sequence contains more than one track.
Adobe recommends adding captions when the edit is finished or nearly finished; changes to the edit can mean caption segments need further correction. (helpx.adobe.com)