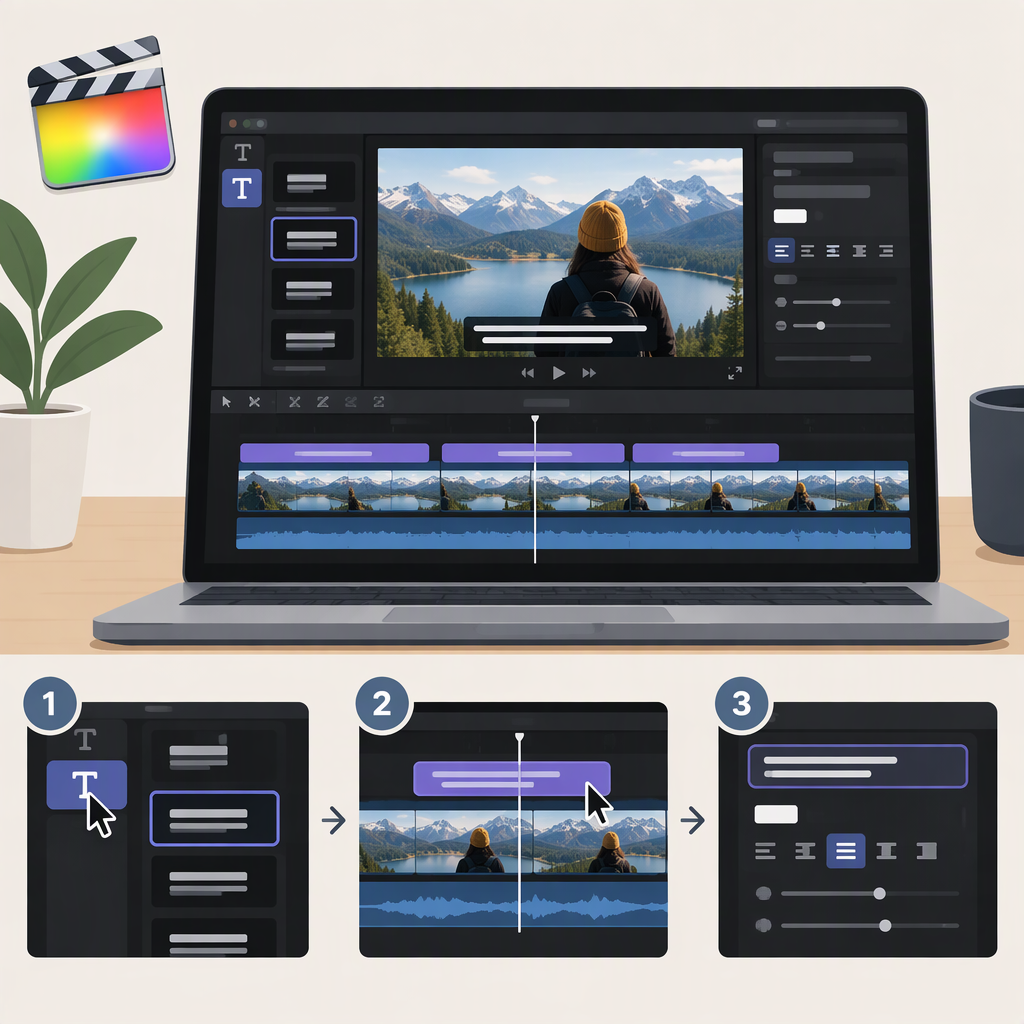
How to Add and Edit Subtitles in Final Cut Pro
This guide covers Final Cut Pro for Mac. For subtitles viewers can turn on or off, use closed captions. For text that must stay visible in the picture, use titles or burn captions into the video during sharing. Final Cut Pro can export captions as separate files, embed CEA-608 captions in supported output, or burn captions into the image where a share destination offers that option. Which choices are available depends on the format and export destination. (support.apple.com)
Choose Your Subtitle Workflow
| What you need | Use | What to expect |
|---|---|---|
| Viewers should be able to enable or disable the text | Closed captions | They remain timed caption data, which can be exported separately or, for CEA-608, embedded in supported output. Whether a viewer or platform displays them depends on its support. (support.apple.com) |
| Text must always appear in the finished picture | A title, or a share destination’s burn in captions option | Titles are permanently part of the output image. Burning in captions also makes them permanently visible. (support.apple.com) |
| You have a caption file or need a file for another workflow | Import or export a caption file | Final Cut Pro supports CEA-608, iTT, and SRT caption files. The receiving platform or player may have its own requirements, so confirm the format it accepts. (support.apple.com) |
Practical rule: Choose closed captions when viewers need control or you need a separate caption track or file. Choose titles or burned-in text when the words must be visible in the image on every playback. Burned-in text cannot be switched off by the viewer; a caption file or embedded track is not guaranteed to display in every player. These are different delivery behaviors, not interchangeable export settings. (support.apple.com)
Add Captions to a Project
First open the project in the Final Cut Pro timeline. Then choose the route that matches what you have:
Option 1: Generate Captions from Spoken Audio
For a supported automatic workflow, select one or more speech-containing clips in the timeline, then choose Edit > Generate Captions > Closed Captions. You can also Control-click the selection and choose Generate Captions > Closed Captions, or use the Enhancements pop-up menu below the viewer. Final Cut Pro transcribes the selected clips and places connected caption clips in a dedicated captions lane. (support.apple.com)
Prerequisites and limits: Apple’s guide says Generate Captions requires a Mac with Apple silicon and is available in U.S. English. The first time you use it, Final Cut Pro downloads a language model, so an internet connection is needed for that initial download. Automatically generated captions are iTT. (support.apple.com)
Treat the generated text as a draft: background noise, music, and overlapping dialogue can affect accuracy and timing. Play through the captions and correct them against the audio before delivery. (support.apple.com)
Option 2: Import a Caption File
If you already have a valid CEA-608, iTT, or SRT file, open the project and:
- Choose File > Import > Closed Captions.
- Select the file. Apple lists
.sccfor CEA-608,.ittfor iTT, and.srtfor SRT. - In Import as Role, choose a caption role and language subrole.
- Choose Relative to Timeline or Absolute for insertion time, then click Import.
The imported captions appear in a captions lane. Relative timing offsets captions by the project’s start time; absolute timing uses each caption’s stated start time regardless of the project start. For example, if the project starts at a nonzero timecode and the file’s timestamps are intended to be relative to the edit, choose the relative option; if its timestamps should remain fixed, choose absolute. Check the result in the timeline because the correct choice depends on how the file’s times were authored. (support.apple.com)
Option 3: Enter Captions Manually
Final Cut Pro also supports manually creating captions using caption roles and the caption editor. You first choose a caption format—CEA-608, iTT, or SRT—and create a role for that format and a language subrole. Apple’s creation guide describes the manual workflow; use it for the exact controls in your installed version. (support.apple.com)
Edit Caption Wording and Timing
To change wording, double-click a caption in the timeline or timeline index, or select it and press Control-Shift-C to open the caption editor. Alternatively, select the caption and open the inspector; edit the Caption Text field. Use Return to add a line. Apple documents format-specific limits: CEA-608 allows up to four lines of up to 32 characters each; iTT allows up to two lines, with limits affected by factors including aspect ratio and title-safe area. A caption that does not meet its format specifications may turn red and show a warning. (support.apple.com)
To fix timing, drag a caption left or right to change its position, or drag its start or end edge to change its duration. Captions can overwrite adjacent captions when moved onto them, so check neighboring cues after repositioning one. (support.apple.com)
Review in context: Play the timeline while watching and listening. Check that each caption matches the words being spoken, starts and ends at sensible points, and does not collide with an adjacent caption. Correct names, punctuation, and transcription errors. For generated captions, pay particular attention to noisy sections or overlapping speakers. This review is a practical quality check, not a claim that Final Cut Pro applies a particular reading-speed standard. (support.apple.com)
Export and Check the Finished Video
Choose the export path based on the intended behavior:
- Separate caption file: In the project timeline, choose File > Export Closed Captions. Select the language subroles to export; Final Cut Pro creates a separate file for each selected language subrole. For SRT, Apple notes that formatting may not display correctly in the intended player and recommends removing formatting in most cases. (support.apple.com)
- Embedded captions: CEA-608 captions can be embedded in output media when the share destination supports it. iTT and SRT can be exported as separate files, but Apple’s guide says they cannot be embedded in the output media file in the same way. (support.apple.com)
- Always-visible captions: Use a share destination with a burn in captions option, if available for that destination. Burned-in captions are permanently visible in the output. Some destinations offer burn-in without supporting separate caption-file export or embedding, so inspect the options for the destination you actually use. (support.apple.com)
After export, check the actual deliverable, not just the timeline: play it in the target player or platform, confirm the words appear as intended, turn captions on and off if they are meant to be selectable, and check synchronization from beginning to end. If you exported a separate caption file, confirm it accompanies the video and is accepted by the destination. This final playback is a recommended verification step; platform-specific requirements vary. (support.apple.com)