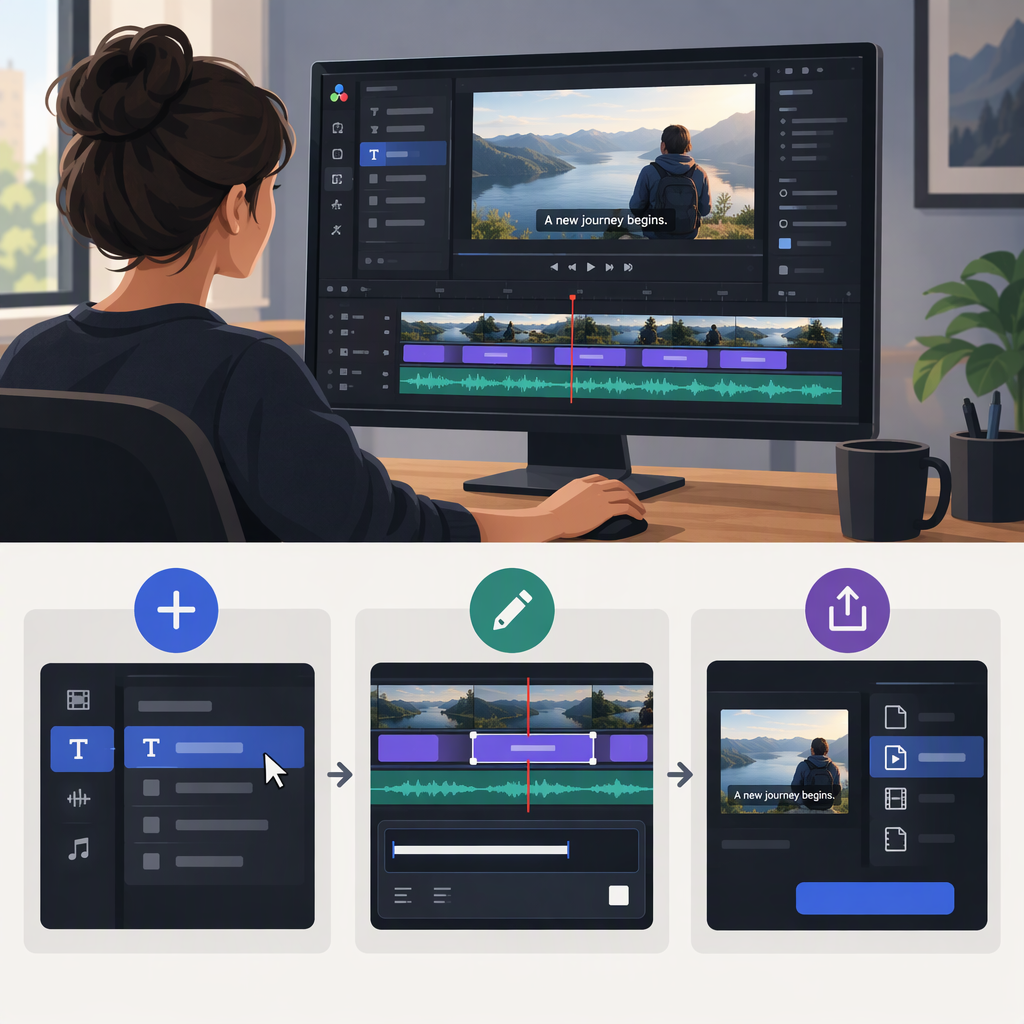
DaVinci Resolve Subtitles: How to Add, Edit, and Export Them
DaVinci Resolve Subtitles: The Quick Answer
In DaVinci Resolve, subtitles belong on a subtitle track, not a regular title or Text+ clip. Add a track and type captions, import an existing subtitle file such as an SRT, or—if you use DaVinci Resolve Studio—generate subtitles from audio with the built-in transcription feature. Review the words and timing on the timeline, then export a separate subtitle file or burn the text into the video, depending on what your destination needs. Blackmagic’s current manual is for Resolve 21.1; menu names and locations can vary in earlier releases. (documents.blackmagicdesign.com)
Choose How to Start
| Starting point | Use this method | Main trade-off |
|---|---|---|
| You have a transcript, but no timed captions | Add a subtitle track and create captions manually | More control, but you must enter and time each caption. |
| You already have timed captions | Import the subtitle file and place it on the timeline | Faster, but check that its timings match your edit. |
| You want Resolve to transcribe speech | Use Create Subtitles from Audio in Studio, if available in your version | A quicker first draft, but transcription still needs human review. |
Resolve’s automated speech-to-subtitle workflow is a Studio feature; manual subtitle editing and importing are alternatives when you do not have that feature. The official Resolve 20 guide also documents animated subtitle features, but those are not required for ordinary timed captions. (documents.blackmagicdesign.com)
Add Subtitles to the Timeline
Create Captions by Hand
- Open the edited timeline on the Edit page.
- Add a Subtitle Track from the timeline controls or timeline menu. If the command is not where expected, search the menus for “Subtitle Track”; labels can differ between releases.
- Move the playhead to the start of the first spoken line and add a subtitle on the track. Enter the caption text in the subtitle controls or Inspector.
- Set the caption’s duration by adjusting its end on the timeline. Continue through the sequence, placing each caption where the corresponding speech begins and ends.
- Play back the sequence and check the words against the audio.
Use a subtitle track when you need timed, exportable captions. A regular title can look similar in the viewer, but it is a different kind of timeline element and is not a substitute for a caption track when your goal is a subtitle file.
Import an Existing Subtitle File
- In the Media Pool, use Import Subtitle (or the subtitle-import command in the File menu) and select your file, such as an SRT.
- Add the imported subtitle clip to the timeline. If the file’s timecodes were made for this exact edit, use the timecode-based placement command when available; otherwise place it on the subtitle track and check its position.
- Scrub and play from the opening, a point in the middle, and near the end. Confirm that the captions appear with the intended dialogue.
An imported file can be correctly formatted yet out of sync if it was prepared for a different cut or timing. If every caption is shifted by the same amount, check the timeline start and the file’s timecode. If the offset grows over time, check whether the subtitle file was made for a different edit or frame rate before moving all captions together.
Generate Subtitles from Audio in Studio
In versions that provide the command, open the timeline on the Edit page and choose Timeline > AI Tools > Create Subtitles from Audio. Choose the available transcription and caption settings, then run the command to create a subtitle track. If you do not see this option, check your Resolve edition and version: the built-in automatic subtitle workflow requires Studio, and the exact menu label may change. (documents.blackmagicdesign.com)
Treat the generated text as a draft. Correct names, technical terms, punctuation, and missed or misheard words; then review the timing while listening to the actual audio. Automatic transcription does not replace proofreading or translation.
Edit Subtitle Wording, Timing, and Appearance
- Correct the words: Select a subtitle item and edit its text in the subtitle controls or Inspector. Read the caption while listening to the matching line, especially for names and overlapping speech.
- Adjust timing: Move a caption to change its start, or drag its edge to change its duration. Preview the change at normal playback speed; a caption should not appear noticeably before the words or linger into the next thought.
- Adjust appearance: Select the subtitle track or an individual caption and use the available subtitle styling controls in the Inspector. Track-wide settings help keep captions consistent; individual settings are useful only when a particular caption needs an exception. Resolve 20’s official feature guide also describes styling a subtitle track with a Fusion title template, though that is an optional styling workflow rather than a requirement for standard subtitles. (documents.blackmagicdesign.com)
- Check readability: Watch the video at its intended viewing size. Make sure the text contrasts with the background, is not cut off at the frame edge, and remains readable over bright or busy shots.
For example, if a caption starts with a speaker’s first word but ends before the sentence finishes, extend the caption’s end on the subtitle track, replay the full line, and check that the next caption still begins at the right moment. This illustrates the timing adjustment; exact controls depend on the timeline and version.
Export Subtitles with the Finished Video
Choose the output based on how the recipient will watch the video:
- Separate subtitle file: Export the subtitle track as a supported subtitle format when viewers or a platform should be able to turn captions on or off. In the Deliver page’s subtitle settings, enable subtitle export and select the available file option and format. Check the destination’s requirements before rendering; support for particular formats and embedding options can depend on the selected video container and Resolve version.
- Burn subtitles into the picture: Choose the burn-in option when the words must always appear in the image. The text becomes part of the video picture, so viewers cannot switch it off or edit it as a separate subtitle track.
If you need both behaviors, make two outputs from the same reviewed timeline: one with a separate subtitle file and another with subtitles burned in. Before exporting the full video, render a short section and confirm that the subtitles appear in the intended form. Then open the exported file—or video and sidecar file together—in the intended player and check the beginning, middle, and end for presence, readability, and synchronization.
Quick Troubleshooting
- Subtitles are missing from the render: Check the Deliver page’s subtitle export settings and confirm whether you selected a separate file or burn-in.
- Captions are consistently early or late: Check the file’s start timecode and the timeline’s start time before shifting captions.
- Captions drift out of sync later in the video: Confirm the subtitle file was prepared for the same edit and timing as the current timeline.
- Text is cut off or hard to read: Review the track’s style and position in the viewer, then check a rendered sample at the intended display size.
For version-specific interface details, consult the DaVinci Resolve manual for your installed release. Blackmagic Design lists its Resolve 21.1 manual through its support documentation. (documents.blackmagicdesign.com)