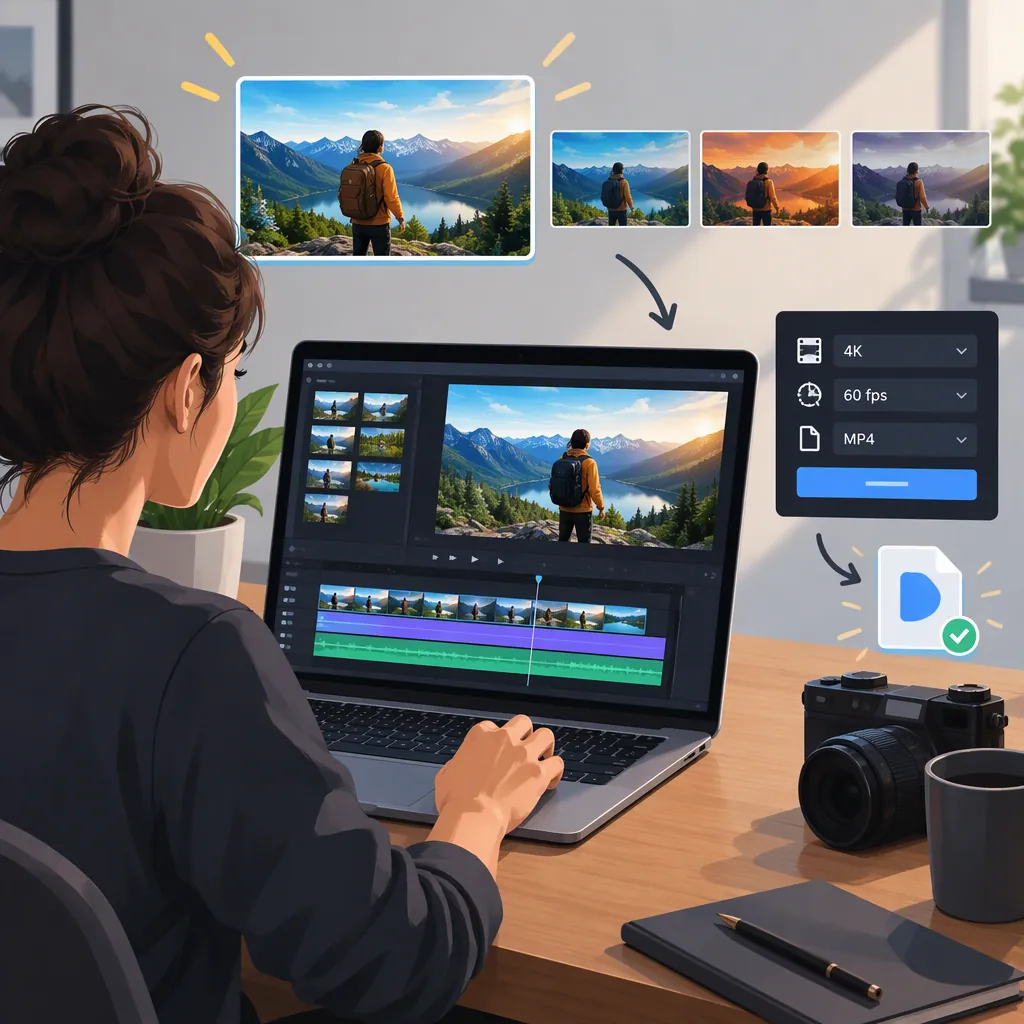
High-Quality YouTube Thumbnails and Video Export Settings
For a high-quality YouTube thumbnail, check subject clarity, readable text, and visible artifacts—not just image dimensions. For the video, select export settings that fit your project and current YouTube guidance, then inspect the finished file for detail, motion, framing, and sound. A sharp thumbnail is not an acceptance test for the video export.
This guide combines practical review steps with a specification-checking workflow. The available reference is a third-party thumbnail retrieval page, not official YouTube documentation, so it does not verify numerical upload limits or encoding recommendations. [thumbnail-source] Before choosing a delivery preset, consult YouTube Help’s “YouTube recommended upload encoding settings” and record the guidance relevant to your video.
Separate Thumbnail Clarity from Video Clarity
Review the thumbnail and exported video as separate deliverables:
- Thumbnail: Can viewers identify the subject and read essential text at a small display size?
- Video: Does the finished file preserve the intended framing, detail, motion, and audio throughout playback?
Keep an editable thumbnail and the video project so that you can revise either without relying solely on exported files.
Review a Thumbnail Beyond Its Resolution
Start with an image that has enough detail for your intended design, then inspect the actual export.
- Check the subject. Look for blur or missing detail in faces, objects, and other important areas.
- Check text and edges. Look for uneven lettering, halos, blocky areas, and distracting compression artifacts.
- Preview it at a smaller size. Confirm that the subject and essential wording remain understandable without zooming in.
- Compare alternatives. Prefer the version that communicates clearly rather than choosing solely by its dimensions.
- Compare the export with the editable design. Check for unexpected cropping, color changes, and softened text.
A larger image is a candidate for inspection, not proof of better clarity. These checks evaluate the image; thumbnail upload dimensions, file types, and size limits need a separate check in current YouTube Help guidance.
Build a YouTube Export Specification Before Choosing a Preset
Open YouTube Help and locate “YouTube recommended upload encoding settings.” Use that document to build a delivery specification rather than relying on a preset’s name.
Record the date you checked it and distinguish what the documentation describes as a requirement, a supported option, or a recommendation. Do not turn a recommended setting into a universal upload requirement.
| Field to confirm | What to record from current official guidance | How to apply it to your project |
|---|---|---|
| Container and video codec | The recommended file container, video codec, and any associated encoding options | Match these to the export controls in your editor; record the container and codec separately. |
| Frame dimensions and aspect ratio | Guidance relevant to your intended output dimensions and framing | Choose the intended delivery format, then check how every source clip fits within it. |
| Frame rate | Guidance on frame rate and any conditions that affect the recommendation | Record source and timeline frame rates before selecting the export frame rate. |
| Video bitrate | The recommendation applicable to your resolution, frame rate, and SDR or HDR output | Select the relevant case rather than copying a value from a different delivery format. |
| Audio | Recommended codec, sample rate, channel configuration, and bitrate | Match the recommendation to your intended audio layout and available export controls. |
| Color and HDR settings | Guidance applicable to the project’s color workflow | Confirm whether you are delivering SDR or HDR before applying the corresponding settings. |
If a field is missing or unclear, leave it unresolved rather than filling it with an assumed “best quality” value. A useful specification should show both the selected setting and its basis.
Delivery Specification Worksheet
Complete this before exporting:
- Official document consulted: __________
- Date checked: __________
- Intended delivery: SDR / HDR / Unresolved
- Frame dimensions and aspect ratio: __________
- Source frame rate or frame rates: __________
- Timeline frame rate: __________
- Export frame rate: __________
- Container and video codec: __________
- Bitrate mode and target or quality setting: __________
- Audio codec, sample rate, channels, and bitrate: __________
- Color-related export settings: __________
- Requirements versus recommendations noted: __________
- Unresolved settings: __________
This workflow does not supply a verified numerical preset. It gives you a way to obtain and document the applicable settings without confusing platform guidance with general editing advice.
Choose Video Export Settings Deliberately
Once you have a delivery specification, compare it with your source footage and timeline. Treat an export preset as a starting configuration to inspect, not a quality guarantee.
| Parameter | What it controls | Practical review |
|---|---|---|
| Frame dimensions | The exported frame’s pixel width and height | Compare source, timeline, and delivery dimensions. If increasing dimensions beyond the source, inspect the result rather than assuming it gains detail. |
| Aspect ratio | The frame’s width-to-height relationship | Check whether differently shaped clips are cropped, bordered, or stretched. Make those choices deliberate. |
| Frame rate | The number of frames presented per second | Check movement and cuts, especially where footage uses different frame rates or conversion is intentional. |
| Codec and container | How video is encoded and packaged | Confirm that the actual export controls match your specification; a file extension alone is not a complete settings record. |
| Bitrate or quality setting | The encoding budget or quality target | Compare representative exports for detail, artifacts, and file size. |
| Audio settings | How sound is encoded and channels are delivered | Listen for distortion, missing channels, abrupt cuts, and synchronization problems. |
For a straightforward project, begin with the intended timeline framing and motion, then apply the relevant official encoding recommendations. If conversion is necessary, record what changes and review the affected material in a test export.
Compare Bitrate Settings with a Test Export
Use a controlled comparison to evaluate whether your candidate settings preserve the material:
- Select a short section containing difficult imagery from your project, such as fast movement, fine textures, text, or gradients.
- Export it using the candidate settings from your delivery specification.
- Inspect the exported file at its intended viewing size and compare it with the same section in the project.
- If you see export-related detail loss or artifacts, change one encoding setting at a time and export the same section again.
- Record the settings, visible differences, and file sizes.
If the problem is already visible in the source or timeline, investigate that stage before repeatedly changing export settings. Use the test to evaluate your footage, not to replace compatibility checks.
Check the Exported File and YouTube Playback Separately
Review both demanding scenes and the complete final file.
- Record the output settings. Save dimensions, aspect ratio, frame rate, codec, bitrate or quality setting, and audio settings.
- Export a representative test. Include movement, fine detail, graphics, and difficult lighting or gradients.
- Compare the test with the project. Look for changes introduced during export.
- Review the full final export. Check the opening, ending, transitions, captions, picture continuity, and audio.
- Compare the uploaded playback with the local export. Keep viewing conditions as consistent as practical.
For the playback comparison:
- Record the quality setting shown in the YouTube player rather than assuming the default selection matches your export.
- Use approximately the same displayed image size for local and online playback.
- Compare the same timestamps, including at least one detailed scene and one moving scene.
- Record problems already present in the local file separately from problems visible only during online playback.
- If the playback quality changes during the comparison, note the change and repeat the affected check.
This helps narrow down where a difference appears; it does not, by itself, establish its cause. Do not judge the entire video from a paused frame or a brief opening sequence.
Troubleshoot Visible and Audible Problems
Use these as diagnostic starting points, not guaranteed fixes.
| Symptom | Check first | Next step |
|---|---|---|
| Stretched subjects or unexpected cropping | Source dimensions, timeline aspect ratio, clip fitting, and export dimensions | Correct unintended fitting or scaling, then export a short affected section. |
| Soft detail or blocky motion | The same scene in the source, timeline, and export | Locate where the loss appears. If it begins during export, compare encoding settings one at a time. |
| Jerky or irregular movement | Source, timeline, and export frame rates | Review whether conversion was intentional and test the affected movement. |
| Unreadable graphics | Text size, contrast, scaling, and the exported frame | Revise the graphic or its placement, then inspect it at the intended viewing size. |
| Audio and picture drift apart | Synchronization near both the beginning and end of the timeline and export | Identify whether the offset exists in the project or develops in the exported file before changing settings. |
| Distorted or missing sound | Source audio, timeline mix, channel routing, and exported audio | Compare the affected passage at each stage and correct the stage where the problem first appears. |
Thumbnail and Video Review Record
Copy this record for each delivery and keep it with the delivery specification.
Thumbnail
- Filename: __________
- Main subject clear at a smaller display size: Pass / Revise
- Essential text readable: Pass / Revise / Not applicable
- Export compared with editable design: Yes / No
- Current thumbnail upload requirements checked: Yes / No
- Artifacts or changes to address: __________
Video
- Filename: __________
- Delivery specification completed: Yes / No
- Representative test reviewed: Yes / No
- Picture, motion, or audio issues: __________
- Full final export reviewed: Yes / No
- YouTube player quality setting used for comparison: __________
- Local and online display sizes approximately matched: Yes / No
- Timestamps compared: __________
- Issues present in the local file: __________
- Issues observed only during online playback: __________
- Remaining changes and retest results: __________
FAQ
Should I Always Choose the Highest-Resolution Thumbnail?
Use it as a candidate, then inspect clarity and readability. The reference says its tool returns the thumbnail with the best available resolution, but that description does not establish that the image will be free of blur or artifacts. [thumbnail-source]
What Bitrate Should I Use for a YouTube Video?
Consult YouTube Help’s “YouTube recommended upload encoding settings” and select the recommendation applicable to your resolution, frame rate, and SDR or HDR output. Then test representative footage and compare detail, motion, artifacts, and file size. The available thumbnail source does not verify a numerical video bitrate. [thumbnail-source]
Should the Export Frame Rate Match the Timeline?
As a practical starting point, keep the export consistent with the intended timeline frame rate unless conversion is deliberate, while checking the applicable official guidance. Review mixed-frame-rate footage and fast movement in a test export.
Does Increasing Export Resolution Fix Blurry Footage?
Do not treat larger output dimensions as a repair for source blur. Compare the original footage, timeline, and export to identify where useful detail is missing. Choose delivery dimensions deliberately and inspect the result.
How Should I Compare YouTube Playback with My Local Export?
Compare the same timestamps at approximately the same displayed image size, and record the quality setting shown in the YouTube player. Keep separate notes for issues present locally and those observed only online. A difference is a reason to investigate, not proof that the export settings caused it.
Does a Clear Thumbnail Prove That the Video Export Is Clear?
No. Review the thumbnail for visual communication and the video file for picture, motion, and sound. Each needs its own acceptance check.