CapCut Quality Tutorial: Check Clarity and Choose Export Settings
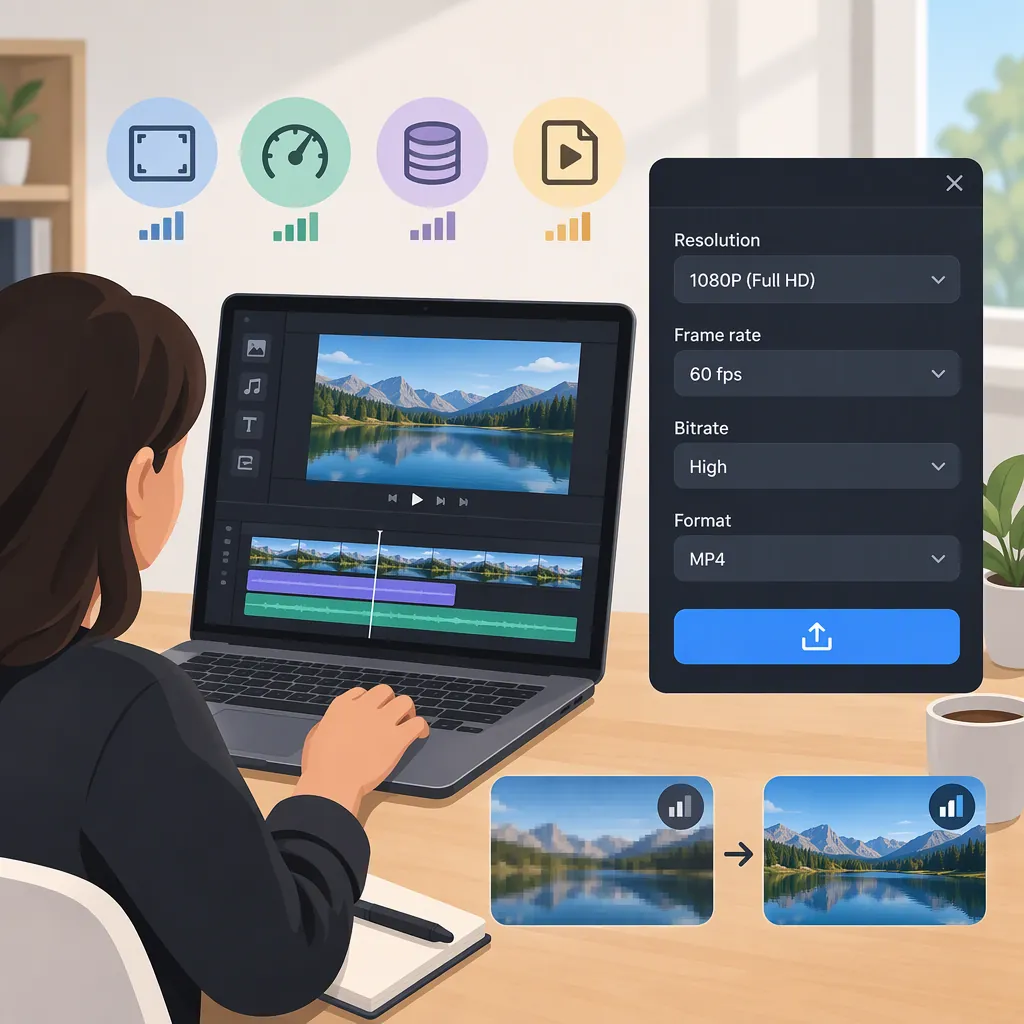
For a quality-focused CapCut export, check the original footage, choose output dimensions that fit your delivery requirements, and compare a short test export before rendering the full video. Review resolution, frame rate if available, bit rate or quality preset, and format—not just the 1080p or 4K label.
CapCut’s guide describes selecting resolution, bit rate, and format through Export. It is a vendor-authored overview, not a complete, version-specific interface reference or an independent quality test. Use the controls available in your installation; its enhancement claims do not establish guaranteed improvements. The workflow below offers comparison steps rather than measured CapCut performance findings. [capcut-resolution]
1. Check the Source Before Changing Export Settings
Choose a short section containing movement, fine detail, and on-screen text. Keep an unchanged copy of the footage, then compare three stages:
- Original clip: Identify issues already present before editing.
- Edited preview: Look for changes introduced by cropping, captions, effects, or timing adjustments.
- Exported file: Check whether the rendered result differs from the source or preview.
For now, focus on the first two stages:
| What You Notice | What to Check |
|---|---|
| Soft faces or fine detail | Does the original clip already look soft at the intended viewing size? |
| Unclear captions | Check text size, placement, and readability in the required layout. |
| Rough-looking movement | Compare the same motion in the original and edited preview. |
| Detail looks different after editing | Temporarily disable adjustments or effects, where possible, and compare again. |
| Cropped or missing content | Review the project’s framing and intended aspect ratio. |
Record where each issue first appears. If softness is already visible in the original, do not assume that changing export settings will repair it.
Source Review Checklist
- Select a representative short section.
- Preserve an unchanged version.
- Compare the original with the edited preview.
- Check faces, textures, motion, captions, and framing.
- Note whether each issue appears in the source, edit, or both.
2. Choose Between 1080P and 4K
For landscape output, CapCut’s reference lists 1080p as 1920 × 1080 pixels and UHD 4K as 3840 × 2160 pixels. These dimensions describe the output pixel grid; they are not, by themselves, a verdict on visible clarity. [capcut-resolution]
Start with delivery requirements, then use a short export to confirm the choice.
| Delivery Situation | Starting Point |
|---|---|
| The destination requires 1080p | Test a 1080p export in the required aspect ratio. |
| The destination requires landscape UHD 4K | Test 3840 × 2160 if available. |
| The destination does not specify resolution | Start with dimensions appropriate to the source footage, required aspect ratio, and any file-size limits. Compare another available resolution if there is a reason to use it. |
| The project is vertical or square | Use the required output shape rather than copying landscape dimensions. |
| You are considering enlarging lower-resolution footage | Compare the larger output with a non-upscaled test at the same viewing size. |
| A larger output is optional | Keep it only if the inspected result provides a useful benefit and meets delivery limits. |
Treat exporting at a larger resolution and applying an enhancement process as separate decisions. The guide discusses AI upscaling, but it does not establish that every clip gains useful detail. A 4K label is not proof that blur has been repaired. [capcut-resolution]
Resolution Decision Note
- Required delivery dimensions: __________
- Required aspect ratio: __________
- Source clip dimensions: __________
- File-size limit, if any: __________
- First export resolution to test: __________
- Alternative resolution to compare: __________
- Reason for the final choice: __________
3. Set up a Baseline Export
After editing, open the available export controls. CapCut’s guide describes an Export step with resolution, bit rate, and format choices. [capcut-resolution]
Review the settings in this order:
- Resolution: Use the dimensions selected in your delivery plan.
- Frame rate, if shown: Follow the delivery specification. Otherwise, consider matching the main source footage for the initial test; review mixed-frame-rate or speed-adjusted sections separately.
- Bit rate or quality preset: Follow any stated delivery requirement. If none exists, record the current selection as your baseline.
- Format: Use the destination’s stated file requirements.
- Test section: Export the representative section first, if your workflow allows it.
Keep the baseline file so later comparisons have a consistent reference.
Export Settings Record
| Item | Baseline | Comparison |
|---|---|---|
| Resolution | __________ | __________ |
| Frame rate, if available | __________ | __________ |
| Bit rate or quality preset | __________ | __________ |
| Format | __________ | __________ |
| Other export settings | __________ | __________ |
| Test section | __________ | __________ |
| Exported file size | __________ | __________ |
| Visible issues | __________ | __________ |
4. Test Bit Rate or Quality Without Guessing a Universal Number
There is no source-backed universal bit-rate value in this tutorial. CapCut’s guide mentions bit-rate selection but does not provide tested recommendations organized by resolution, frame rate, or content type. [capcut-resolution]
Use a controlled comparison instead:
- Export the baseline. Start with the delivery requirement or the current preset you recorded.
- Inspect the exported file. Check moving edges, fine textures, captions, and areas that appear blocky or smeared.
- Change only bit rate or quality. If a higher setting is available and delivery limits allow it, test that next. Keep resolution, frame rate, format, effects, and the test section unchanged.
- Compare at the same viewing size. Watch the same moments at normal playback speed, then pause to inspect specific problem areas.
- Record the trade-off. Note visible differences and each file’s size.
- Choose a stopping point. Keep a setting that meets delivery requirements and looks acceptable. Stop increasing it when another test shows no useful visible improvement, or when it exceeds the delivery limit.
If you must reduce file size, test a lower setting using the same procedure. Do not assume it is acceptable until you review the result.
If changing bit rate does not address the issue, return to the source–preview–export comparison rather than continuing to adjust it blindly.
5. Troubleshoot the Exported File Before Delivery
Play the exported file outside the editing preview. Compare the original, preview, and export at the same viewing size and at matching moments.
The checks below are starting points, not confirmed diagnoses:
| Symptom | First Comparison | Priority Checks |
|---|---|---|
| The original and export both look soft | Original versus export | Reassess source quality; compare any enhancement with an unchanged version. |
| Captions or framing look different in the export | Preview versus export | Check output dimensions, aspect ratio, crop, and caption placement. |
| Movement looks uneven or changes speed | Original, preview, then export | Review frame-rate selections and any timing or speed adjustments. |
| Moving detail appears blocky or smeared in the export | Original versus export | Run a bit-rate or quality comparison while holding other settings fixed. |
| Detail looks unnatural after an adjustment | Unchanged edit versus adjusted edit | Reduce or remove the adjustment and export another test. |
| The local file looks acceptable but the delivered version does not | Local export versus delivered version | Check the destination’s upload requirements and inspect the delivered version separately. |
Once you select settings, export the full video and review it again. A short test helps with selection, but it does not replace checking the complete file.
Final Quality Checklist
- Confirm output dimensions and aspect ratio.
- Play the exported file outside the editor.
- Inspect fine detail, moving edges, faces, gradients, and captions.
- Check framing and audio timing throughout the video.
- Confirm file format and any delivery limits.
- Save the selected export settings.
- Review the delivered version separately, if applicable.
FAQ
Does Exporting in 4K Guarantee a Clearer Video?
No—choosing 4K output is not a guarantee of clearer footage. Check the original and compare short exports at the same viewing size. CapCut’s guide lists UHD 4K dimensions and discusses upscaling, but it does not demonstrate improved clarity for every source clip. [capcut-resolution]
What Bit Rate Should I Use in CapCut?
Start with the destination’s requirement. If none is stated, record the current bit rate or quality preset and export a representative test. Keep resolution and frame rate fixed while comparing another setting; inspect motion detail, blocky areas, and file size. Choose based on visible results and delivery limits. CapCut’s guide does not provide a tested universal bit-rate recommendation. [capcut-resolution]
Should I Choose 1080P or 4K If the Destination Does Not Specify?
Start with your source dimensions, required aspect ratio, and delivery limits. Test an appropriate available output, then compare a larger one only if it serves a clear need. Do not treat enlargement as proof of restored detail; the guide’s upscaling discussion does not establish that result for every clip. [capcut-resolution]
What If My Export Controls Differ from the Guide?
Use the controls available in your installation and record the settings you select. The guide describes choosing resolution, bit rate, and format through Export, but it is not a complete, version-specific interface map. Do not assume that every option will appear in the same place. [capcut-resolution]
Sources
- [capcut-resolution] How to upscale video or image to 1080P or 4K resolution?