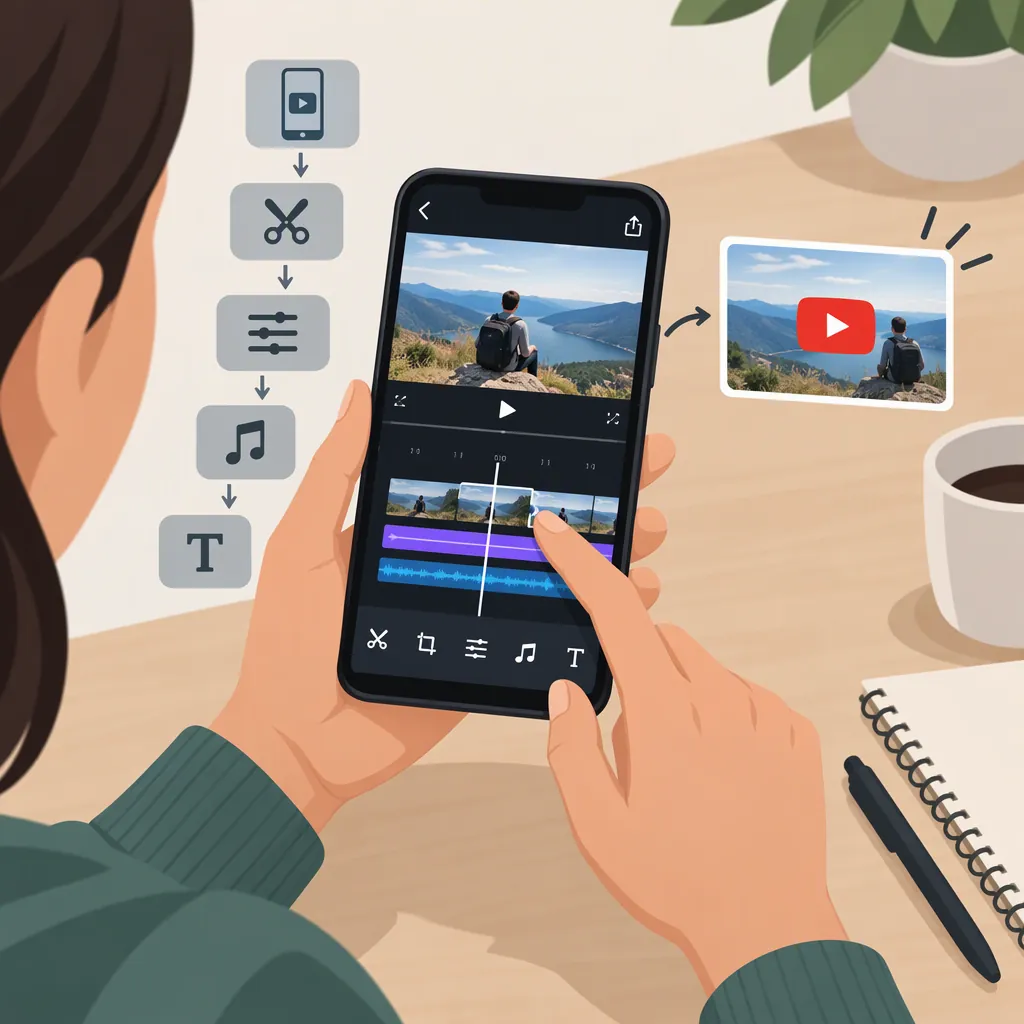
How to Edit YouTube Videos on Your Phone
To edit YouTube videos on your phone, import your footage into a mobile video editor, trim unwanted material, arrange the clips, check framing, balance audio, and review captions. Then export the finished video, watch the saved file, and upload it to YouTube.
This workflow is for iPhone and Android. The steps below describe common editing patterns, not universal button names or gestures. The supporting ScreenPal guide covers both mobile and desktop editing; its desktop instructions should not be treated as phone instructions. It is also not an independent app comparison or verification of current pricing and features. [src_1]
1. Prepare Your Footage and Choose an Editor
Start with one main recording and any supporting clips needed to explain your topic. Write a sentence describing what the viewer should learn, then use that goal to decide which footage belongs in the video.
Keep an untouched copy of your recordings before editing. Backing up both original and edited footage is also recommended in the supporting guide. [src_1]
Choose a phone editor by checking whether it can complete your project:
| Task | What to check |
|---|---|
| Remove unwanted footage | Trimming and, if needed, splitting and deleting sections |
| Combine recordings | Adding and rearranging clips |
| Set the frame | Aspect-ratio, crop, and rotation controls |
| Make speech clear | Original-audio and music-volume controls |
| Add information | Text labels and your preferred caption workflow |
| Save the finished video | Export settings and any watermark or other restrictions |
Before committing to an app, import a short sample, make a cut, and export it. Inspect the saved file for picture quality, sound, and unwanted watermarks.
Project Preparation Checklist
- Keep an untouched copy of the original footage.
- Gather the main recording and supporting clips.
- Define what the viewer should learn.
- Check the editor’s tools and export restrictions.
- Export a short test clip before starting the full edit.
2. Trim and Arrange Your Clips
Make the first editing pass about content and order, rather than effects. The supporting guide places trimming and cutting unwanted footage early in the workflow. [src_1]
A timeline shows your clips in playback order. The playhead marks the position you are previewing or editing. Use your app’s equivalent controls for the following suggested sequence.
Import Your Recordings
Start a project and use the app’s add-media or import control to select your recordings. Preview the imported clips to confirm that you have the correct takes and that their audio is present.
If the app lets you choose several clips at once, check their order after importing rather than assuming they match your intended sequence.
Trim the Beginning and End
Select a clip on the timeline. If your editor provides draggable trim handles, move its starting edge forward to remove material before the useful action or speech. Move its ending edge backward to remove unnecessary footage afterward.
Preview the result. Leave enough room around speech and actions so the clip does not start halfway through a word or end before a demonstration is complete.
Trimming adjusts a clip’s beginning or end. Splitting lets you separate an unwanted section inside a clip.
Remove a Mistake from the Middle
If your editor supports splitting:
- Move the playhead just before the mistake.
- Split the clip at that position.
- Move the playhead just after the mistake and split again.
- Select the isolated middle section and delete it.
- If deletion leaves an empty gap, close it using the app’s available controls.
- Play across the join to check that the sentence or action still makes sense.
For example, to remove a repeated sentence, isolate only the repetition—not the useful sentence before it or the start of the next point. Undo and adjust the cut if it sounds abrupt.
Put the Clips in Order
Use the app’s reorder control—such as dragging a selected clip, where supported—to build a clear sequence:
- An opening that establishes the topic.
- The explanation or demonstration.
- A conclusion that completes the idea.
After moving a clip, replay both of its joins. Check for repeated information, missing steps, and changes in audio level.
Favor straightforward cuts when they make the explanation easier to follow. Keep pauses that give viewers time to understand a step; do not remove every moment of silence automatically.
3. Check Framing and Add Useful Text
Choose the project’s intended aspect ratio before positioning titles or cropping clips. Aspect ratio describes the frame’s shape, while resolution describes its pixel dimensions.
The supporting guide describes 16:9 as a standard YouTube aspect ratio and includes crop and rotate controls in its mobile section. That does not make 16:9 a requirement for every YouTube video. [src_1]
For a landscape project, check that your subject and demonstration details fit the wider frame. For a vertical project, inspect each crop separately rather than assuming a landscape composition will still work.
Use this review sequence:
- Preview each clip in the intended frame.
- If necessary, adjust the crop or position using the available controls.
- Check that faces, hands, and important objects remain visible throughout the clip.
- Add short text labels only where they clarify the content.
- Preview labels at normal phone viewing size and check their duration.
Do not crop away information needed to understand a step. If a label covers an important object, reposition it or shorten the wording.
4. Balance Audio and Review Captions
Make Speech Easy to Hear
Listen to the edited sequence before adding music. As a practical check, listen once with headphones and once through the phone speaker.
If you add a music track:
- Confirm that the original speech remains enabled.
- Select the music track or its audio controls.
- Reduce its level until spoken words are easy to understand.
- Replay sections with quiet speech, pauses, and changes between clips.
- Adjust individual sections if your editor supports that level of control.
The supporting guide emphasizes balancing dialogue against background music. [src_1] Music and effects are optional; leave them out when they distract from the explanation.
Use only audio you have permission to include. Do not assume a track is cleared for your intended use simply because it appears in an app.
Choose Your Caption Workflow
Distinguish between two approaches:
- Burned-in captions: Text included in the video picture during editing.
- Platform captions: A separate caption track managed on YouTube.
If you need burned-in captions, use a phone editor that supports the required caption or timed-text tools and finish them before exporting. If your current app lacks those tools, choose a suitable editor rather than looking for a setting it does not provide.
If you plan to use platform captions, upload the video, then inspect and correct captions through the caption-management interface actually available to your account. Current phone menus and account-specific availability are not verified here; if the necessary controls are unavailable on your phone, you may need another supported interface.
For either approach, review:
- Names, numbers, and technical terms.
- Missing words and incorrect punctuation.
- Timing against the spoken audio.
- Readability and line breaks, where you can adjust them.
Do not treat automatic captions as finished without checking them. The supporting guide notes that YouTube’s automatic caption quality varies. [src_1]
5. Export and Review Before Uploading
Save the editing project if your app supports it, then export a finished video file. Keeping the project gives you a way to revise the edit without starting over.
Choose Export Settings Deliberately
Use this general decision process rather than assuming one preset suits every video:
- Check the source footage. Look at its resolution and frame rate in the file information or editor, if available.
- Confirm the output shape. Make sure the exported aspect ratio matches the frame you reviewed.
- Choose the resolution. As a conservative starting point, avoid enlarging low-resolution footage merely to select a higher number.
- Check the frame-rate setting. For a straightforward project, consider matching the main recording’s frame rate rather than changing it without a reason. Mixed-frame-rate footage may need a test.
- Export a short sample. Include speech, movement, and any small text so you can judge the result before exporting the full project.
The supporting guide lists 720p and 1080p as canvas-size presets in its sizing instructions. Those examples do not establish a universal mobile export setting. [src_1]
Watch the saved test file outside the editor. Check clarity, text readability, cropping, and whether sound stays synchronized with the picture. Adjust settings if needed, then export the complete video.
Review the Finished File
Check the exported file itself, not only the timeline preview.
- Watch from beginning to end.
- Check the opening and ending for accidental extra footage.
- Listen for abrupt audio changes and music covering speech.
- Inspect framing and text readability.
- Review burned-in captions for wording and timing, if present.
- Check for private information in the picture or audio.
- Confirm that audio and video stay synchronized.
- Retain the source footage and editing project.
Upload only after this review. Use the upload interface available to your account, and check the title, description, and intended visibility before publishing. If you are using platform captions, include their review in your pre-publication checks.
FAQ
Can I Edit YouTube Videos on an iPhone or Android Phone?
Yes. The supporting guide describes mobile editing on both iPhone and Android, including adjustments, music, cropping, and rotation. [src_1] Check your chosen app’s tools and export restrictions before starting, because available controls depend on the app and version.
What Is the Difference Between Trimming and Splitting a Clip?
Trimming changes where a clip begins or ends. Splitting divides a clip at a chosen point, allowing you to isolate and delete an unwanted section from the middle. Both fit the early trimming-and-cutting stage described in the supporting guide, though the exact phone controls depend on your editor. [src_1]
Can I Follow YouTube Studio Desktop Editing Steps on My Phone?
Do not assume they apply. The supporting guide describes a YouTube Studio editor workflow but does not verify those editing controls in the mobile app. [src_1] For this tutorial, edit your recordings in a phone editor and review the exported file before uploading.
Should I Export at 720P or 1080P?
Check your source footage, intended frame, and available export settings first. Avoid choosing a higher resolution simply to enlarge lower-resolution footage, and inspect a test export. The supporting guide’s 720p and 1080p examples concern canvas sizing, not a verified export rule for every mobile editor. [src_1]
What If My Phone Editor Cannot Add Captions?
If you need captions embedded in the picture, finish the video in a phone editor that supports them before exporting. If you want platform captions, review and correct them after upload through the controls available to your account. Do not rely on unchecked automatic captions: the supporting guide notes that their quality varies. [src_1]
Do I Need Background Music or Effects?
No. Add them only when they help the content. If you use music, check that it does not cover speech; balancing dialogue and background music is a recommendation in the supporting guide. [src_1]