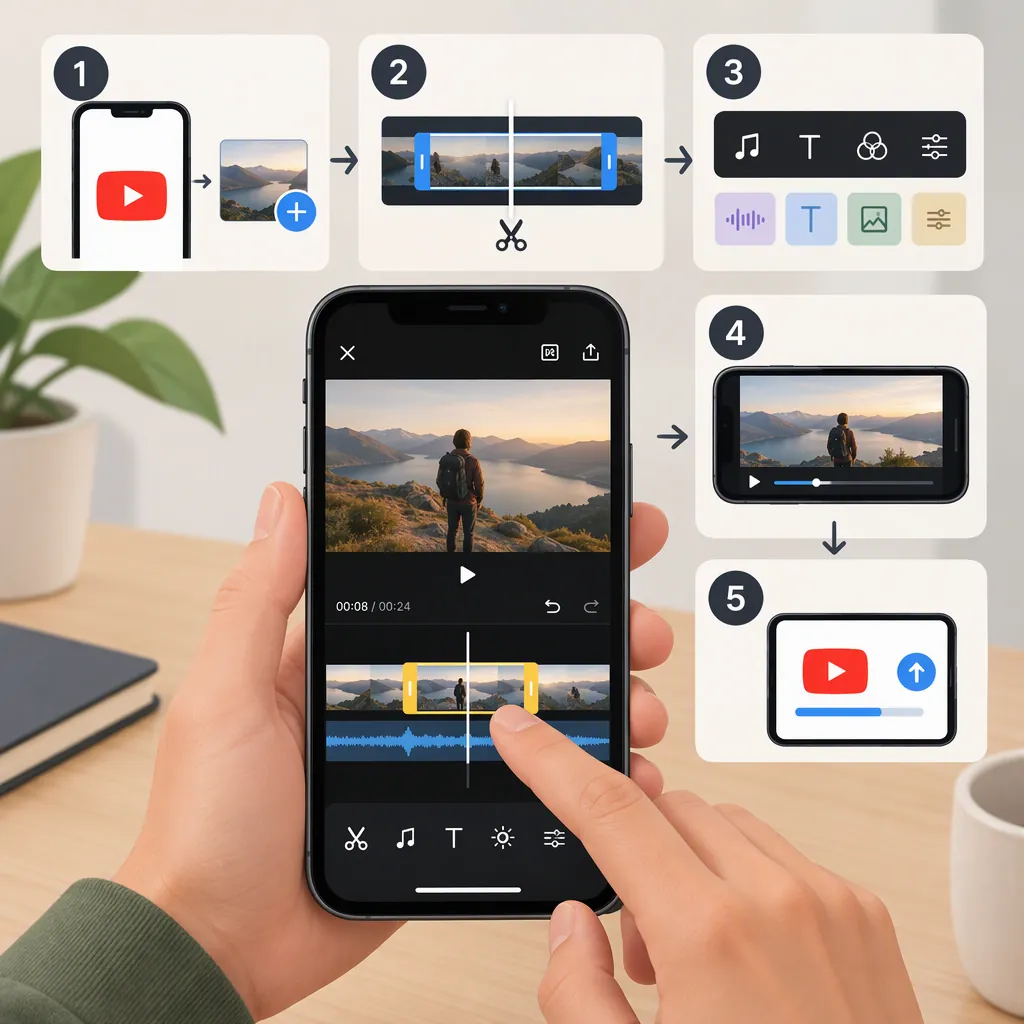
How to Edit a YouTube Video on iPhone
To edit footage for YouTube on an iPhone, bring your clips into a video editor, arrange them, trim unwanted material, check framing and sound, review captions, and export the finished video. YouTube Create is one option: its App Store listing describes tools for combining media, trimming, cropping, voiceover, captions, and export. [source_2]
If you mean changing an uploaded video's title, description, or visibility, use the video-settings controls in YouTube or YouTube Studio instead. Those documented steps are separate from editing footage. [source_1]
Choose What You Need to Edit
- Edit the footage: Follow the preparation and editing workflow below to work on the actual clips, audio, and text.
- Edit upload details: Skip to Edit an Uploaded Video's Settings for YouTube's documented iPhone steps. [source_1]
The footage workflow uses YouTube Create's listed capabilities as an example. It is an editing plan with a worked example—not a verified button-by-button guide. The App Store listing supports the features described here but does not document the exact project-creation, import, or editing menus. [source_2]
Prepare Your iPhone, Clips, and Editor
The US App Store listing specifies iPhone XR or later running iOS 17 or later for YouTube Create. It describes portrait, landscape, and square resizing; automatic captions in selected languages; and export up to 4K at up to 60 fps. These are developer listing statements, not independently tested performance guarantees. Some AI features are limited to selected countries. [source_2]
Before editing:
- Check compatibility and feature availability. Confirm that your device and the features you need are covered by the listing.
- Gather the source material. Identify the recordings, photos, and audio you intend to use. Keep the originals.
- Write a simple sequence. For a tutorial, this might be “introduce the task → show the steps → show the result.”
- Decide on the framing. Choose the intended viewing shape before making detailed crops.
How to Choose Framing
As an editing decision, use landscape framing when your presentation needs horizontal space—for example, a wide demonstration surface. Use portrait framing when the planned composition is vertical, such as a centered subject filmed upright. Square is another available resizing option in YouTube Create's listing. These are composition choices, not statements about YouTube's format requirements. [source_2]
Preview every clip in the chosen shape. If a crop hides a hand movement, an important object, or explanatory text, reconsider the crop or the overall framing rather than applying it blindly to all clips.
Build and Review Your Video
YouTube Create's listing describes combining videos, photos, and audio; trimming and cropping clips; transitions; speed adjustments; text; voiceover; and audio cleanup. Use those capabilities to work through the following example. [source_2]
Worked Example: Edit a Three-Clip Tutorial
Illustrative starting material: You have three recordings: an introduction, a demonstration, and a finished-result shot. The introduction contains two seconds of setup before you speak, and the demonstration ends with an unwanted pause. The goal is a clear tutorial that moves from the task to the process to the result.
The actions below describe what to accomplish in your editor, not exact YouTube Create button names.
1. Start an Edit and Bring in the Clips
Use your editor's project-start and media-import controls to begin an edit containing the three selected recordings. Include only the material needed for this first version.
Completion check: Preview each imported recording. Confirm that you have the intended take, that it plays, and that any recorded speech is audible. Resolve missing or incorrect material before cutting.
2. Put the Clips in Story Order
Arrange the recordings as:
- Introduction
- Demonstration
- Finished result
Completion check: Play the sequence from beginning to end. A viewer should understand what you are demonstrating before seeing the steps, then see the outcome afterward.
3. Trim the Unwanted Starts and Endings
For the introduction, move the beginning of the retained footage past the two-second setup, stopping just before the first useful spoken word. For the demonstration, shorten the ending to remove the unwanted pause while preserving the completed action.
Trimming changes where a clip starts or ends; cropping changes which part of its image is visible. YouTube Create's listing describes both capabilities. [source_2]
Completion check: Replay the beginning and ending of each shortened clip, then the joins between clips. Make sure you have not cut off a word, interrupted a necessary movement, or removed context.
4. Check the Crop
Review all three clips in your chosen framing. Keep the subject, demonstration area, and finished result visible.
Completion check: Watch the demonstration without pausing. If the viewer cannot see the action needed to follow the tutorial, revise the framing.
5. Make Speech Understandable
Listen to the original audio before adding anything else. If the demonstration needs an explanation, plan a short voiceover that describes the action shown. YouTube Create's listing describes recording voiceover in the app and using audio cleanup to reduce distracting background noise. [source_2]
Completion check: Replay any voiceover or cleaned-up audio. Check that the words remain clear and that the explanation matches the action. If you add music, listen again with it included.
The listing describes music from the YouTube Shorts music library. That description alone does not establish unrestricted permission for every track or use; do not treat it as blanket music clearance. [source_2]
6. Add Helpful Text and Review Captions
Use text for information that benefits from being visible, such as a step label. If automatic captions are available for your language, generate them and compare them with the speech. The listing limits automatic captions to selected languages. [source_2]
Completion check: Correct names, technical terms, punctuation, and timing where needed. Check that text remains readable and does not cover the demonstration.
7. Review the Complete Edit
Watch from the opening through the final result without skipping. Check whether each cut preserves meaning and whether the ending shows what the tutorial promised.
Add transitions or speed changes only when they serve the explanation. Those tools are listed capabilities, not required steps for every video. [source_2]
Pre-Export Review Checklist
- Clips appear in the intended order.
- Unwanted starts, endings, and pauses have been removed.
- Cuts preserve complete words and necessary actions.
- Crops keep important subjects and text visible.
- Speech is understandable throughout.
- Captions have been checked against the audio.
- Music permissions have been checked for the intended use.
- The complete edit has been reviewed.
Export and Check the Result
YouTube Create's listing describes export up to 4K at up to 60 fps and direct upload to a YouTube channel. These are capability limits, not settings that every video needs. The listing does not provide a complete upload-interface walkthrough. [source_2]
How to Choose Export Settings
Base the choice on your original recordings and intended finished video:
- Resolution: Consider the source detail and the resolution you want to deliver. Do not choose the maximum simply because it is available.
- Frame rate: Consider how the footage was recorded and the motion you want to preserve.
- Framing: Confirm that the exported shape matches the composition you reviewed.
Illustrative choice: If all three clips were recorded at 1080p and 30 fps, and your intended result is a 1080p, 30 fps tutorial, those settings are a reasonable starting point if the editor offers them. The availability of 4K and 60 fps alone is not a reason to change that plan. This is a workflow example, not a YouTube upload requirement.
After export, watch the finished file rather than relying only on the editing preview. Look for accidental black frames, cut-off text, caption errors, incomplete cuts, and unexpected audio changes. Keep the source recordings until you have checked the result.
Edit an Uploaded Video's Settings
For an existing upload, YouTube documents the following iPhone workflows. These change video settings rather than cutting or rearranging footage. [source_1]
In YouTube Studio
- Open the YouTube Studio app.
- Tap Content in the bottom menu.
- Select the video you want to edit.
- Tap Edit.
- Change the settings and tap SAVE. [source_1]
In the YouTube App
- Open the YouTube app.
- Tap your profile picture.
- Tap Your videos at the bottom.
- Next to the video, tap More, then Edit.
- Make your changes and tap Save. [source_1]
YouTube's help page lists settings such as title, description, audience, and visibility. It does not establish that every listed setting appears identically in both mobile apps. [source_1]
FAQ
Does Tapping Edit in YouTube Studio Let Me Cut Footage?
The cited iPhone instructions describe changing video settings, not cutting footage. For trimming or combining recordings, YouTube Create's App Store listing describes those editing tools. [source_1] [source_2]
Can Every iPhone Run YouTube Create?
No. The cited US App Store listing specifies an iPhone XR or later running iOS 17 or later. Check compatibility before relying on this workflow. [source_2]
Can I Add Automatic Captions on My iPhone?
YouTube Create's listing describes automatic captions or subtitles in selected languages. If the feature is available for your language, review the generated text and timing before exporting. [source_2]
Do I Need to Export at 4K and 60 Fps?
Not simply because those options are available. The listing describes them as supported upper limits. Choose settings based on your source footage and intended result; they are not presented here as YouTube requirements. [source_2]
Can I Upload Directly from YouTube Create?
The App Store listing describes direct upload to a YouTube channel, but it does not document the complete upload-interface sequence. Review the exported result and the upload details rather than treating export as the final quality check. [source_2]