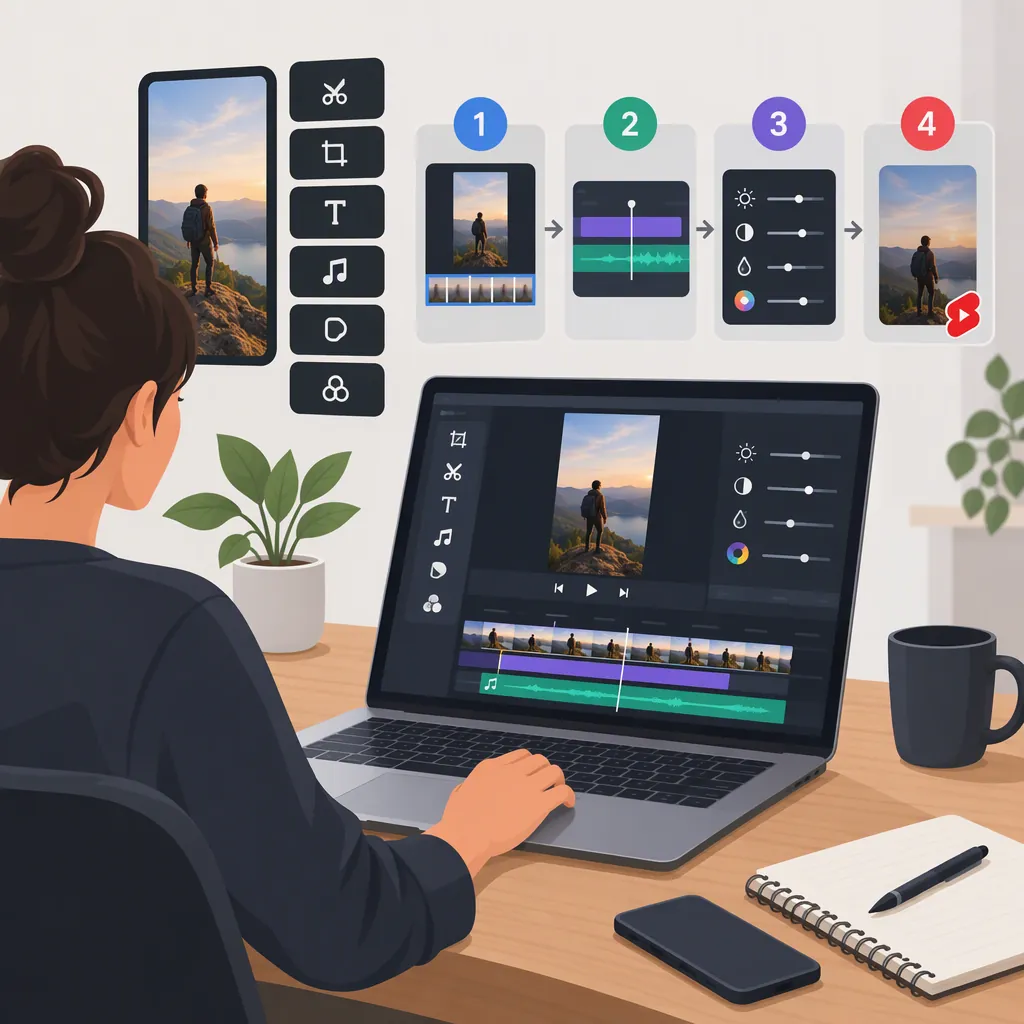
How to Choose and Use a YouTube Shorts Editor
A YouTube Shorts editor helps you assemble short videos by trimming footage, adjusting framing, adding captions, and preparing an export. Look for control over those essentials before considering AI generation or automatic clipping. Clipchamp and Kapwing describe Shorts workflows on their public pages, but those descriptions are vendor claims, not independent performance tests. [c1] [c2]
Choose an Editor Around Your Footage
Start with the material you actually need to edit. For a new recording, prioritize straightforward trimming, caption correction, and audio controls. For a clip taken from a longer video, also look for framing controls and a way to locate useful passages.
Clipchamp's public page describes a multi-track timeline, cropping and trimming, subtitles, and tools for resizing long videos into Shorts. Kapwing's page describes transcript-based trimming, automatic resizing, captions, and AI-assisted selection of clips from longer videos. These are documented feature descriptions, not evidence that either editor produces better results. [c1] [c2]
Use the same small sample project when evaluating editors. Check whether you can correct a caption, reposition a subject, adjust music, and export without losing important content. Treat AI features as optional assistance rather than the main selection criterion.
Sample Project Evaluation Checklist
- Import a short sample you have permission to use.
- Trim the beginning and end precisely.
- Reframe the shot without cutting off the subject.
- Add captions and correct one word manually.
- Adjust dialogue and background audio separately.
- Export and inspect the resulting file.
- Record any account, watermark, or export restrictions encountered.
Build a Clear Short Before Adding Effects
Use this sequence as an editing practice, not a platform requirement:
- Choose one idea. Write a sentence describing what the viewer should understand by the end.
- Select a self-contained passage. If you are repurposing longer footage, retain the context needed to understand the speaker's point.
- Trim deliberately. Remove irrelevant setup and repetition, but keep pauses that support meaning or timing.
- Set the frame. A 9:16 canvas is a practical starting point for vertical editing; Kapwing explicitly uses it in its Shorts workflow. Check each shot rather than assuming a single crop works throughout. [c2]
- Add captions and supporting visuals. Use them to clarify the message, not to compete with it.
- Review the exported file. Watch the complete result, including the opening and final frame.
Avoid treating a suggested clip as a finished edit. Review whether its opening makes sense without the original video and whether its ending completes the thought.
Review Captions, Audio, and AI Suggestions
Both supplied vendor pages describe automated subtitle tools. Clipchamp also describes silence removal, while Kapwing describes transcript editing and AI-selected highlights. [c1] [c2]
For any automated workflow, make manual review part of the process. Compare captions with the recording, especially names, numbers, and specialist terms. Check that caption timing follows the speech and that text does not obscure an important demonstration.
Listen once with headphones and once through a phone speaker. As a practical editing goal, keep speech understandable without requiring the listener to turn the volume up and down between clips.
For AI-selected excerpts, inspect the source passage before accepting the cut. For generated narration or visuals, verify factual statements and remove material that misrepresents the intended message. The supplied pages do not establish the accuracy of generated output or guarantee audience growth.
Check the Export and the Evidence Limits
Clipchamp's published workflow includes saving in 1080p HD. Kapwing's workflow describes exporting an MP4 file. Both pages also describe direct publishing to YouTube. These are separate considerations: the ability to export a file does not establish how an upload will be classified by YouTube. [c1] [c2]
Before publishing, inspect the actual export for missing media, cropped text, caption errors, unexpected watermarks, and audio problems. Confirm that you have permission to use the footage, music, and other assets; do not assume a library label settles every intended use.
This article is based on two vendor pages, not hands-on testing or official YouTube documentation. It does not verify current Shorts eligibility rules, account-specific publishing access, pricing, or all plan restrictions. Check the applicable platform requirements and editor terms when those details affect your project.
FAQ
What Is the Best YouTube Shorts Editor?
The supplied sources do not establish a best editor. Clipchamp and Kapwing describe relevant tools, but neither page provides an independent comparison. Evaluate an editor using your own footage, caption needs, framing adjustments, and export requirements. [c1] [c2]
Can I Turn a Longer Video into Shorts?
Both supplied pages describe repurposing workflows: Clipchamp describes resizing long videos, and Kapwing describes selecting highlights from a source video with AI. Review each excerpt for context and framing rather than accepting automatic selections unchanged. [c1] [c2]
Do I Need AI to Edit YouTube Shorts?
No. The supplied pages describe conventional editing controls alongside AI features. A manual workflow can use trimming, framing, captions, and audio adjustments; AI is an optional aid, not a requirement for assembling the video. [c1] [c2]