How to Cut a Video on Windows: Trim a Shorter Clip
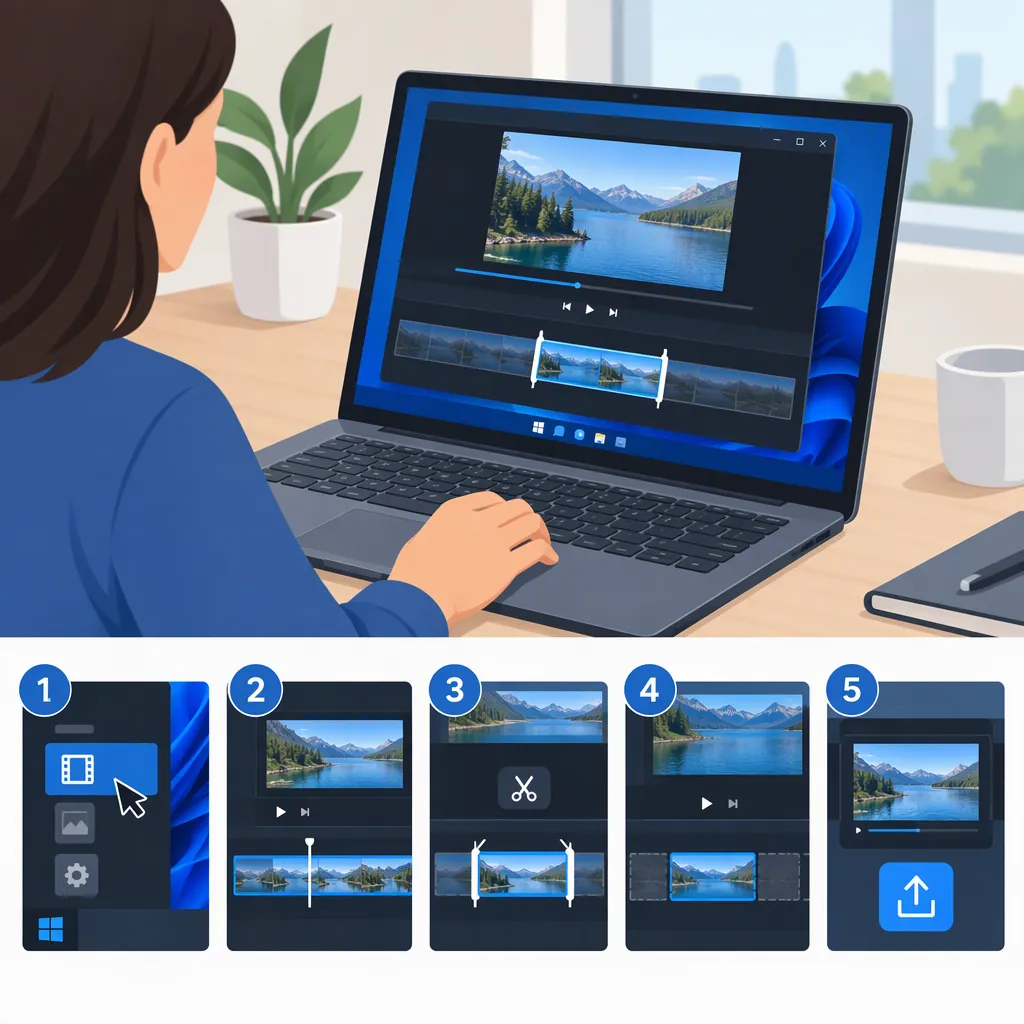
To shorten a video in Clipchamp, select the clip on the timeline and drag its left or right handle inward to remove footage from the beginning or end. Zoom in on the timeline for more precise adjustments. If you need to remove a section in the middle, use splitting rather than edge trimming. Microsoft documents these editing principles; its tutorial is for personal accounts, with the same principles applying to work and school accounts. [c1]
Choose Between Trimming, Splitting, and Cropping
Before editing, identify what you want to remove:
- Unwanted footage at the beginning or end: Trim the clip by moving its edge handles inward.
- An unwanted section in the middle: Split the clip into separate pieces so you can delete the unwanted piece.
- Unwanted picture edges or black bars: Crop the frame rather than shorten the clip.
Microsoft distinguishes trimming, which shortens duration, from splitting, which divides a clip into separately editable parts, and cropping, which removes visible frame edges. [c1]
For a straightforward excerpt, write down the start and end moments you want to keep before adjusting the clip.
Clip Planning Worksheet
Before editing, fill in:
- Source filename: __________
- First moment to keep: __________
- Last moment to keep: __________
- Middle sections to remove, if any: __________
- Output filename: __________
Trim a Clip in Clipchamp
With your video clip on the Clipchamp timeline:
- Select the clip. Click it so it is highlighted and its edge handles appear.
- Trim the beginning. Drag the left handle inward until the clip starts at the moment you want.
- Trim the end. Drag the right handle inward until the clip ends where you want.
- Refine the boundaries. Use the plus button at the right end of the timeline to zoom in for more precise trimming.
- Recover footage if needed. If you shortened the clip too much, drag the relevant handle outward again, within the available source footage.
These controls and the ability to recover trimmed footage are documented by Microsoft. [c1]
Preview the opening and closing moments before treating the edit as finished. As an editing check, listen for words cut off at either boundary and look for an ending that stops before the intended action is complete.
The cited guide covers trimming, not a complete import-and-export workflow. It does not establish which export settings are available in your account.
Remove a Section from the Middle
Dragging an edge handle is not the right approach when you want to retain footage on both sides of an unwanted section. Microsoft explains that splitting cuts a clip into two parts that can be edited separately. [c1]
Use this editing sequence:
- Identify the beginning and end of the unwanted section.
- Split at both boundaries to isolate that section.
- Delete the isolated piece.
- Check for a gap between the remaining clips.
- Preview the join to decide whether the transition makes sense.
For gaps on the Clipchamp timeline, Microsoft documents individual gap deletion using the trash can icon or delete this gap button. It also describes right-clicking a gap and selecting delete all visual gaps. [c1]
The supplied reference explains the splitting principle but does not provide the exact split button or keyboard shortcut. This sequence therefore describes the editing logic rather than a complete control-by-control splitting tutorial.
Use a Browser-Based Trimmer
Adobe Express documents an online trimming workflow that can be used on a Windows desktop:
- Upload a video from your device.
- Set the start and end points by dragging the handlebars or entering time cuts manually.
- Download the trimmed clip or continue editing. [c2]
The provided Adobe page lists an upload limit of 1 GB and says to choose a video up to one hour long. It also states that the downloaded trimmed clip is a new file and that the original video on your device is not removed. [c2]
Because this workflow involves uploading the video, consider whether the footage is appropriate to send to an online service before proceeding. Do not assume it is a local-only editing process.
For either workflow, keep the source file and review the saved result. Check that the intended opening, ending, and audio are present rather than relying only on the timeline preview.
FAQ
Can I Restore Footage After Trimming Too Much?
In Clipchamp, drag the trimmed edge handle outward to recover footage, provided it is available in the source media. Microsoft documents this behavior for timeline trimming. [c1]
Does Cropping Make a Video Shorter?
No. Cropping removes unwanted edges from the visible picture. Trimming shortens the clip's duration. Choose trimming when your goal is a shorter video. [c1]
Will an Online Trim Replace My Original Video?
Adobe Express states that its trimmer does not remove the original file from your device and that the download is a new video clip. That statement applies to the documented Adobe Express workflow, not every video editor. [c2]