How to Choose a Windows Video Editor and Edit a Video
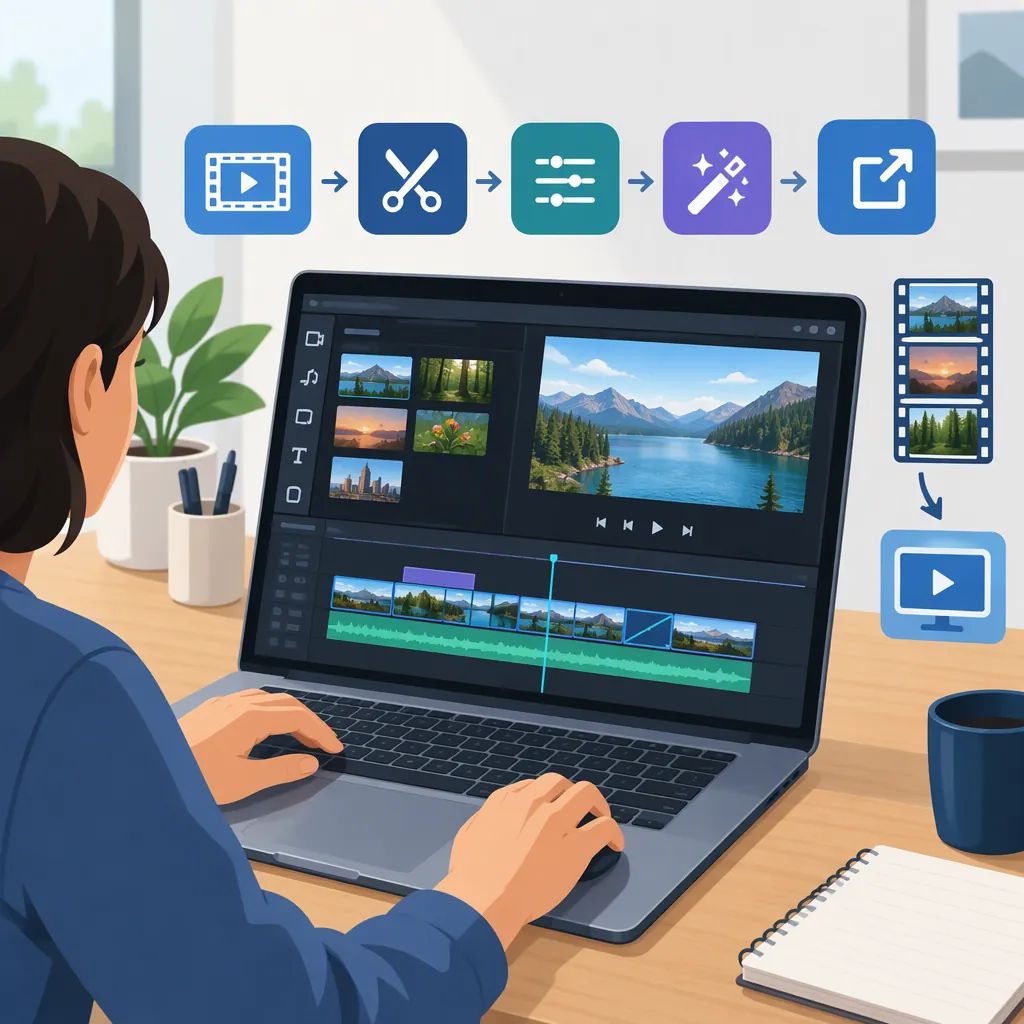
To edit a video on Windows, choose an editor that fits your computer and export needs, import your footage, arrange clips, trim unwanted material, review sound and text, and export a test file. The supplied reference documents an import-to-timeline workflow with Trim, Split, and Export controls; exact labels will depend on your editor. [c1]
Choose an Editor Around Your Project
Start with the result you need rather than a broad claim about the “best” Windows video editor. Write down your intended video length, source file types, output format, and whether you need text, subtitles, or narration.
Before committing to an editor, check its current documentation for:
- Compatibility with your installed Windows version.
- Processor, memory, display, and storage requirements.
- Support for your actual video and audio files.
- Export formats and any free-version restrictions.
The supplied Icecream Video Editor page lists system requirements, media formats, and export restrictions. These are vendor-published details, not independent compatibility or performance testing. Only one editor reference was supplied, so this guide does not establish a ranking or compare alternatives. [c1]
As a practical check, use a short sample of your own footage to test import, preview, and export before assembling the full project.
Pre-Edit Requirements Checklist
- [ ] Record the Windows version and computer specifications.
- [ ] Identify the source video and audio file types.
- [ ] Choose the intended output format and frame shape.
- [ ] Check current export length, watermark, and licensing restrictions.
- [ ] Import and export a short sample successfully.
Import, Arrange, and Trim Your Footage
Keep a separate copy of your original footage, then work through this sequence:
- Import the clips. Add the files you intend to use to the editor's media library.
- Arrange the sequence. Place the clips on the timeline in the order you want viewers to see them.
- Trim the edges. Set a new beginning or ending for a clip to remove unwanted opening or closing material.
- Remove an internal section. Split at the beginning and end of the unwanted portion, then delete that segment.
- Review the joins. Play across each edit and check that you have not removed a necessary word, action, or pause.
The reference describes importing clips into a media library, placing them on a timeline, using Trim to select scene boundaries, and using Split to create removable segments. Those control names are specific to the documented editor. [c1]
Begin with a straightforward sequence. Add transitions only when they serve a clear purpose in your edit.
Simple Edit Plan
Project name: __________
Opening clip: __________
Main clips in order: __________
Sections to remove: __________
Closing clip: __________
Target duration: __________
Review Sound, Text, and Framing
Once the clip order is settled, review the elements that carry your message:
- Speech: Listen for cut-off words, abrupt changes, and music that competes with narration.
- Text: Check spelling, placement, reading time, and contrast against the footage.
- Subtitles: Review wording and timing rather than assuming an imported file is correct.
- Framing: Check that cropping or resizing has not removed important visual information.
The supplied page describes audio volume adjustments and fades, text objects, SRT subtitle import, cropping, and resizing. Confirm the controls and availability in the version you intend to use. [c1]
These are review priorities, not a requirement to use every feature. For a short instructional clip, clear speech and a readable title may be enough.
Export and Check the Finished File
Save your editing project before exporting. Choose output settings that match the intended destination, then export a short test if you are unsure about framing, sound, or free-version restrictions.
The reference distinguishes saved projects from exported output and lists MP4 and WebM video export. It also states that exporting videos longer than five minutes without a watermark requires its PRO version. Check the current terms before relying on that limit. [c1]
Review the exported file itself, not just the timeline preview. Watch the beginning, every edit point, and the ending. Confirm that speech, text, framing, duration, and any watermark meet your requirements. Keep the source footage and editing project until the finished file has been checked.
Export Review Checklist
- [ ] Save the editing project.
- [ ] Confirm output format and intended frame shape.
- [ ] Check applicable export restrictions.
- [ ] Open and play the exported file.
- [ ] Review sound, text, edit points, and the ending.
- [ ] Retain source footage and the project for revisions.
FAQ
Should I Use Trim or Split to Remove Footage?
Use Trim to adjust a clip's beginning or end. To remove material from the middle, split around the unwanted portion and delete that segment. The supplied reference documents both operations; other editors may use different control names. [c1]
Does a Free Windows Video Editor Always Export Without a Watermark?
Do not assume that a free download means unrestricted export. Check the editor's current terms for your intended video length. The supplied reference states that Icecream Video Editor requires PRO for watermark-free exports longer than five minutes. This does not establish the rules for other editors. [c1]
How Can I Check Whether My Windows Computer Is Suitable?
Compare your computer's specifications with the editor's published requirements, then test a representative clip through import, editing, and export. The supplied page lists operating system, processor, memory, display, and storage requirements, but those published specifications do not verify performance on your particular computer. [c1]