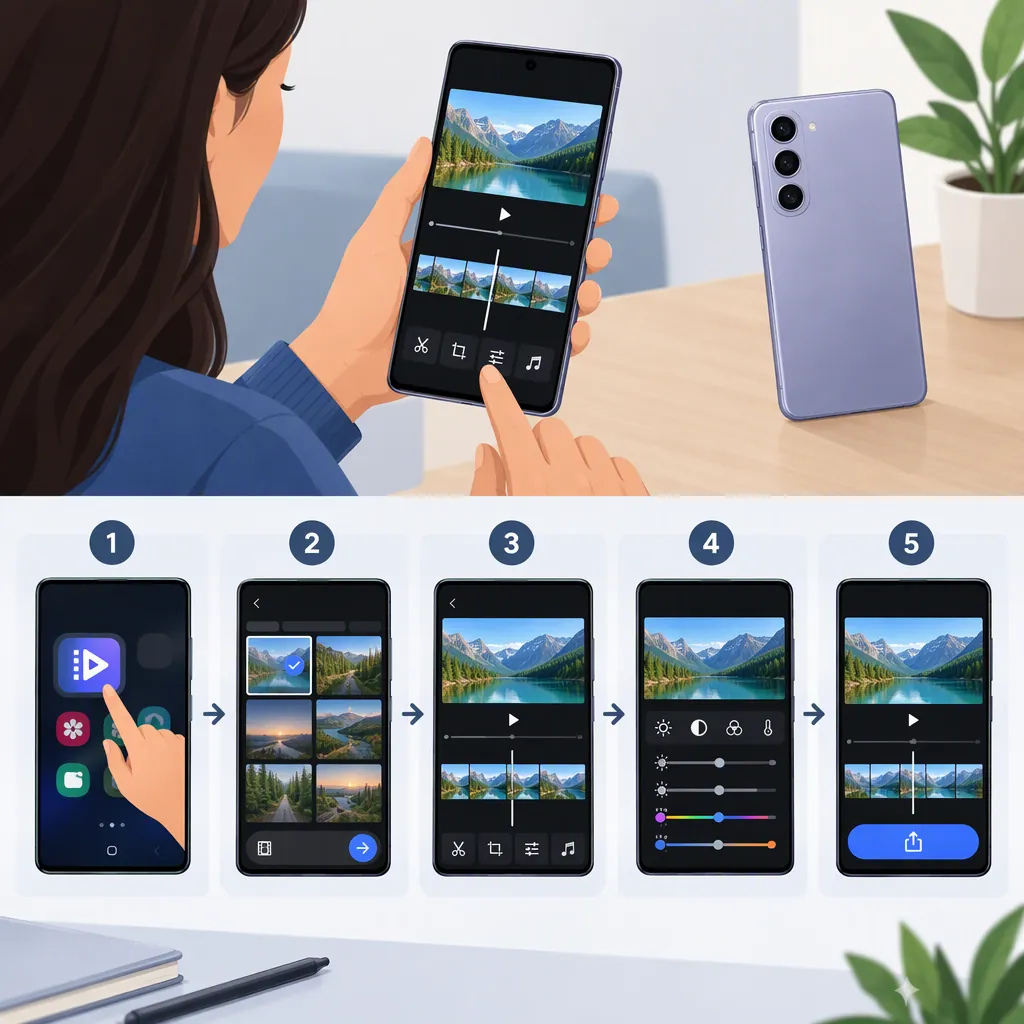
How to Edit a Video on Samsung Galaxy Using Google Photos
To edit a video on a compatible Samsung Galaxy, open Google Photos and select your video. Drag the trim handles to shorten it, or tap Crop to change its framing or rotation. Tap Save at the top to save a copy with your edits. This tutorial uses Google Photos, not Samsung Gallery. Tool availability depends on your device and Android version. [google-photos-video]
Check the App and Compatibility
Start by checking that you have Google Photos installed and open.
Google lists the following requirements and restrictions:
- Some editing features, including crop and straighten, require at least 1 GB of RAM and Android 6.0 or later.
- Adjustments and filters require at least 3 GB of RAM and Android 8.0 or later.
- Non-Pixel devices running Android 9 do not support video editing in Google Photos. This exclusion applies even if the device meets the RAM requirements. [google-photos-video]
These requirements do not confirm that every tool is available on every Galaxy model. If a tool is missing, check its requirements before following that part of the tutorial. [google-photos-video]
Trim the Beginning or End
Trimming is useful when you want to remove unwanted footage from the start or end of a video.
- Open Google Photos.
- Open the video you want to edit.
- Touch and hold a trim handle, then drag it to select where the portion you want to keep begins.
- Adjust the other handle to select where that portion ends.
- Tap Save at the top to save a copy with your edits. [google-photos-video]
The documented trim workflow selects one portion to keep; it does not describe removing a segment from the middle or joining multiple clips. If you want a still image instead, open the video and tap Export frame. [google-photos-video]
Crop or Rotate the Video
Cropping changes what appears within the frame, while trimming changes the selected duration.
- Open your video in Google Photos.
- Tap Crop.
- Choose the change you need:
- Tap Aspect ratio to choose a different frame shape, such as a square.
- Tap Rotate to rotate the video 90 degrees.
- Use the dial above Rotate for smaller straightening adjustments.
- Tap Save at the top to save an edited copy. [google-photos-video]
Google also documents an Auto option for straightening, but its availability depends on the video. [google-photos-video]
Before saving, check that the crop has not cut off faces, text, or other important details.
Adjust Brightness and Color
On a device that meets the adjustment requirements:
- Open your video in Google Photos.
- Tap Adjust.
- Select a control and move its dial to change the picture.
- Tap Done when you finish adjusting.
- Tap Save to save a copy with your edits. Done finishes the adjustment step; saving completes the edit. [google-photos-video]
Documented controls include Brightness, Contrast, Highlights, Shadows, Saturation, and Warmth. Adjustments require at least 3 GB of RAM and Android 8.0 or later, with the non-Pixel Android 9 exclusion still applying. [google-photos-video]
As an editing practice, make small changes and review the result before saving. Check both bright and dark parts of the video rather than judging the adjustment from a single frame.
Mute the Video
For a compatible Galaxy using the non-Pixel workflow:
- Open Google Photos.
- Open the video you want to edit.
- Tap Mute. [google-photos-video]
Google documents this direct Mute control for non-Pixel devices. Its separate Audio Eraser instructions are for Pixel 8+ devices, not Galaxy phones; do not use that Pixel-specific workflow for this tutorial. [google-photos-video]
When finishing your edits, use Save to retain an edited copy, then play the copy to check the result. Google’s documented saving workflows describe saving a copy with your edits. [google-photos-video]
Change the Video’s Speed
To make part of the video faster or slower:
- Open your video in Google Photos.
- Tap Speed.
- Touch and hold, then drag the trim handles to select the portion whose speed you want to change.
- Choose 2x or 4x to speed it up, or ¼x or ½x to slow it down.
- Tap Save to save a copy with your edits. [google-photos-video]
This is different from the separate Playback speed control, which changes how you watch the video without editing it. Use Speed when you want the saved video to contain the change. [google-photos-video]
Review the Saved Copy
After saving, review the edited copy rather than relying only on the editing preview.
Final Review Checklist
- Play the edited copy from beginning to end.
- Check that the opening and ending are intentional.
- Look for important details cut off by the crop.
- Check that brightness and color changes work throughout the video.
- Listen for speech or other sound you intended to retain—or confirm that a muted video is silent.
- Confirm that any speed change affects the intended portion.
FAQ
Are These Steps for Samsung Gallery?
No. They describe Google Photos on a compatible Galaxy, not Samsung Gallery. The button names and workflows come from Google Photos Help. [google-photos-video]
Does Saving Replace My Original Video?
Google’s documented trim, crop, and other saving workflows describe Save as saving a copy with your edits. Review that edited copy after saving. [google-photos-video]
Why Might an Editing Tool Be Unavailable on My Galaxy?
Tool availability depends on the requirements. Google lists RAM and Android-version limits and excludes video editing on non-Pixel devices running Android 9. Audio Eraser is limited to Pixel 8+ devices. These requirements do not establish compatibility for every individual Galaxy model. [google-photos-video]
Can I Remove a Section from the Middle or Combine Several Clips?
The trim workflow covered here lets you select a portion of one video to keep. It does not document removing an internal segment or joining multiple clips, so those tasks are outside this tutorial. [google-photos-video]
What Is the Difference Between Done and Save?
In the adjustment workflow, Done finishes your changes to the adjustment controls. Use Save to finish the editing workflow and save an edited copy. [google-photos-video]
Sources
- [google-photos-video] Edit your videos - Android phone and tablet - Google Photos Help