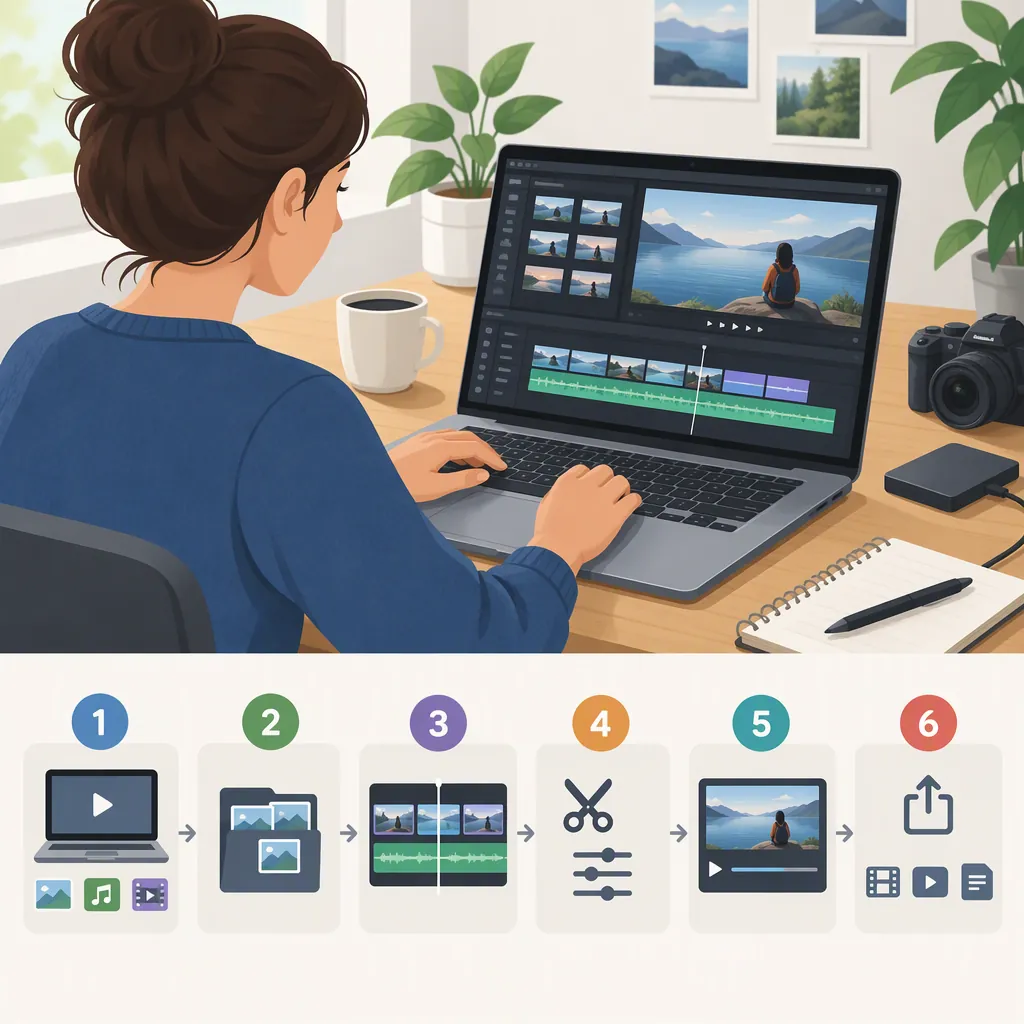
Video Editing for Beginners: From Raw Clips to a Finished Video
To edit your first video, organize your files, choose a project aspect ratio, arrange the essential clips, trim mistakes and repetition, balance speech and music, check captions, and export a format your destination supports. Focus on a clear sequence and understandable audio before adding effects. This workflow combines the basic editing stages described in the supplied guides; exact controls vary by editor. [c1] [c2]
1. Plan and Organize Your Project
Start with a small practice project: for example, a short explanation of a familiar task using footage you recorded yourself. Write one sentence describing what the viewer should understand by the end.
Before importing media:
- Create a project folder with separate folders for video, audio, images, and exports.
- Give files descriptive names so you can distinguish takes and subjects.
- Review your clips and note which contain the clearest explanation or action.
- Write a simple sequence: introduce the task, show the steps, then show the result.
- Save your editing project and keep a backup of your source files.
Organization and a basic outline are recommended in the Descript guide; Riverside also recommends saving and backing up work. If you still need to record footage, capture extra time before and after the action so you have room to choose your cut points. [c1] [c2]
First-Video Planning Worksheet
Fill in before editing:
- Viewer should understand: __________
- Opening clip: __________
- Main steps or points, in order: __________
- Closing result: __________
- Supporting footage needed: __________
- Intended viewing destination and frame shape: __________
- Source-file backup location: __________
2. Learn the Workspace and Set the Frame
For this exercise, use an editor that lets you arrange clips, change their length, split them, adjust audio, and export a video. Check its hardware requirements rather than assuming every editing application will run well on your device. These are selection considerations, not a recommendation for a particular product. [c1]
A timeline displays the sequence over time and provides a place to rearrange footage, trim clips, and work with audio. Resolution describes the image dimensions in pixels; aspect ratio describes the relationship between its width and height. They are different settings. [c3]
Choose the intended frame shape before detailed editing. As practice examples, 16:9 is a landscape frame and 9:16 is a portrait frame. Use the requirements of your actual destination to decide which is appropriate, rather than treating one shape as universal. The Descript guide recommends choosing the project format and aspect ratio before editing. [c1]
Import your selected media, put a clip in the sequence, and preview it. Locate the controls for moving through the sequence, trimming, splitting, undoing changes, and saving. Button names and shortcuts differ between applications.
3. Arrange, Trim, and Split Your Clips
Build a rough cut: an initial sequence focused on content and order, not polish. Put the opening, main steps, and result in place before working on decorative elements.
Trimming removes unwanted material from a clip's beginning or end. To remove an unwanted passage in the middle, use your editor's split or cut controls to separate that passage, then remove it from the sequence. The supplied guides identify trimming and cutting as basic editing operations. [c1] [c2]
Try this editing pass:
- Trim the opening of each clip to the point where useful speech or action begins.
- Trim the end after the relevant thought or action finishes.
- Remove an obvious mistake or repeated explanation from the middle.
- Check whether the removal left an unintended gap between clips.
- Play through each edit to check the words and movement on both sides.
Keep what the message needs, even if that means leaving out footage that took effort to record. Both guides recommend removing material that is unusable, repetitive, or unnecessary to the story. [c1] [c2]
4. Refine Pacing and Use Simple Transitions
Watch the rough cut from beginning to end. Note where an explanation repeats, a pause feels unnecessary, or a step passes too quickly to understand. Adjust those places, then watch again.
Pacing is shaped partly by clip length: shorter clips can create a faster rhythm, while longer takes can give a scene more time to unfold. Avoid changing the rhythm abruptly without a reason. There is no single clip length prescribed here for every beginner video. [c1] [c2]
Start with direct cuts between clips. Within the same scene, a transition effect may not be needed. If a scene change benefits from an effect, try a restrained dissolve rather than adding an elaborate transition at every edit. [c1]
Supporting footage can show a detail while an explanation continues. For a task demonstration, an optional practice edit is to place a close-up of the relevant action over the corresponding explanation. Preview it to confirm that the picture supports, rather than contradicts, what is being said. Riverside describes cutaways as a way to shift attention and vary a scene. [c2]
5. Balance Audio, Check Captions, and Adjust Color
Listen to the sequence before adding more visual effects. Balance audio tracks so speech stands out and neighboring clips do not have distracting volume changes. If you add music, lower it where necessary so it does not overpower the explanation. Use music only when you have permission for the intended use; check the applicable license rather than assuming a free download grants unrestricted rights. [c1] [c2]
Add captions where appropriate, then compare them with the final audio. Riverside recommends checking generated captions for accuracy. As a practical review step, also check timing, names, and whether the text obscures an important part of the image. [c2]
For color, begin with corrective changes aimed at a natural appearance. Compare adjacent shots and make restrained adjustments where needed. Color correction aims to correct the image; color grading changes color and contrast for a creative look. A stylized grade is optional, not a requirement for finishing your first video. [c1]
6. Export and Review the Finished File
Once the edit is ready, check which export formats and settings your destination accepts. The Descript guide notes that export options vary between editors and recommends confirming that the upload platform supports the chosen format. The supplied references do not establish current specifications for every platform, so this guide does not prescribe a universal resolution or bitrate. [c1]
Save the project, export the video, and open the exported file for a separate review. Use this checklist as a practical final check—not as a platform-specific technical standard.
Export Review Checklist
- [ ] The exported file opens and plays through to the end.
- [ ] The opening and ending are intentional.
- [ ] There are no unintended gaps or missing images.
- [ ] Speech is understandable and music does not cover it.
- [ ] Captions match the final edit and do not obscure essential details.
- [ ] The frame shape and file format match the intended destination.
- [ ] Permissions for included music and other third-party media have been checked.
- [ ] The project and source files are saved and backed up.
FAQ
What Should a Beginner Learn First?
Start with organizing footage, arranging clips, trimming, splitting, adjusting audio levels, and exporting. Practice these on a small project before exploring complex effects. The supplied guides emphasize a clear story, appropriate pacing, and sound rather than effects alone. [c1] [c2]
Do I Need a Transition Between Every Clip?
No. A direct cut is often enough, particularly between shots in the same scene. Use a transition effect when it helps communicate a change or supports the intended pacing, rather than applying one automatically. [c1]
Can Editing Fix Blurry Video or Bad Audio?
Only to a limited extent. Riverside's guide cautions that editing software cannot fully compensate for poor-quality recordings. Prefer a usable alternate take when available, or consider recording again if an essential passage cannot be seen or understood. [c2]
What Export Settings Should I Use?
Use settings supported by the intended viewing destination and appropriate for your project. There is no universal preset established by these references. Check the destination's requirements before choosing a format, and review the exported file afterward. [c1]