How to Cut Video with Vlc Using Its Recording Function
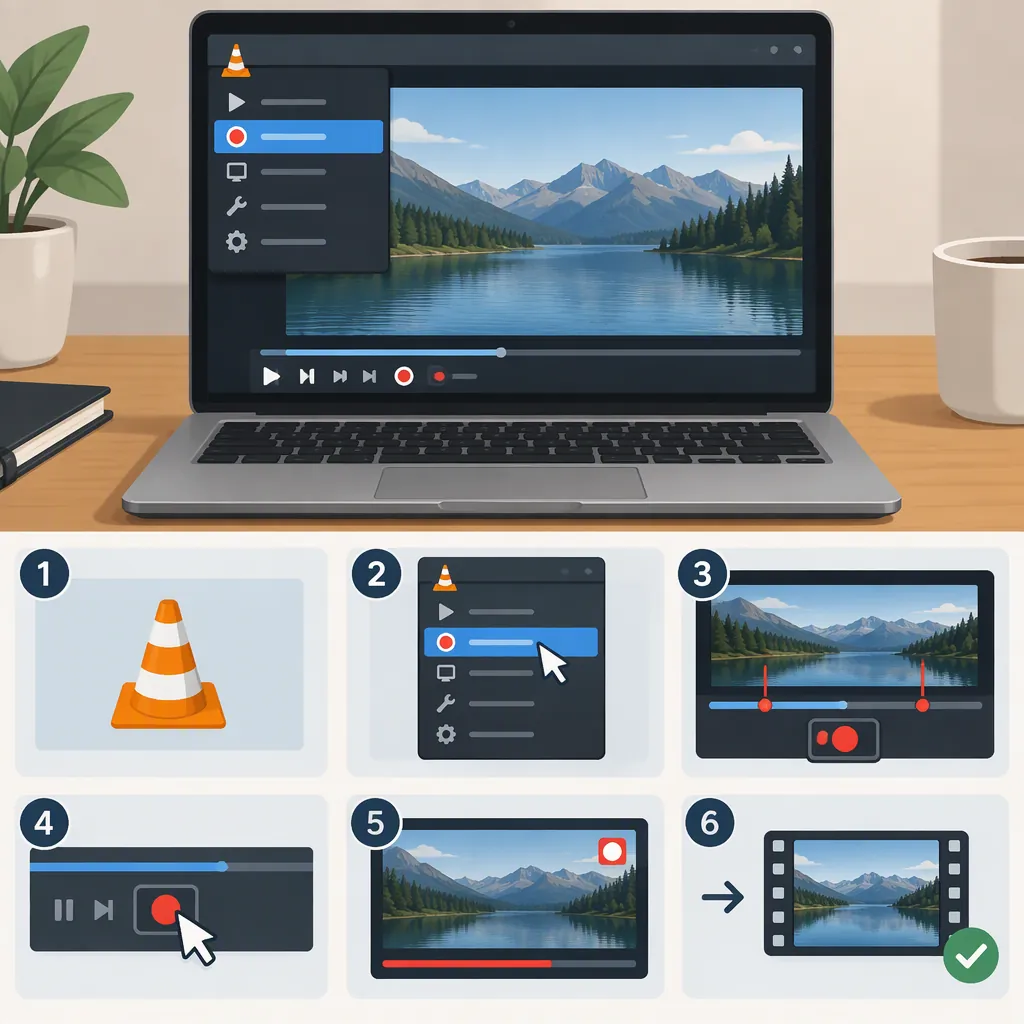
To cut video with VLC, record the portion you want to keep: open the video, enable View > Advanced Controls, start playback at your chosen beginning, click Record, and click Record again at the end. This creates a recorded segment rather than a timeline edit. The cited PC guide documents this workflow; Mac menu instructions in the supplied source are less clear. [vlc-pc] [vlc-mac]
What Cutting with Vlc Means
The workflow described here uses VLC’s recording function to capture a section during playback. It is not a timeline operation in which you mark an exact in-point and out-point and export the selection. Both supplied guides describe recording as the way to obtain a shorter clip. [vlc-pc] [vlc-mac]
Use this approach for a simple excerpt. If your task requires precise frame boundaries, deleting a section from the middle, or assembling several clips into one sequence, a timeline editor is a more appropriate workflow. The sources distinguish VLC’s recording approach from more involved editing, and the Mac guide specifically notes the lack of a true timeline cutting tool. [vlc-pc] [vlc-mac]
These instructions are based on third-party guides, not official VLC documentation or a verified test of your installed version. Treat the menu paths as guidance rather than a guarantee that every interface will match.
Record a Video Segment on a PC
The PC guide documents the following steps. Choose the save folder first so you know where to look afterward. [vlc-pc]
- Open VLC and go to Tools > Preferences.
- Select Input / Codecs and find Record directory or filename. Use Browse to choose an output folder if needed.
- Open the video you want to shorten.
- Select View > Advanced Controls. The guide places the additional controls near the lower-left corner of the player.
- Start playback and move the playback slider to the beginning of the portion you want to keep.
- Click the red Record button to start capturing.
- Let the desired section play, then click Record again at your intended endpoint.
- Look for the resulting clip in the recording folder. [vlc-pc]
This is a playback-based process: the guide tells you to wait for the desired section to reach its endpoint before stopping the recording. It does not document an instant export of a marked time range. [vlc-pc]
Clip Capture Checklist
- [ ] Write down the desired start and end times.
- [ ] Choose a recording folder before capturing.
- [ ] Open the source video and display the recording controls.
- [ ] Start recording at the intended beginning.
- [ ] Stop recording at the intended end.
- [ ] Open the saved clip and inspect both boundaries and the audio.
Mac Instructions and Menu Limitations
The supplied Mac guide also recommends recording the section you want rather than using a timeline trim. It gives VLC > Preferences > Input/Codecs > Record directory or filename as the place to choose an output location, followed by adding the video and recording the desired portion. [vlc-mac]
However, its recording instructions are inconsistent: one passage refers to View > Advanced Controls, while another gives View > Advanced Controls > Replay Menu. The provided material is therefore insufficient to verify a single, reliable Mac recording-menu path. [vlc-mac]
For a Mac workflow, first look for the recording-directory setting described above. Then check whether your installed VLC interface exposes a recording command. If the cited menu labels are absent, do not assume the PC steps apply unchanged. Consult documentation for your installed version rather than relying on the ambiguous menu sequence in the supplied guide.
Find and Check the Saved Clip
If you cannot find the clip, check Record directory or filename in VLC’s preferences. The PC guide recommends inspecting that field and choosing a folder with Browse if the path is missing or you want a different location. The Mac guide likewise recommends defining the folder before recording. Neither supplied guide establishes a universal default folder for every installation. [vlc-pc] [vlc-mac]
Before treating the excerpt as finished:
- Open the saved clip, not just the original video.
- Watch the beginning and end to check whether the desired content is included.
- Listen to the audio and check that it meets your needs.
- Compare the clip with your intended time range.
The supplied guides do not establish guaranteed frame-accurate boundaries, lossless output, or one output format for every source file. Avoid assuming those properties. If exact boundaries or a specified delivery format are essential, use a workflow that explicitly supports and lets you verify those requirements.
FAQ
Does Vlc Trim a Video or Record It?
The method in the supplied guides records the portion you want while it plays. It produces a shorter clip, but it is not a timeline trim with a marked selection and export operation. [vlc-pc] [vlc-mac]
Where Does Vlc Save the Recorded Clip?
Check the Record directory or filename field under Input / Codecs in preferences. The PC guide reaches preferences through Tools; the Mac guide uses the VLC menu. The sources do not verify one default folder for all installations. [vlc-pc] [vlc-mac]
Can This Method Remove a Section from the Middle of a Video?
The documented VLC workflow captures a continuous excerpt; it does not describe deleting a middle section and joining the remaining parts. For that task, use a timeline-editing workflow. The sources recommend a dedicated editor for more involved editing. [vlc-pc] [vlc-mac]
Is the Result Frame-Accurate or Guaranteed Lossless?
The supplied guides do not establish either guarantee. Their recording workflow relies on starting and stopping capture during playback. Inspect the saved clip, and do not assume exact boundaries or unchanged quality without verification. [vlc-pc] [vlc-mac]