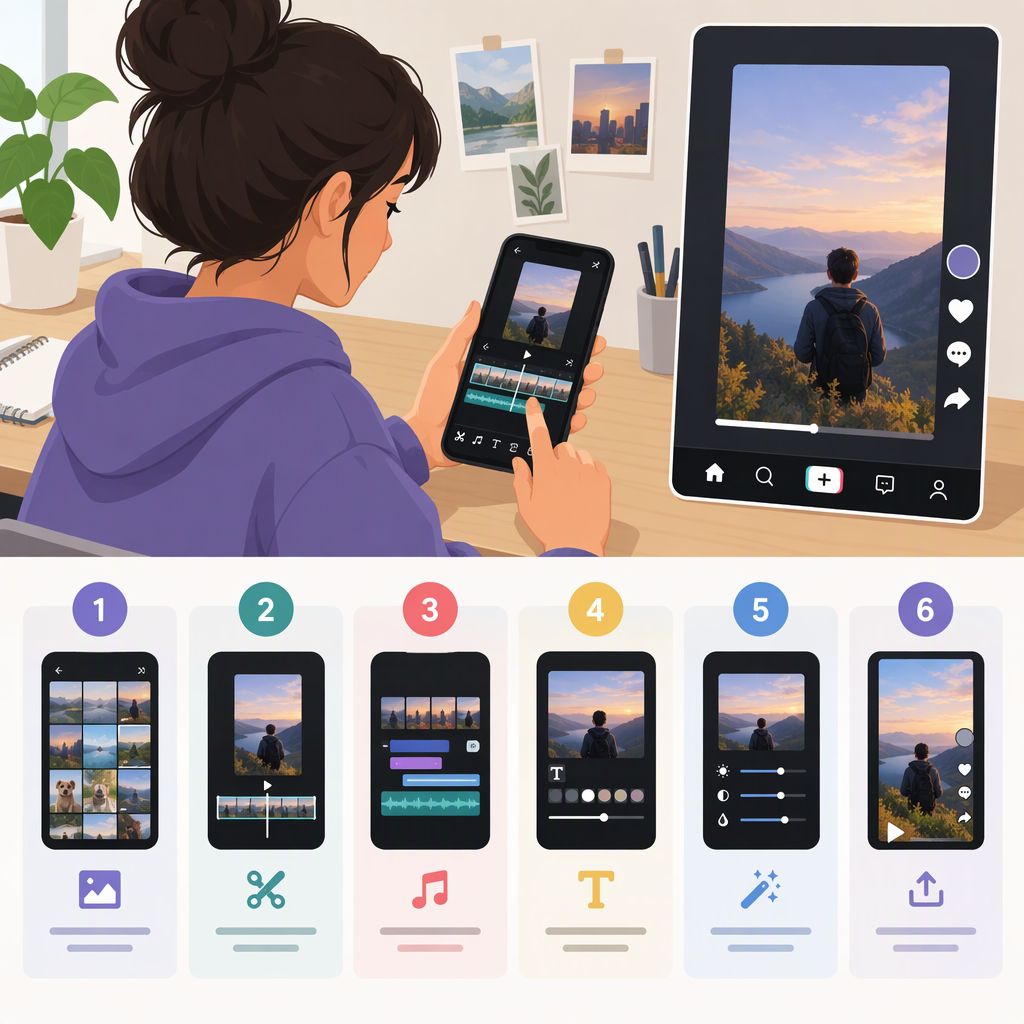
How to Make TikTok Edits: A Beginner’s Step-By-Step Guide
A good TikTok edit starts with one clear idea, then puts clips, sound, and text in an order that’s easy to follow. You can make the edit in TikTok or use a separate editor and upload the finished video; choose the route that fits your workflow, and check TikTok’s current options because tools can vary across app and web experiences. (support.tiktok.com)
Quick Workflow
- Pick one idea for the video and decide what viewers should see or understand.
- Choose your clips and put them in a beginning-to-end order.
- Trim and arrange the footage so each shot contributes to the idea.
- Add sound and line up important moments with the audio.
- Add text or captions where they help viewers follow along.
- Preview the whole edit, fix anything confusing, then prepare your post.
Choose Where to Edit
Edit in TikTok if you want to record or upload footage and make changes in the same app. TikTok’s Help Center describes adding text after recording or uploading, and adding a sound from the recording or editing screen. (support.tiktok.com)
Use a separate editor if you already have a workflow there or prefer to make the edit before uploading it to TikTok. That means an extra step: export or save the finished video, then upload it. The available controls depend on the editor you use, so check its instructions for exact steps and settings.
Neither route is right for everyone. For a first edit, choose the one that feels simpler to complete. You can also make a rough cut elsewhere and finish with TikTok tools, but preview the uploaded version: text placement, sound, or timing may need another look. TikTok notes that tool availability can vary between its app and web experiences, and some features may not be available in every region. (support.tiktok.com)
Make Your Edit Step by Step
1. Start with a Simple Plan
Write down the point of the video in one sentence. Then sketch a basic sequence: opening, main moment, ending. This keeps you from collecting clips without knowing what the edit is meant to show.
For example, a hypothetical four-clip cooking edit could show the ingredients, a preparation step, the finished dish, and a final close-up. That’s just a planning example—not a tested format or a platform requirement.
2. Select and Order Your Footage
Choose the clips that help tell the story and arrange them in the order a viewer needs to see them. Put the clearest or most relevant moment early if it helps viewers understand what the video is about. Remove footage that repeats information or interrupts the sequence.
3. Trim for Clarity and Pace
Shorten a clip when its beginning or end doesn’t add useful information. Keep enough context for each action to make sense, and watch the transitions between clips: a cut should feel intentional, not like it removed a necessary step.
Read the sequence once without sound. If it’s hard to understand what happens, reconsider the clip order or keep more context. This is a general editing check, not a TikTok-specific rule.
4. Add Sound and Coordinate It with the Cuts
Choose sound that suits the video, then preview the edit from beginning to end. If a beat or sound cue matters to your idea, try placing a cut or visual change near it. Make sure any speaking or other important original audio remains understandable.
In TikTok, the Help Center says you can add a sound from the recording screen or editing screen; its sound instructions also describe previewing a sound and adjusting the sound clip. The exact controls you see may depend on your workflow and account. (support.tiktok.com)
If the video promotes a business, product, or service, don’t assume every sound is cleared for that use. TikTok says businesses should use its Commercial Music Library for commercial TikTok activity rather than the general music library. Check the applicable sound terms for your intended use. (ads.tiktok.com)
5. Add Text or Captions That Are Easy to Read
Use on-screen text for a short title, a key detail, or information that might otherwise be missed. Keep it concise, use strong contrast against the background, and place it where it doesn’t cover the main action. Preview it on the video rather than judging the text by itself.
TikTok’s instructions describe adding text after recording or uploading, moving it on screen, and changing its font and color. If you use automatically generated captions, review them: TikTok provides options to preview and edit creator captions. (support.tiktok.com)
Preview Before Posting
Watch the complete edit once more and check:
- Framing: Is the subject visible throughout? Does text cover anything important?
- Sequence: Do the clips make sense in order, with enough context to follow the action?
- Pacing: Are there sections that feel unnecessarily long or abruptly cut off?
- Sound: Can you hear the important audio? Does it begin and end where you expect?
- Text and captions: Are they readable, correctly placed, and accurate?
- Playback: Does the video play through as intended after your final changes?
TikTok’s Help Center describes selecting a video cover and saving a draft from the post flow. If you’re not ready to post, a draft can give you a chance to review your work later; TikTok notes that drafts may be removed if the app is uninstalled and reinstalled or the account is moved to another device. (support.tiktok.com)
Exact controls and posting options can change or vary by account, region, and app experience. Use the settings shown in your current workflow rather than relying on an unverified export size, duration limit, or button location.