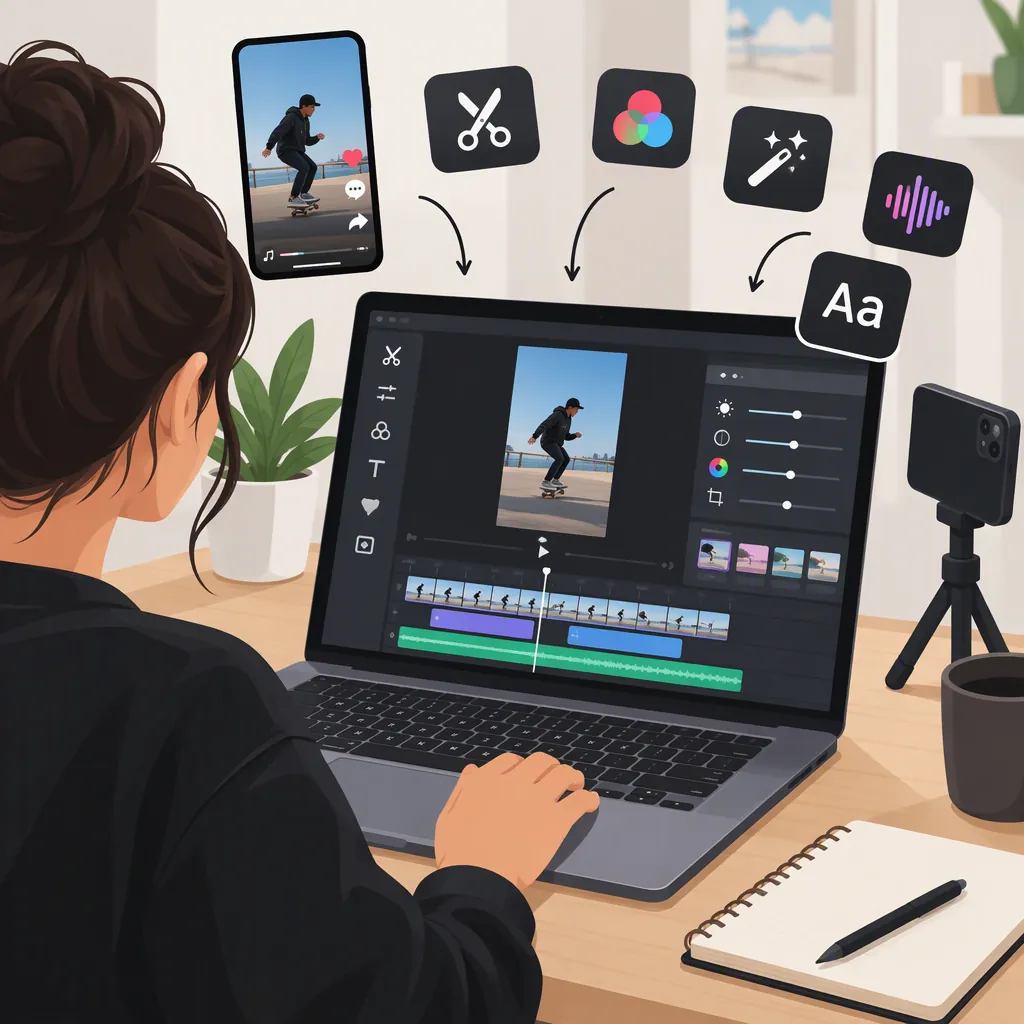
How to Edit TikTok Videos Like a Pro
To edit TikTok videos like a pro, plan one clear idea, arrange your strongest clips, trim repetition, add readable captions, balance speech and music, and use transitions deliberately. Preview the finished video on your phone before posting. The supplied guides support these techniques, but they do not establish a formula for views or verify every current TikTok control. [src_1] [src_2]
Plan the Edit Before You Record
Start with a sentence that describes what the viewer should understand by the end. For a tutorial, that might be how to complete one task; for a transformation, it might be the difference between the starting point and the result.
Then sketch a short sequence: opening, essential steps, and payoff. Descript’s guide recommends storyboarding clips and deciding on camera position and topic before recording. [src_2]
As a practical starting point:
- Open with the result, question, or action that defines the video.
- Record each necessary step as a separate shot.
- Capture a close-up when a detail needs explanation.
- Leave a little footage before and after each action so you have room to adjust the cut.
For a matched transformation, keep the phone in the same position between takes. Rachel Pedersen’s tutorial recommends this approach to minimize changes in the background. [src_1]
Three-Part Shot Plan
Fill this in before filming:

- Main idea: _____
- Opening shot that establishes the idea: _____
- Essential steps or evidence: _____
- Detail that needs a close-up: _____
- Final result or takeaway: _____
- Position or movement to match between shots: _____
Build a Clear Rough Cut
Arrange the clips in an order that makes sense before adding filters, music, or animated text. Descript’s guide recommends removing long introductions and sections that do not add value. [src_2]
Use two editing passes:
- Structure pass: Remove repeated explanations, failed takes, and shots that do not support the main idea.
- Timing pass: Tighten the beginning and end of each clip while keeping enough time to understand the action.
Do not interpret tighter pacing as a requirement to cut every second. For a demonstration, preserve the movement someone needs to see. For spoken advice, preserve pauses that clarify meaning.
A useful review question is: “If I remove this shot, does the explanation become less clear?” If not, try the shorter version and compare both.
Make Captions Readable and Well Timed
Treat speech captions and emphasis text as different layers. Speech captions convey the spoken words; emphasis text highlights a step, label, or takeaway.
Descript’s guide recommends subtitles for people watching without sound and readable fonts with contrasting colors. Rachel Pedersen’s tutorial advises keeping text away from areas occupied by the post caption and reaction controls. [src_2] [src_1]
For a practical caption pass:
- Correct names, technical terms, punctuation, and transcription mistakes.
- Break long passages into readable phrases.
- Align each phrase with the speech it represents.
- Avoid covering the object, hands, or face needed to understand the shot.
- Check placement in the posting preview rather than relying on a fixed margin.
Watch once with sound off. If the explanation becomes unclear, revise the captions or add a short visual label. Avoid stacking multiple text elements that compete for attention.
Balance Audio and Make Transitions Deliberate
Choose audio according to its role. In a spoken tutorial, prioritize intelligible speech. In a music-led transformation, plan the reveal around a specific musical moment. Descript’s guide recommends trimming the selected audio segment and synchronizing key actions with musical peaks or drops. [src_2]
As an editing exercise, lower the background track until every word is easy to understand at an ordinary phone listening volume. Listen across cuts for abrupt changes in voice level or background noise.
For transitions, start with a direct cut. Add an effect only when it helps communicate a change in place, time, or action. Descript’s guide cautions that overly elaborate transitions can distract from the content. [src_2]
To practice a matched-action transition:
- Keep the camera position consistent.
- End the first shot during a movement, such as raising a hand.
- Begin the next shot with a similar position and movement.
- Adjust the cut until the action feels continuous.
This exercise builds on Pedersen’s segmented transformation examples; it is not dependent on a particular effect button. [src_1]
Choose Tools by the Editing Task
Use the simplest workflow that gives you the control your edit needs. Descript’s guide describes TikTok’s in-app tools for quick trims, text, sounds, and clip arrangement, and discusses external editors for more involved projects. This is a workflow distinction, not a recommendation for a particular paid product. [src_2]
Before committing to an editor, test whether you can make precise cuts, correct captions, adjust audio levels, and export a clean sample. Do not assume a tool’s current features or pricing from these references.
For a vertical project, the Descript guide recommends a 9:16 frame at 1080 × 1920 pixels and MP4 with H.264 encoding. Treat these as starting settings, not verified current TikTok upload requirements. [src_2]
Keep important details inside the vertical composition, avoid stretching footage, and inspect the exported file rather than only the editor preview.
Review the Finished File Before Posting
Export a test version and watch it from beginning to end; this is also recommended in Descript’s troubleshooting guidance. [src_2] Review the actual file on your phone, then inspect text placement in TikTok’s posting preview.
The supplied references are third-party tutorials, not official TikTok documentation. They differ on editing controls: Pedersen’s tutorial describes a limitation on trimming recorded segments, while Descript’s guide describes in-app trimming. Do not treat older button locations, effect limits, or post-publication editing windows as verified current rules. [src_1] [src_2]
Save your source clips and editable project. As a precaution, finish visual edits before publishing rather than depending on the ability to change a published video.
Final Review Checklist
- [ ] The opening clearly establishes the subject.
- [ ] Every shot contributes to the explanation or result.
- [ ] Important actions remain understandable after trimming.
- [ ] Captions are accurate and synchronized.
- [ ] Text avoids key visual details and interface overlays.
- [ ] Speech is easy to hear over music.
- [ ] Transitions support the sequence rather than distract.
- [ ] The exported file has no unintended black frames or audio gaps.
- [ ] The video makes sense when watched without sound.
- [ ] Source clips and the editable project are saved.
FAQ
Do I Need a Paid Editor to Make Polished TikTok Videos?
Not as a starting requirement. The supplied guides describe editing inside TikTok, including segmented recording, text, sound, and quick edits. Choose an external editor only if your project needs controls your current workflow cannot provide. These sources do not verify current prices or free-plan limits. [src_1] [src_2]
How Can I Make TikTok Transitions Look Smoother?
For a matched transformation, keep the camera position stable and match the subject’s position and movement across shots. Adjust the cut around the shared action before adding an effect. Pedersen’s tutorial uses stable framing for segmented transformations, while Descript’s guide recommends avoiding overly distracting transitions. [src_1] [src_2]
What Export Settings Should I Start With?
A practical starting point from the Descript guide is vertical 9:16 video at 1080 × 1920 pixels, exported as MP4 with H.264 encoding. These are tutorial recommendations, not independently verified current platform requirements. Review the exported file and posting preview before publishing. [src_2]