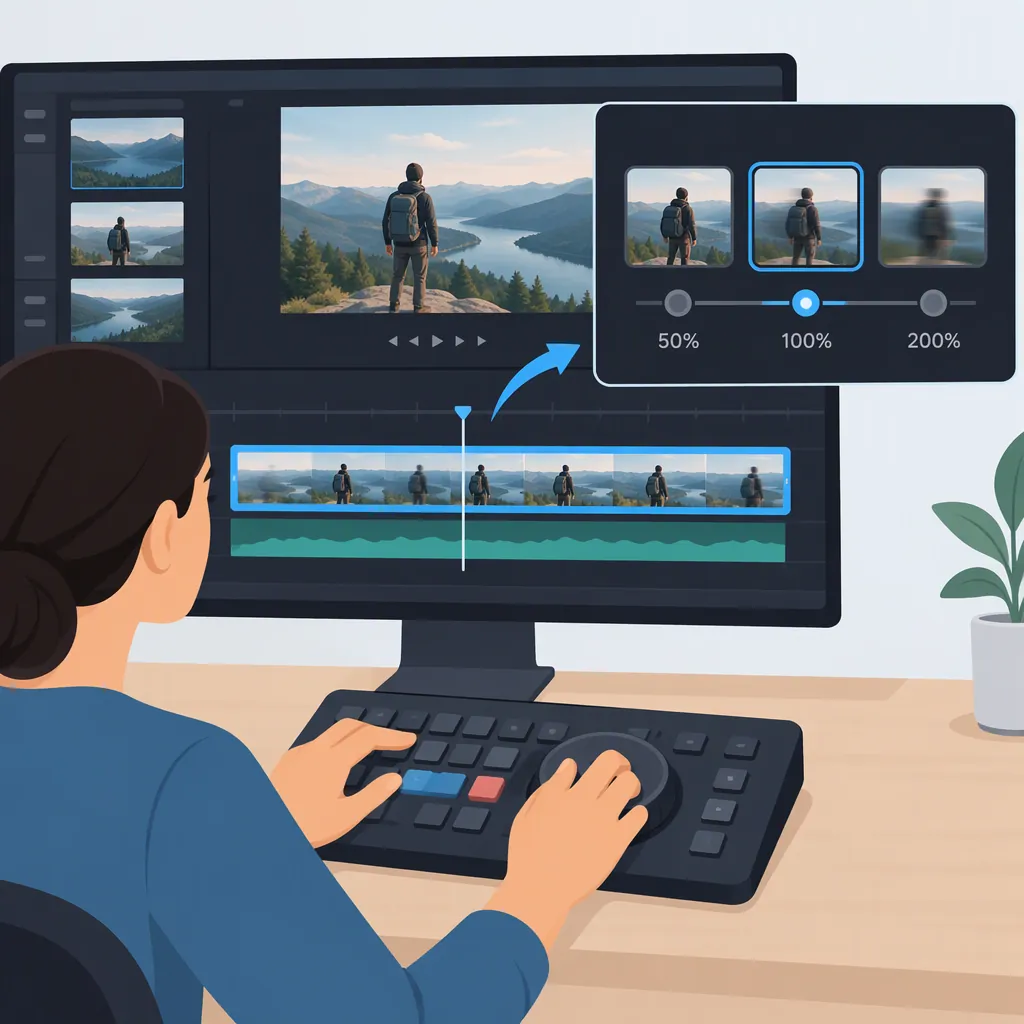
Video Speed Editor: How to Speed up or Slow Down a Clip
To change video speed, select or upload a clip, open the editor’s speed control, choose a faster or slower setting, and preview the result before exporting. In Clipchamp, select the timeline clip and open the Speed tab; 1x restores its original speed. Adobe Express documents an upload, adjust, and download workflow. Controls and available settings differ by editor. [c1] [c2]
Choose the Speed Change You Need
Start by deciding which part of the clip needs a different pace. For an instructional video, consider slowing the moment that needs closer inspection rather than changing the whole recording. For a repetitive sequence, consider a faster setting, then check whether viewers can still follow the action.
Use the speed multiplier as your reference. Microsoft’s instructions explain that increasing speed makes the clip shorter on the timeline, while decreasing speed makes it longer. Setting the clip to 1x restores its original playback speed. [c1]
For a constant-speed change, you can estimate the new duration by dividing the original duration by the speed multiplier. As a calculated example, a 20-second clip at 2x becomes 10 seconds; at 0.5x, it becomes 40 seconds. These examples assume the entire clip receives the same speed change and no other timing edits.
Speed-Change Planning Worksheet
- Original clip duration: ____ seconds
- Portion to change: ____
- Intended speed multiplier: ____x
- Estimated duration of that portion: original duration ÷ multiplier
- Detail that must remain understandable: ____
- Audio to keep, mute, or handle separately: ____
Apply the Speed Change
The exact controls depend on your editor. The following are two documented workflows, not universal instructions for every video speed editor.
Timeline workflow in Clipchamp:
- Select the video clip on the editing timeline.
- Open the Speed tab in the property panel.
- Adjust the slider or enter a numeric value. Microsoft documents a range of 0.1x to 16x.
- Check the clip’s new length before continuing with surrounding edits. [c1]
Microsoft identifies these instructions as being for personal accounts and says the same principles apply to work and school accounts. [c1]
Upload workflow in Adobe Express:
- Upload a video from your device. The referenced page specifies a video up to one hour long.
- Choose a speed setting and preview the change.
- Adjust again if needed, then download the result or continue editing. [c2]
If you want to change only one moment, first check how your editor isolates a segment. Do not assume that selecting a speed setting affects only the portion currently visible in the preview.
Check Audio and Timeline Alignment
Do not judge the edit by picture alone. Adobe’s guidance warns that changing video speed can have unexpected effects on audio and identifies a Mute option for removing it. That guidance does not establish that every editor preserves voice pitch automatically. [c2]
In Clipchamp, speed changes also apply to audio embedded in the selected video clip. If audio is a separate timeline asset, Microsoft says it can be edited independently. [c1]
After changing speed, listen to speech and important sounds. If you handle narration or music separately, review its alignment with the new video timing rather than assuming it remains synchronized.
Also inspect the points where the changed clip meets neighboring clips. Because the speed adjustment changes the clip’s length, review nearby cuts, text, and other timed elements before export. [c1]
Audio and Timing Review Checklist
- Play the edited section with sound enabled.
- Check whether speech remains understandable.
- Confirm whether audio changed with the video or remained separate.
- Review alignment at the beginning and end of the changed section.
- Check nearby cuts and timed text.
- Decide whether to keep the audio, adjust it separately, or mute it.
Review the Exported Result
Treat the preview and the saved file as separate review steps. After exporting or downloading, open the resulting file and check the edited section, its duration, and its audio. Adobe Express documents previewing speed adjustments and downloading the edited video, but the provided sources do not establish universal export settings or output-quality guarantees. [c2]
If the result feels too fast or too slow, return to the project and make a smaller adjustment. In Clipchamp, setting the selected clip to 1x restores its original speed without resetting other edits. Microsoft also documents undo and redo for reverting or reapplying changes. [c1]
Keep the original source file until you have finished reviewing the output. Use an export name that distinguishes the edited version from the original.
Final Output Checklist
- Open the saved video outside the editing preview.
- Confirm the intended speed change is present.
- Compare the duration with your estimate.
- Watch the transition into and out of the changed section.
- Listen for unwanted audio changes or misalignment.
- Keep the original file and label the edited version clearly.
FAQ
How Do I Return a Clip to Normal Speed?
In Clipchamp, select the clip and set its speed to 1x. Microsoft says this restores the original playback speed without resetting other edits. Other editors may use different controls. [c1]
Does Changing Video Speed Also Change the Audio?
In Clipchamp, it does when the audio is embedded in the video clip. Separate audio assets can be edited independently. Adobe Express also warns that speed changes can affect audio and offers a mute option. Check the behavior in your chosen editor rather than assuming audio stays unchanged. [c1] [c2]
Can Every Video Speed Editor Use the Same Settings?
Do not assume identical settings. Microsoft documents a 0.1x–16x range for Clipchamp, while the provided Adobe Express page describes a selection of speeds without listing an exact numeric range. Check the available controls in the editor you are using. [c1] [c2]