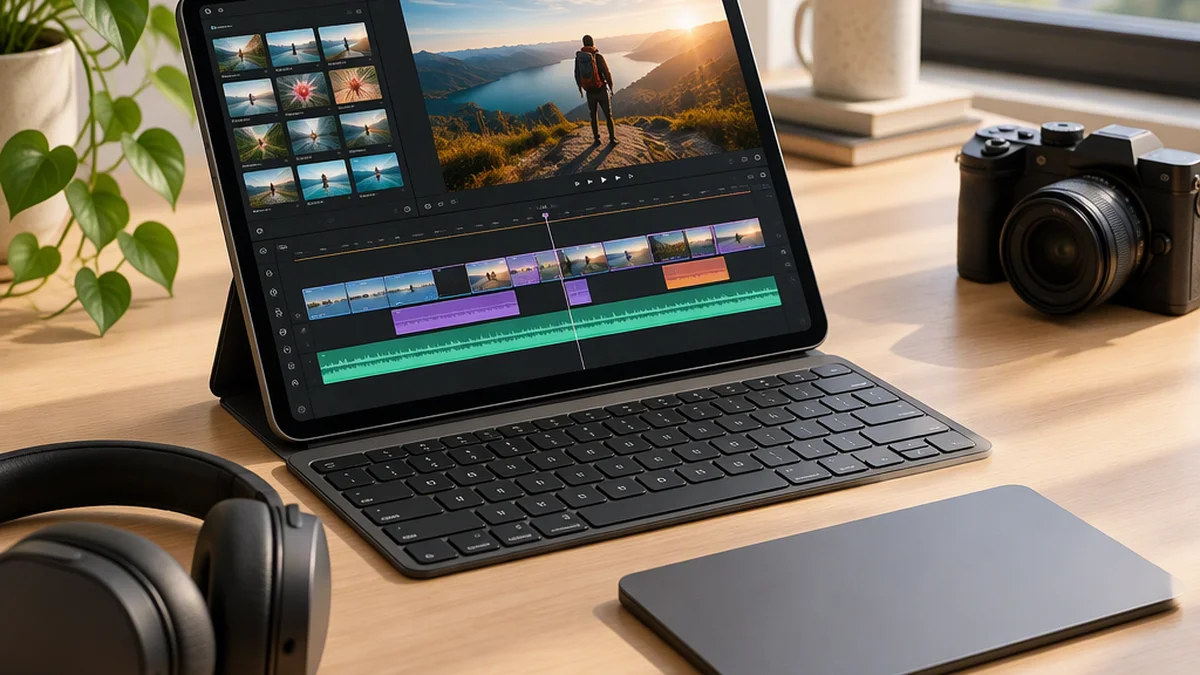
iPad Pro Video Editing: A Practical Workflow for Beginners and Creators
iPad Pro video editing is a practical option for social clips, travel videos, short tutorials, and personal projects. The key is choosing an app that fits your edit, keeping source files organized, and testing the complete workflow—from import to delivery—before relying on it for a deadline.
This guide explains how to choose an app, complete a simple edit in iMovie, manage your files, and recognize when a desktop workflow would be more suitable.
Is iPad Pro Video Editing Practical?
Yes, especially when portability matters more than a large workspace. You can review footage, assemble a timeline, adjust audio, and export a finished video away from a desk.
The main trade-offs are:
- Screen space: A compact display can make long timelines and detailed adjustments harder to navigate.
- Storage: Source footage, app-managed media, and exports can compete for available space.
- App capabilities: Your editor must support the footage, editing tools, and delivery format your project requires.
- File management: Moving files between apps and preserving an editable project requires planning.
A 2022 personal account, 5 Things I Learned From Editing Videos On My iPad Pro, reports smooth editing and rendering of 4K footage on a 2020 11-inch iPad Pro. This is one creator’s experience, not a controlled benchmark. Results can vary with the device, app, footage format, timeline complexity, effects, and free storage.
Choose an App for the Project
There is no single best iPad video-editing app for every creator. Start with the simplest editor that can meet your delivery requirements.
The comparison below is a starting point, not a current feature or pricing audit. The Medium account discusses all three apps, but its usability judgments are personal observations.
| App | Best starting use | Why consider it? | Main decision point |
|---|---|---|---|
| iMovie | Straightforward personal videos, tutorials, and short sequences | Basic trimming, clip arrangement, titles, and music provide a manageable starting workflow | Check whether its framing, timeline, and finishing tools cover your project before committing |
| VN Video Editor | Shorts and social clips | The Medium writer used it for TikToks and shorts and preferred its more desktop-like interface | Test the intended aspect ratio, text workflow, and export options in your installed version |
| LumaFusion | Projects that need a more substantial timeline workflow | The Medium writer found it approachable while offering more capability than simpler tools | Confirm the specific track, audio, format, and project-management features you need before purchasing |
When Should You Move Beyond a Basic Editor?
Consider a more capable timeline tool when your current app cannot handle a requirement cleanly—for example, independently controlling several video or audio elements, making detailed audio adjustments, or producing the required export format.
Do not change apps just because a project is longer. First identify the actual obstacle. A simple interview may need fewer tools than a short video with several overlays and tightly timed audio.
Before paying for an app, check the publisher’s current information for:
- Compatibility with your iPad model and iPadOS version
- Supported source formats and export settings
- Track, title, audio, and effect capabilities
- Project backup and media-management behavior
- Current pricing and any separately charged features
Prepare Your Media and Storage
Keep three types of files distinct:
- Source media: Original clips, recordings, music, and graphics.
- Editable project: The app’s timeline and editing decisions.
- Exports: Finished video files intended for review or delivery.
An exported video is not a substitute for an editable project.
For example, you could organize material in Files like this:
Travel-Video/
  Source-Video/
  Audio/
  Graphics/
  Exports/
  Project-Backups/
This is an organizational example, not a folder structure every editing app requires.
Before Importing
- Check available iPad storage and leave room for app-managed media and exports.
- Keep original files somewhere recoverable rather than deleting them after import.
- Confirm whether your app copies imported media or references its original location.
- Avoid moving or renaming linked source files during an edit unless the app supports relinking them.
- Check how the app saves and backs up projects; a project backup may not include all source media.
External storage can help with media transfer, but do not assume every app can edit directly from an attached drive. Access depends on the iPad, connection hardware, storage format, and application. Confirm the workflow for your particular setup before relying on it.
Example: Edit a Short Widescreen Video in iMovie on iPad
This example uses a simple iMovie Movie project: three landscape clips, a title, and optional background music. It is intended as a beginner workflow, not a specification for every iMovie release. Button names and export choices may differ in your installed version.
1. Decide What You Are Delivering
For this example, the goal is a short widescreen travel video.
Choose the destination and orientation before editing. If you need a vertical social video, check your chosen app’s canvas and export controls first rather than assuming a widescreen project will convert neatly.
2. Import Clips from Photos or Files
For clips already in Photos:
- Open iMovie and start a new Movie project.
- Select the clips you want to use.
- Create the movie to place them on the timeline.
For files stored in Files, use the project’s Add Media control and browse through Files, where available. If a clip cannot be selected or imported, check its format and whether it is available locally rather than only in cloud storage.
Start with a small selection. Importing every take at once can make a beginner project harder to navigate.
3. Arrange and Trim the Rough Cut
Drag the clips into story order: an opening shot, the main action, and a closing shot.
Select a clip and drag its trim handles to remove unwanted material at the beginning or end. To remove a section in the middle, position the playhead, split the clip, and delete the unwanted segment.
Watch the sequence before adding effects. Check that:
- The opening establishes the subject quickly.
- Each clip adds something useful.
- Pauses and repeated material are removed.
- The ending feels intentional.
4. Refine Transitions and Framing
Review the joins between clips. Use a transition only when it helps the viewer understand a change in time, place, or subject.
Check the preview for awkward crops or important details near the frame edges. If your footage has mixed orientations, review each shot individually rather than assuming it will fit the project consistently.
5. Adjust the Audio
Select each clip and use its audio controls to adjust volume. Prioritize clear speech and reduce distracting differences between clips.
If you add music, keep it below dialogue and listen through the joins for abrupt changes. Use only music you have permission to include in the finished video.
Review at least once with headphones. If the video will commonly be watched on a phone, also check whether speech remains understandable on a small speaker.
6. Add a Readable Title
Select the relevant clip and use the title controls to add a short heading.
Keep the wording concise, check spelling, and leave it visible long enough to read comfortably. Preview it against the actual footage: text that looks clear on a still frame may become difficult to read when the background moves.
7. Export and Save the Finished File
Return to the project’s sharing or export controls. Where export options are available, choose a resolution that meets the delivery requirement and is appropriate for the source footage. Increasing output resolution does not restore detail missing from the original clips.
Use the available save or share option:
- Save Video places the finished video in Photos.
- Save to Files, where offered, lets you place the export in a delivery folder.
- A sharing destination can send the video onward, but check whether that service compresses it.
If you export to Photos but need a file-based handoff, use the Photos share controls to save or send the video through the required channel.
8. Check the Exported File—Not Just the Timeline
Open the saved export and watch it from beginning to end. Look for:
- Incorrect orientation or framing
- Missing or silent audio
- Clipped words and sudden volume changes
- Unreadable titles or spelling mistakes
- Black frames, duplicate clips, or an unintended ending
Confirm that the recipient can access the file and that its size and format meet the delivery requirements. Keep the source media and editable project if revisions may be needed.
Improve the Physical Editing Setup
An 11-inch iPad Pro can be a workable portable editor, but a larger display offers more room for the preview, timeline, and controls. The Medium writer found a larger iPad more comfortable for editing; that is a usability preference rather than a requirement.
Touch controls are useful for direct adjustments. A keyboard, mouse, or trackpad may help with text entry, navigation, and precise selection, depending on the app’s support.
Choose accessories around your actual working conditions:
- Travel: Prioritize a stable stand and compact controls.
- Desk editing: Prioritize comfortable screen positioning and a pointing device.
- Occasional projects: Try the iPad you already own before buying accessories.
- Long timelines: Test whether keyboard and pointer controls reduce repetitive gestures.
When a Desktop Workflow May Be Better
A laptop or desktop may be more suitable when a project requires:
- A large timeline or several displays
- Extensive file management across many assets
- Specialized plug-ins or desktop-only software
- Collaboration or project exchange that your iPad app cannot support
- Delivery settings or finishing tools unavailable in the mobile editor
Before using an iPad Pro for client work, complete a representative test project. Include import, editing, audio review, export, and delivery—not just a short playback test.
For ongoing projects, also test recovery: can you reopen the project and locate all its media after making a backup? Discovering that a backup contains only the timeline is much easier to fix before the original files are gone.
FAQ
Can an iPad Pro Edit 4K Video?
Yes, but performance depends on the model, app, footage format, effects, number of layers, and available storage. Test footage similar to your real project, including an export, before depending on the device for a deadline.
Is an 11-Inch iPad Pro Large Enough?
It can be, particularly for short projects and travel. Longer timelines may feel crowded. Try a representative edit on the device you have before deciding that a larger display is necessary.
Do I Need a Mouse and Keyboard?
No. Touch editing can be sufficient for short projects. A keyboard and pointing device may improve comfort for longer sessions, provided the app supports the controls you want to use.
Is iPad Pro Video Editing Suitable for Professional Work?
It can be suitable when the app and workflow meet the project’s requirements. Check media handling, revision needs, collaboration, export settings, and delivery—not just editing speed.
Bottom Line
An iPad Pro works best as a focused mobile editing system. Choose an app around the project’s requirements, organize and preserve your media, build a clean rough cut, and inspect the exported file before delivery.
Start with a small project you can finish end to end. That will reveal whether the device, app, and file-management workflow fit your needs better than a feature list alone.
Sources
- 5 Things I Learned From Editing Videos On My iPad Pro — personal account of editing on a 2020 11-inch iPad Pro, including app and accessory preferences.