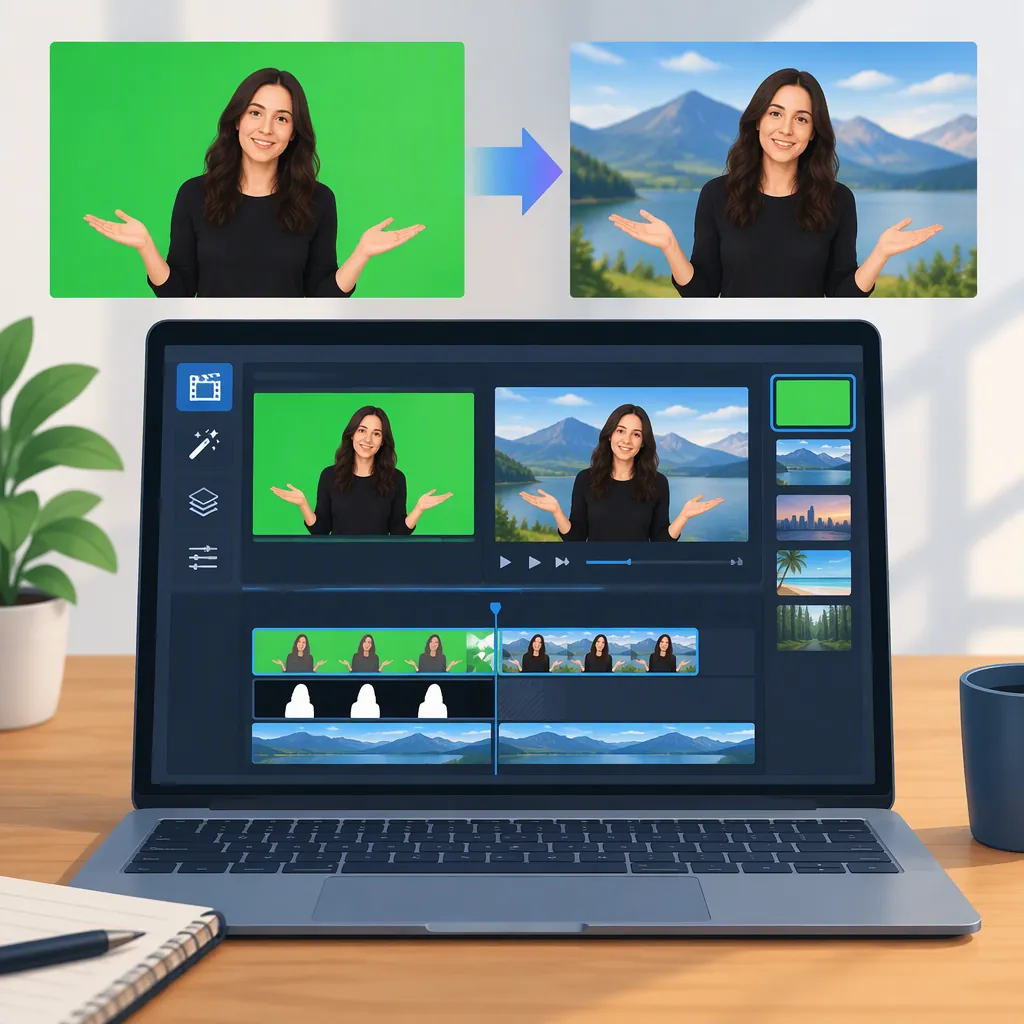
PowerDirector Green Screen: Background Removal and Replacement
For green-screen footage in PowerDirector, use Chroma Key to remove the backdrop’s color. For footage of a person without a green screen, AI Background Remover offers Transparent and Blurred modes. [c1]
Scope: The cited CyberLink guide reports testing its instructions in PowerDirector 365 version 24.0.7 on Windows. Interface paths and tool behavior below reflect that guide, not every edition or platform. It documents the AI workflow in detail but provides only an overview of Chroma Key controls. [c1]
Choose the Method That Fits Your Footage
| Footage or editing goal | Documented method |
|---|---|
| A subject filmed against a green or blue screen | Chroma Key, which removes a selected color range |
| A person against an ordinary background | AI Background Remover in Transparent mode |
| A person whose original background should remain but look softer | AI Background Remover in Blurred mode |
| A product, animal, or vehicle | A green-screen Chroma Key workflow; the guide describes AI Background Remover as supporting people only |
Chroma Key includes adjustments for the selected color range and edges, plus additional color selections for an unevenly lit screen. AI Background Remover separates a person from the scene rather than removing a selected backdrop color. [c1]
PowerDirector Green-Screen Workflow: Operation Overview
The available reference supports the following overview, not a complete button-by-button Chroma Key tutorial:
- Open the background tools. Select the clip, click Edit above the timeline, and open Video > Background. The guide places Chroma Key and AI Background Remover on this tab. [c1]
- Use Chroma Key for the screen color. Choose the backdrop color to remove. The guide describes removing a selected color range but does not supply the full enable-and-color-selection control sequence. [c1]
- Refine the removal. Adjust the color range and edges. If the backdrop is unevenly lit, the documented tool also allows additional colors to be selected. Exact control labels and slider values are not established by this reference. [c1]
- Review the result in motion. Check several points in the clip before accepting the key. Treat the checks below as general editing suggestions, not prescribed PowerDirector settings.
Green-Screen Review Checklist
- Check that the backdrop is removed without cutting into the subject.
- Inspect hair, hands, clothing, and moving edges.
- Look for remaining screen color or distracting outlines.
- Review the beginning, middle, and end of the clip.
- Compare the subject against the intended replacement background.
- Recheck the clip after each adjustment.
If part of the subject disappears or an outline becomes distracting, compare the result before and after your latest adjustment. Avoid judging the entire clip from one still frame.
Remove or Blur a Background Without a Green Screen
For footage of a person, the guide documents this AI Background Remover sequence:
- Select the clip and click Edit above the timeline.
- Open Video > Background.
- Enable AI Background Remover.
- Choose Transparent to remove the background, or Blurred to retain and soften it.
- Adjust Edge Thickness and Edge Feather. In Blurred mode, adjust Blur Degree as needed. [c1]
The two edge controls work in both modes. Blur Degree is inactive in Transparent mode because that mode removes the background rather than blurring it. [c1]
Use Transparent mode when the goal is a replacement scene. Use Blurred mode when the original location should remain visible but softened. [c1]
Add a Replacement Background
For the AI Transparent workflow documented in PowerDirector 365 version 24.0.7 on Windows, the guide specifies placing another image or video on the track above the subject clip. This track-placement instruction is scoped to that documented workflow; it is not established here as a universal rule for every PowerDirector platform or as a complete Chroma Key compositing sequence. [c1]
To follow that workflow:
- Apply AI Background Remover > Transparent to the person’s clip.
- Place the replacement image or video on the track above that clip, as described by the guide.
- Preview the composition to check that the replacement appears in the removed background area while the subject remains visible. [c1]
The guide’s checkerboard illustration represents the transparent area before a replacement background is visible. It is not itself a replacement image. [c1]
Check the Finished Composition
Before finishing, review these visual questions:
- Is the replacement visible wherever the original background was removed?
- Does the subject remain intact during movement?
- Are the edges clean without looking excessively soft?
- Does the replacement remain visible for the intended portion of the edit?
- Would retaining the original scene with blur better suit the footage?
These are general review suggestions. The cited guide does not establish export settings or whether a particular output format preserves transparency.
FAQ
Do I Need a Green Screen to Remove a Background in PowerDirector?
Not for the documented person-cutout workflow: AI Background Remover separates people from ordinary footage. For green- or blue-screen footage, the guide directs users to Chroma Key. Tool availability and interface details should be checked against your edition and platform. [c1]
Can AI Background Remover Cut Out Products or Animals?
The cited guide describes AI Background Remover as supporting human figures only. For products, animals, or vehicles, it recommends filming against a green screen and using Chroma Key instead. [c1]
Why Is Blur Degree Grayed Out?
In the documented PowerDirector 365 24.0.7 Windows workflow, Blur Degree is inactive when Transparent is selected. Choose Blurred to adjust background blur. Edge Thickness and Edge Feather remain available in both modes. [c1]
Where Does the Replacement Background Go?
For the guide’s AI Transparent workflow, place the replacement image or video on the track above the subject clip. Preview the result to confirm that it appears behind the cutout. This placement is the source’s instruction for the documented Windows workflow, not a verified rule for all editions or platforms. [c1]