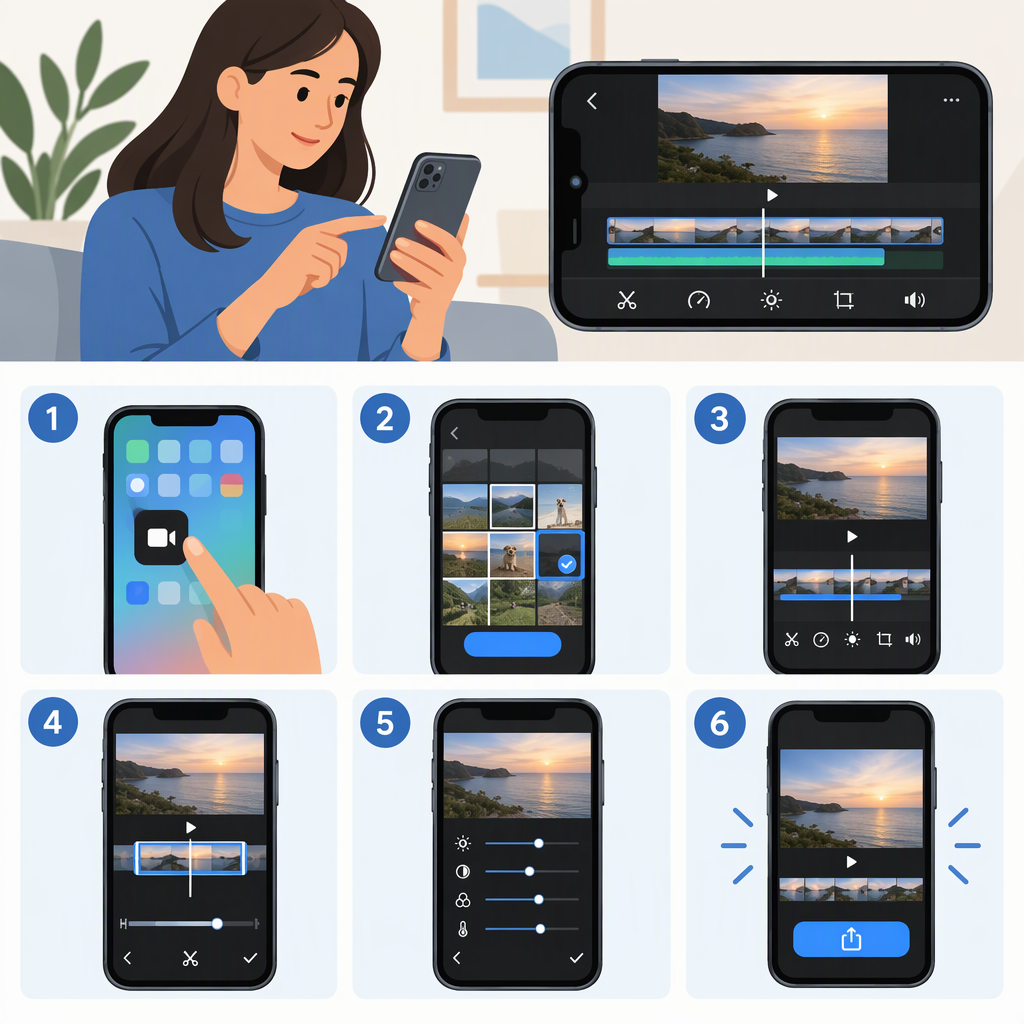
How to Edit Video on an iPhone
For a quick edit to one video, use the Photos app to trim it, rotate it, or apply a filter. To combine clips, change their order, or add titles, use iMovie. In either app, preview your changes before finishing; in iMovie, export the project as a video to save it in Photos or share it.
Choose the Right Editing Route
| What you want to do | A suitable route |
|---|---|
| Shorten the start or end of one video | Photos: trim the video and save the edited version. |
| Rotate one video or apply a filter | Photos: open the video’s editing controls. |
| Combine several clips, rearrange them, or add text | iMovie: create a Movie project and edit clips in its timeline. |
Apple’s Photos instructions cover trimming, filters, and rotation. Apple’s iMovie instructions cover creating projects, arranging and trimming clips, adding titles, and sharing or exporting a finished video. If iMovie isn’t installed, Apple says it can be downloaded free from the App Store; app availability may depend on your device and App Store. (support.apple.com)
Quick Edit in Photos: Trim One Video
- Open Photos and tap the video you want to edit.
- Tap Edit.
- Move the sliders at either end of the video timeline to set the new start and end points.
- Tap Play to preview the trimmed video.
- Tap Done, then choose Save Video or Save Video as New Clip.
Choose Save Video to keep the trimmed version. Choose Save Video as New Clip to keep the original and add a separate trimmed version to your library. If you later want to undo a trim, Apple’s instructions say to open the video, tap Edit, then Revert and Revert to Original. (support.apple.com)
Make a Multi-Clip Edit in iMovie
These steps use an iMovie Movie project. Button names below follow Apple’s published iPhone instructions.
- Open iMovie. In the Projects browser, tap the plus button, then Movie. If you’re already editing, tap Done to return to the Projects browser first.
- Select the video clips you want to use, then tap Create Movie. The selected clips appear in the timeline. (support.apple.com)
- Put clips in order. Touch and hold a clip in the timeline until it lifts, then drag it to the position you want. (support.apple.com)
- Trim a clip. Tap it in the timeline, then drag either end inward to shorten it. If you can’t drag an edge farther, the clip may have no extra footage available on that end, or it may be at iMovie’s minimum clip length. (support.apple.com)
- Add a title if useful. Tap a clip, tap Titles, and choose a style. To change the words, tap the text in the viewer, tap Edit, enter your text, and tap Done on the keyboard. (support.apple.com)
- Play the project and review the sequence, clip starts and ends, titles, and sound before exporting.
Example: For a short three-shot sequence—such as an opening shot, a close-up, and a finished result—select all three clips, drag them into that order, trim away unwanted beginnings or endings, then preview the whole movie. This is an example workflow, not a test of a particular project or device.
Save or Share the Finished iMovie Video
When your edit is ready, return to the Projects browser. Tap the project, tap the Share button, then tap Save or Share Video. To choose an export resolution, tap Options, make your selection, then tap Done. Tap Save Video to put the finished video in your Photos library. From Photos, you can share or upload that saved video using the destination app or service. (support.apple.com)
For social uploads, Apple describes 1080p as providing the best video quality for most social media sites; a lower option such as 720p HD makes a smaller file that can upload faster when internet speed is an issue. A lower resolution may reduce quality. (support.apple.com)
Remember: Editing in a project and saving a finished video are separate steps. If you want a video file in Photos, complete the export with Save Video; sharing the iMovie project is not the same as saving that finished video to your library. (support.apple.com)
Before You Finish
- Watch the exported video from beginning to end to catch awkward cuts or a title that disappears too soon.
- Check that important subjects and text fit in the frame, especially if you plan to post in a different orientation.
- Listen to the result and confirm that the sound you want is audible.
- If the video is too large to send by email or text, Apple’s guidance suggests choosing a lower resolution; note that this may affect quality. (support.apple.com)