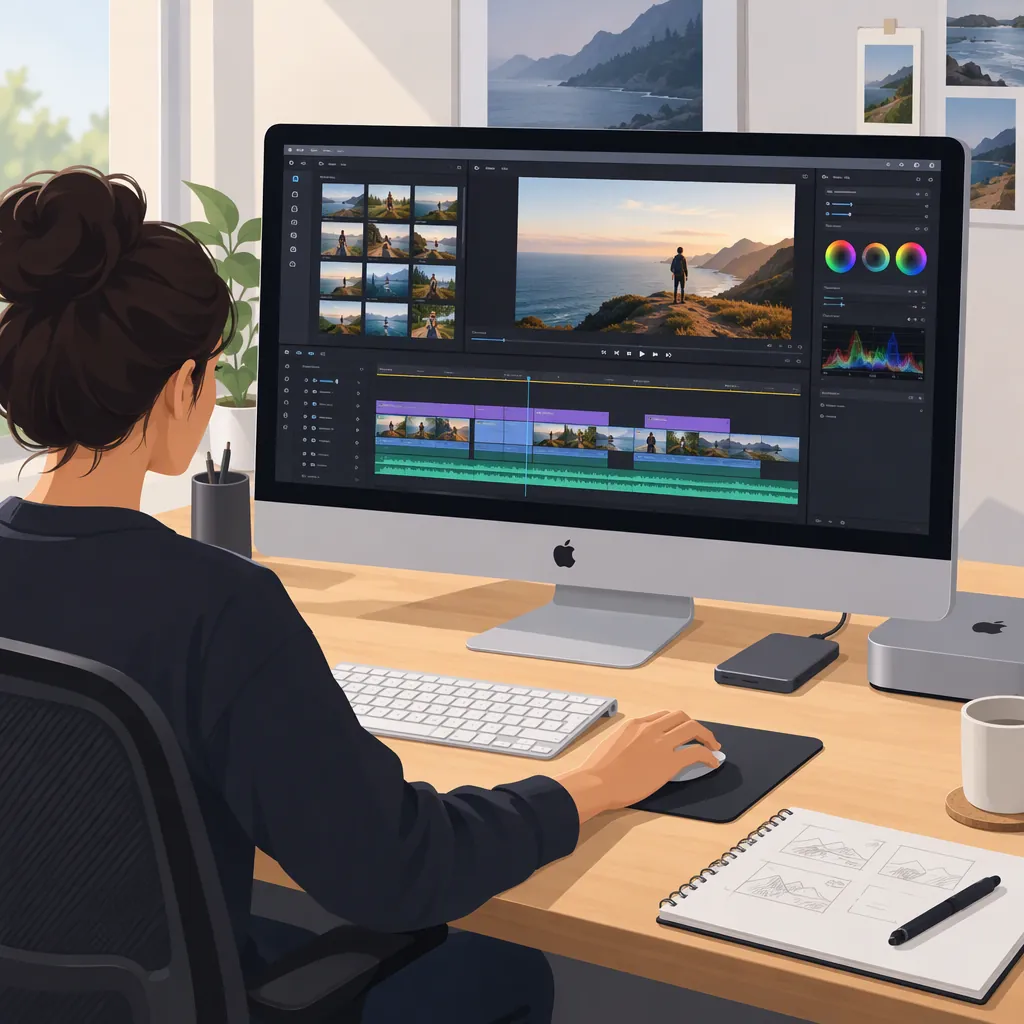
How to Choose a Video Editor for Mac and Edit Your First Project
To edit video on a Mac, choose an editor that supports your footage and intended output, import your clips, arrange and trim them, refine sound and titles, and export a file for review. Joining, trimming, splitting, and exporting are the basic operations identified in PCMag’s Mac editing guide. Start with those tasks rather than choosing software by its effects count. [c1]
The workflow below explains how to check your Mac, turn project requirements into selection criteria, and review an export. It is not a product ranking or a set of application-specific menu instructions.
Choose an Editor Around Your Project
Begin with what you need to make: a short interview, a tutorial, a family video, or a longer production. Write down the necessary edits and the destination for the finished file before comparing software.
PCMag groups Mac editors into beginner, enthusiast, and professional categories and discusses both editing tools and output options as selection criteria. Treat these categories as a starting point, not a universal ranking. [c1]
Divide your requirements into two groups:
- Must-have: Conditions the editor must meet for you to finish the project, including compatibility with your Mac, import of your actual footage, essential editing controls, and the required export.
- Optional: Tools that might help but are not necessary for this project, such as elaborate transitions or additional visual effects.
For a straightforward project, prioritize understandable trimming controls, readable titles, manageable audio controls, and an export process you can verify. For a more complex project, identify additional must-haves—such as multiple camera angles or detailed color work—before evaluating an editor.
Evidence limit: The cited comparison article is not current vendor documentation. This guide does not establish present-day prices, licensing, compatibility, or feature availability for any named application. Check those details for the specific version you are considering.
Project Requirements Worksheet
- Intended audience: ______
- Finished video destination: ______
- Target duration: ______
- Required frame shape or aspect ratio: ______
- Source footage formats: ______
- Essential edits: ______
- Required titles or captions: ______
- Audio sources: ______
- Mac model, chip or processor, and memory: ______
- macOS version: ______
- Export requirements to verify: ______
- Must-have conditions: ______
- Optional features: ______
Example: Turn Requirements into a Decision
Suppose you are making a three-minute interview with separate dialogue and music files. The recipient requests a landscape video. These are hypothetical project requirements, not universal delivery rules.
| Requirement | Priority | How to check |
|---|---|---|
| Runs on your Mac configuration | Must-have | Compare your recorded Mac details with the editor’s official system requirements |
| Imports the interview footage and audio files | Must-have | Import representative files and check picture and sound |
| Lets you adjust dialogue and music separately | Must-have | Change each audio source independently in a short test |
| Exports the requested landscape frame shape | Must-have | Export a sample and inspect its dimensions and framing |
| Supports a readable speaker-name title | Must-have | Add a title and review the exported result |
| Includes animated transitions | Optional | Evaluate only after the essential conditions are met |
Exclude candidates that do not meet a must-have condition. If a condition remains uncertain, resolve it before committing to the full edit. Among candidates that pass, compare how easily you can complete the same short test—not just how many features appear in a list.
Check Your Mac and Prepare Your Media
Record Your Mac’s Configuration
Before installing or selecting an editor, make a brief device record:
- Open the Apple menu > About This Mac.
- Record the displayed Mac model, chip or processor, memory, and macOS version. The layout and labels can vary by macOS version.
- If you need more detail, open System Information using Spotlight and review the hardware overview.
- Compare this information with the candidate editor’s official system requirements for the version you intend to use. Check supported macOS versions, processor or chip requirements, memory, and any listed graphics or storage requirements.
- Mark each requirement as met, not met, or unclear. Do not assume support from a product name or an older review.
This is a compatibility-checking method, not a claim that any particular application currently supports your Mac. Meeting listed requirements also does not establish how smoothly your specific project will run.
Organize Your Working Files
Keep an untouched copy of your source footage. Organize working files into clearly named folders for video, audio, graphics, and exports. Use descriptive project names so revisions are easy to distinguish.
Before committing to a long edit, test the complete process with representative media: import it, make a cut, add a title, adjust sound, and export. Open the exported file separately and check the result.
Include footage that resembles the demanding parts of your project rather than testing only the simplest clip. PCMag notes that performance varies with hardware, source-media format, and output settings; its reported rendering results should not be treated as predictions for every Mac. [c1]
If something fails, record the editor version, macOS version, source format, and export settings before changing one setting at a time.
Small-Project Test Checklist
- Compare your Mac configuration with the editor’s official requirements.
- Import a representative video clip and the required audio files.
- Add a second clip and make a cut.
- Add a short title.
- Adjust dialogue and background audio separately if the project requires it.
- Export using the intended delivery settings.
- Open the exported file outside the editor.
- Note playback issues, missing media, or unexpected restrictions.
- Confirm that every must-have condition has passed.
Build the Edit Before Adding Effects
Joining, trimming, and splitting clips are the basic editing operations described in the reference guide. [c1] Use this suggested sequence to keep the first pass focused:
- Import the working media. Bring the needed footage, audio, and graphics into the project. Check that the files open before arranging them.
- Arrange the story. Place clips in the order that communicates the main idea.
- Trim the edges. Remove unnecessary material at the beginning and end of each clip.
- Split where needed. Cut around mistakes or pauses, then review whether the remaining sequence still makes sense.
- Review the full timeline. Check pacing and continuity before decorating individual shots.
- Add supporting visuals. Use titles, additional footage, or transitions only where they help the viewer understand the video.
This sequence is a practical recommendation, not a set of editor-specific commands. Exact controls and shortcuts depend on the application. If a control is unclear, consult the documentation for that editor and version rather than borrowing another application’s shortcut.
Review Sound, Titles, and Captions
Give sound its own review pass. Listen for abrupt changes between clips, distracting background audio, and music that makes speech difficult to follow. Where your editor permits it, adjust these elements separately.
PCMag describes background music, sound effects, audio adjustments, and voice-over recording as common capabilities in Mac editing applications, though the exact controls differ. [c1]
Keep titles concise and review their readability at the intended viewing size. If you use captions, check names, technical terms, timing, and line breaks rather than assuming the first version is correct.
Finish by watching once without stopping. Note problems as you go, then make corrections in a separate pass.
Export for the Destination and Inspect the File
PCMag emphasizes that the selected editor must output to the project’s specifications and that the final destination matters when choosing software. [c1] Before choosing an export preset, distinguish the settings you may need to check:
| Setting | What it describes | What to verify |
|---|---|---|
| File format | The exported file’s container, such as MP4 or MOV | Accepted file types and any specified video encoding |
| Resolution | The image’s pixel dimensions, such as 1920 × 1080 | Required or permitted dimensions |
| Aspect ratio | The relationship between image width and height, such as 16:9 or 9:16 | Landscape, portrait, or another required frame shape |
| Frame rate | The number of video frames per second | Any required or permitted frame rate |
| Audio settings | How sound is encoded, including channels, sample rate, and bitrate | Any specified audio format or limits |
Resolution and aspect ratio are related but not interchangeable: one describes pixel dimensions, while the other describes shape. A file extension alone also does not identify every encoding setting inside the file.
A Practical Export-Checking Order
- Check the destination. Consult the recipient’s delivery brief or the publishing platform’s official upload guidance.
- Record explicit requirements. Note required formats, dimensions, aspect ratio, frame rate, audio settings, and any file-size or duration limits. Leave unspecified items marked as unspecified.
- Choose matching settings. Use a preset only after checking that its settings meet the recorded requirements.
- Export a short sample. Include a cut, a title, and dialogue with background audio.
- Inspect the sample. Open it outside the editor. Check available file properties in Finder or the playback application, then review picture and sound.
- Export and review the full video. Inspect the beginning, several cuts, text-heavy sections, and the ending. Listen as well as watch.
For example, if a recipient explicitly requests an MP4 file at 1920 × 1080 with a 16:9 aspect ratio, record and check those settings. This is a hypothetical delivery brief—not a universal preset or a statement of any platform’s current rules.
Avoid copying a reviewer’s benchmark settings simply because they appear in a comparison article. Keep the project and source media until the finished file has been checked. Saving an editable project and reviewing an exported video should be separate completion tasks.
Export Review Checklist
- Delivery requirements have been confirmed and recorded.
- Export settings match the explicit requirements.
- File properties have been checked where available.
- Frame shape and framing look correct.
- Titles and captions remain readable.
- Dialogue is understandable throughout.
- No unexpected blank sections or missing shots appear.
- The ending is intentional.
- The exported file opens outside the editor.
- The project and original media are retained.
FAQ
What Should a Beginner Look for in a Mac Video Editor?
Start with clear controls for joining, trimming, and splitting clips, then check audio, titles, and export options against your project needs. PCMag identifies these basic operations and output requirements as important considerations. [c1] Separate must-have conditions from optional features and test the same short sequence in each candidate that meets your requirements.
How Do I Check Whether an Editor Is Suitable for My Mac?
Record your Mac model, chip or processor, memory, and macOS version, then compare them with the editor’s official requirements for the intended version. After that, test your actual media. Compatibility checking and project testing answer different questions: listed requirements do not establish performance for your footage, and PCMag notes that performance varies by hardware, source format, and output settings. [c1]
Will the Same Editor Perform Equally Well on Every Mac?
No single review result establishes performance for every setup. PCMag notes that results vary with hardware, source-media format, and output settings. Test a representative short sequence on your own configuration before planning a lengthy project. [c1]
Which Export Settings Should I Use?
Use settings that meet the destination’s requirements rather than assuming one preset fits every project. The cited guide highlights output specifications as a selection criterion, but it does not establish a universal export preset. [c1] Record the destination’s explicit requirements, choose matching settings, and check a sample export before producing the full file.