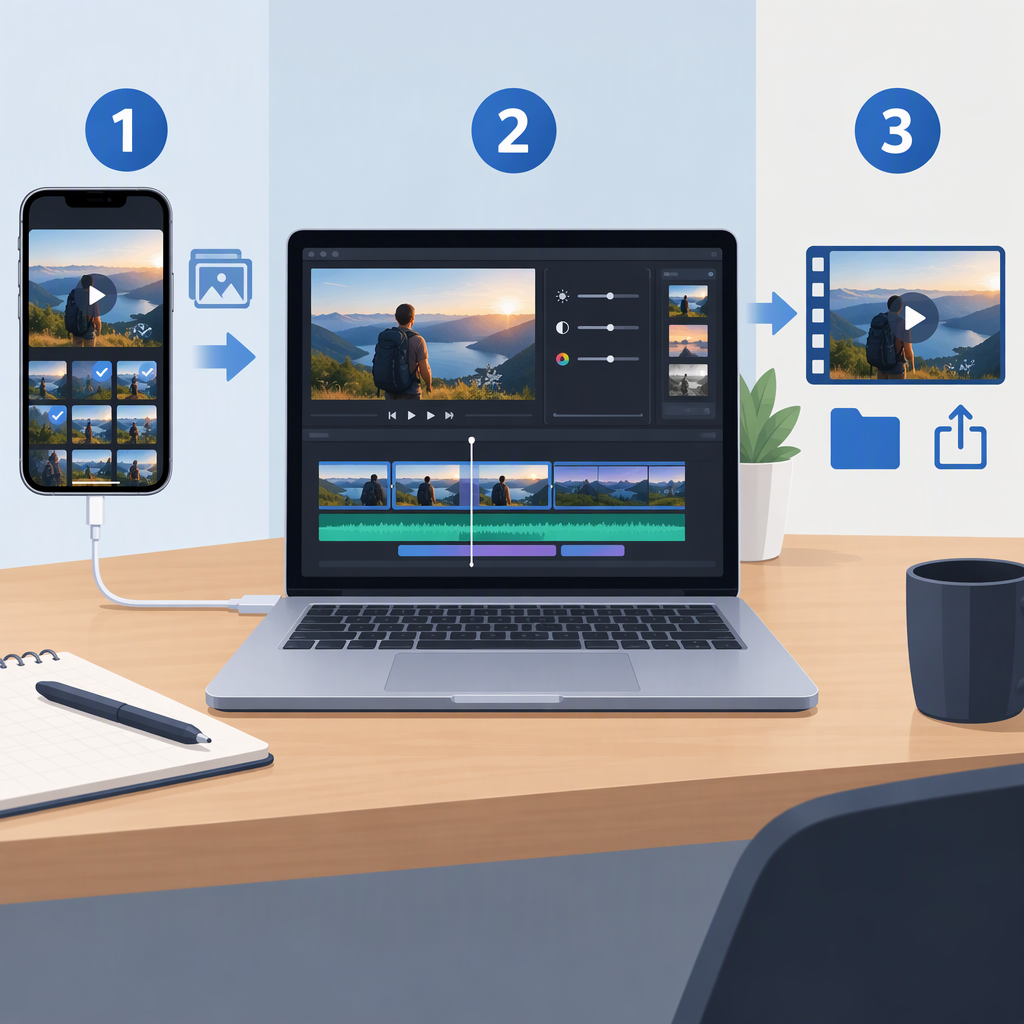
How to Edit iPhone Videos on a PC
Quick answer: On a Windows PC, transfer your iPhone videos with a USB cable and the Microsoft Photos app, or download them from iCloud. Confirm the clips are saved locally, import them into a video editor, arrange and trim them on a timeline, then export and play the finished file to check the picture, sound, and orientation. This guide assumes Windows 10 or 11; menu names can vary by app version.
1. Transfer Your iPhone Videos to the PC
Option A: Import over USB
This is a practical choice when your iPhone and PC are together and you want to choose a local folder for the clips.
- Connect the iPhone to the PC with a USB cable that supports data transfer.
- Turn on and unlock the iPhone. If it asks whether to trust the computer, tap Trust or Allow.
- On the PC, open Start > Photos.
- Choose Import, select the connected iPhone, and follow the prompts.
- Select the videos and the destination folder, then allow the import to finish.
- Open that folder and play one or more clips to confirm you copied the intended footage.
Microsoft notes that a locked phone may not be detected and that some USB cables do not transfer files. Apple also instructs Windows users to install the Apple Devices app, connect the iPhone, unlock it, and approve the trust prompt before importing through Microsoft Photos. (support.microsoft.com)
If the iPhone is not detected: unlock it, approve the trust prompt, and try a different data-capable cable or USB port. If the clips are in iCloud but not stored on the iPhone, download them from iCloud instead; Microsoft notes that cloud-only files may not be available for direct USB import. (support.microsoft.com)
Option B: Download from Icloud
Choose this route if the clips are already in iCloud or you prefer not to connect the phone by cable. On the PC, sign in to iCloud.com/photos, select the videos, and use the download button. Save them into a clearly named local folder, such as Videos\iPhone project, then open a clip to confirm it has downloaded before importing it into your editor. Apple also documents accessing iCloud Photos through iCloud for Windows and File Explorer. (support.apple.com)
Trade-off: USB avoids relying on an internet download for the transfer, while iCloud is useful when your footage is already synced or your devices are apart. iCloud Photos is a syncing service: changes and deletions can appear across devices. Keep a separate project copy if you need one that is independent of your synced library. (support.apple.com)
2. Check That the Footage Is Ready to Edit
Before editing, distinguish three different problems:
- Transfer problem: The clip is missing from the PC folder. Check that the import or download completed and, for iCloud, that the item is actually downloaded.
- Playback problem: The file is present but will not play in the app you opened it with. Try another media player or check the file in your editor.
- Editor-import problem: The clip plays elsewhere but the editor rejects it or takes a long time to load. Check the editor’s supported file types and codecs.
For example, iPhones can record HEVC (H.265) video, and compatibility can vary with the software and device handling it. Apple says Settings > Camera > Formats > Most Compatible makes new videos use H.264; changing that setting does not convert videos you already recorded. (support.apple.com)
As one documented Windows editor example, Clipchamp accepts common containers including MOV and MP4, but Microsoft says some files may need conversion before editing, and an MP4 file can still contain a codec that causes a problem. If a clip will not import, keep the original and try a compatible conversion of a copy; do not assume that changing a filename or file extension converts the video. (support.microsoft.com)
3. Edit the Clips in a PC Editor
You can use the editor already available to you, provided it supports your footage. When choosing an editor, check that it runs on your PC, accepts your files, and offers the tools you need—at minimum, importing, trimming, previewing, and exporting. The steps below use Clipchamp as a documented example, not as a required or tested recommendation.
- Create a new video project and import the clips from your local folder.
- Drag the clips onto the timeline in the order you want. The timeline shows the sequence that will be exported.
- Select a clip and drag its edge inward to shorten it. Move clips to rearrange them; play the timeline preview to review the sequence.
- If needed, add a simple title or audio track using the editor’s available tools.
- Preview the beginning, transitions between clips, and ending. Check that vertical footage still has the framing you want and that the audio is audible.
Microsoft documents adding media to the Clipchamp timeline, trimming by dragging clip handles, and previewing from the timeline. (support.microsoft.com)
Simple example: Import three short clips, put them in story order, trim the start or end of each to remove unwanted moments, then play the whole timeline once. The expected result is one continuous sequence ready to export; this is an illustrative workflow, not a reported hands-on test.
4. Export and Check the Finished Video
Pick an export size based on where the video will be watched and any file-size limits. In Clipchamp, the documented options include 720p and 1080p; Microsoft describes 720p as a smaller option for social posts and 1080p as suitable for streaming platforms and presentations. Follow any specific requirements from your intended destination rather than treating one resolution as right for every use. (support.microsoft.com)
In Clipchamp, select Export, choose an available resolution, and let the export finish. The exported video is an MP4; Microsoft says it usually saves to the PC’s Downloads folder. Open that file—not just the project preview—and check:
- Picture: the intended clips appear in the right order and play through.
- Sound: dialogue or other wanted audio is present and not unexpectedly muted.
- Orientation and framing: vertical or horizontal footage looks as intended and important content is not cut off.
- File location: the exported file is in the folder you expect and plays to the end.
One detail to know if frame rate matters: Microsoft documents Clipchamp’s exported video as MP4 at 30 fps. Do not assume the export preserves a different source frame rate. (support.microsoft.com)
If the export fails or the file is missing, check free disk space and look in Downloads first. Microsoft’s Clipchamp troubleshooting guidance also recommends trying a lower export resolution when an export is stuck or slow. (support.microsoft.com)