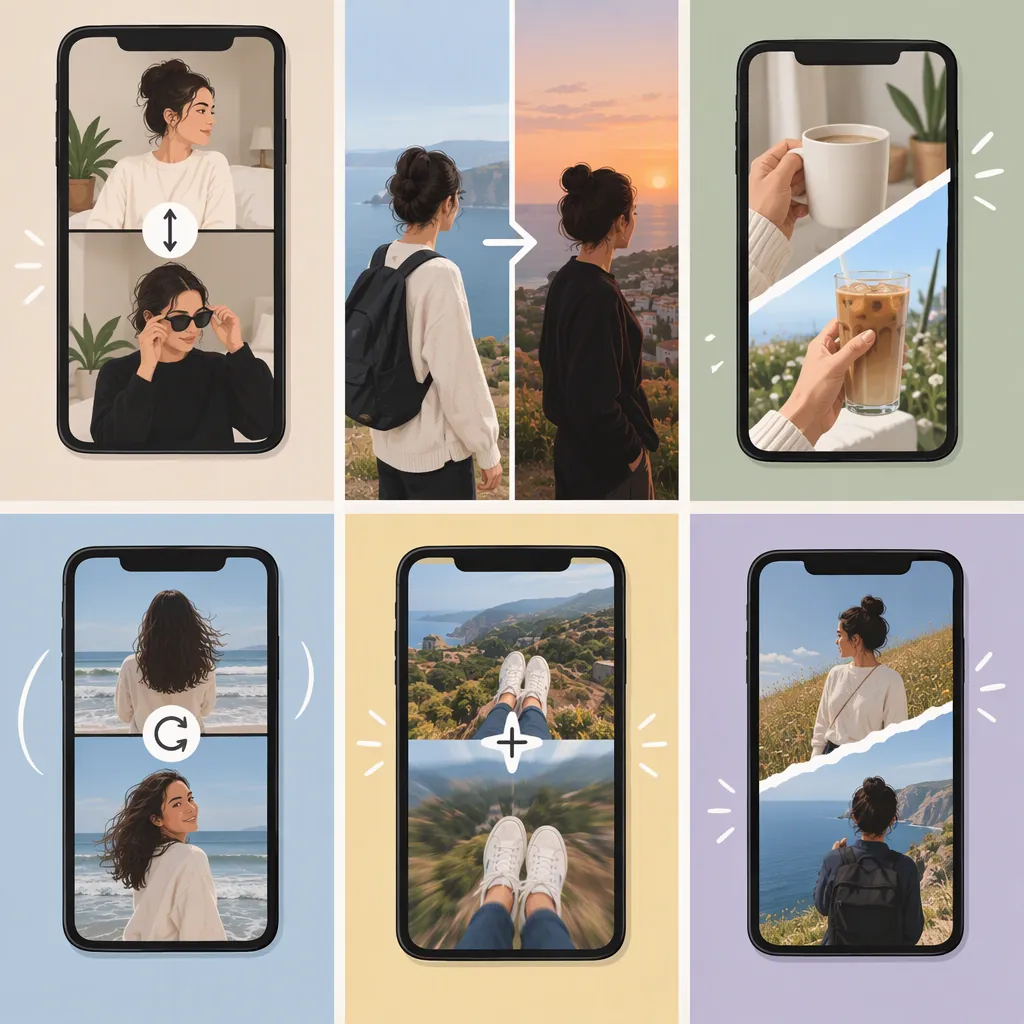
Instagram Reel Transition Ideas with Filming and Editing Steps
Start with a hand cover, snap or clap cut, whip pan, match cut, jump cut, or fade. Choose the transition around what changes between shots: an outfit, location, object, or tutorial step. Plan the last frame of clip A and the first frame of clip B before recording. The supplied tutorials describe these techniques, but they do not establish that any transition guarantees more views. [c2] [c3]
Choose a Transition That Fits the Scene
A useful starting point is to decide what the viewer should notice after the cut. For an outfit reveal, try hiding the change behind a hand cover. For a location change, try carrying the camera movement across a whip pan. For a tutorial, a plain jump cut may be enough.
Cyberclick describes hand covers, snap or clap cuts, whip pans, and jump cuts. Pippit's guide also describes match cuts and fades. These are technique references, not evidence that one option performs best on Instagram. [c2] [c3]
The instructions below are suggested practice workflows based on those descriptions. They are not a verified walkthrough of the current Instagram interface; button names and tool availability are outside the scope of the supplied evidence.
6 Instagram Reel Transition Ideas to Practice
1. Hand Cover for an Outfit or Object Reveal
The hand-cover technique ends one clip with the lens blocked and begins the next with the hand pulling away. Both Instagram's public discovery page and Cyberclick describe this approach. [c1] [c2]
- Film clip A: Show the starting look, then move your palm toward the lens until it covers the frame.
- Film clip B: Start with the lens covered, then pull your hand away to reveal the change.
- Edit: Join the clips where both frames are fully covered. Trim any unnecessary pause in the covered portion.
- Check: If a bright sliver appears at the cut, choose a more completely covered frame or reshoot.
2. Snap or Clap for a Sudden Change
Cyberclick describes synchronizing a visual change with a snap or clap cue. [c2]
- Film: Record the gesture in the starting scene. For an outfit change, record the new look with a similar pose and camera position.
- Edit: Place the cut at the gesture or its audible cue, then adjust the cut slightly earlier or later while previewing.
- Check: Keep the reveal close to the cue rather than letting the gesture finish long before the change.
Treat the cue as a timing reference, not a requirement to use trending audio.
3. Whip Pan for a Location Change
A whip pan connects clips through matching fast camera movement, with the cut placed during the blurred motion. [c2]
- Film clip A: Show the first scene, then pan away quickly.
- Film clip B: Begin with a pan in the same direction and settle on the next scene.
- Edit: Try joining the clips within their blurred portions.
- Check: If the motion appears to reverse, choose different frames or record the second movement again.
Practice with a clear space around you. Move the camera without walking backward or swinging it near other people.
4. Match Cut for Related Shapes or Actions
Match cuts connect scenes through similar shapes, movements, or colors. [c3]
- Film clip A: Place a recognizable shape, such as a round plate, in a deliberate position.
- Film clip B: Place another round object in approximately the same position and size.
- Edit: Use a direct cut between the two shots.
- Check: Compare the frames on either side of the cut. Adjust the framing or crop if your editor supports it.
As a practice exercise, try matching a circular notebook sticker to a cup viewed from above.
5. Jump Cut for a Tutorial Step
Cyberclick describes jump cuts as a way to remove pauses from spoken footage. [c2]
- Film: Record the explanation or task with a stable camera position.
- Edit: Remove waiting time or unnecessary pauses, while keeping the words and actions needed to understand the step.
- Check: Listen across each cut for clipped syllables. Watch for a missing action that makes the result confusing.
For a cooking or craft demonstration, try cutting from the completed first step to the beginning of the next rather than adding an effect between every action.
6. Fade for a Gentle Scene Change
Pippit's guide describes fades as a gradual way to connect scenes. [c3]
- Film: Capture two shots that can remain readable during a gradual transition.
- Edit: Try a short fade between them, using the controls available in your editor.
- Check: If overlapping images obscure a face, object, or text, shorten the transition or use a direct cut.
Use this as an alternative to a sudden reveal, not as a way to conceal every mismatched shot.
Plan the Cut Before Recording
Cyberclick recommends storyboarding shots and stabilizing the camera before filming. [c2] For a first attempt, practice one transition between two clips rather than combining several effects.
Use this sequence:
- Decide what changes and what should remain visually consistent.
- Choose the exact action that ends clip A and begins clip B.
- Record a little extra footage around both actions so you have room to trim.
- Assemble a direct cut first. Add an effect only if the idea requires it.
- Preview with sound to check timing, then without sound to check whether the visual change is understandable.
- Inspect the frames immediately before and after the cut before recording another take.
Two-Clip Transition Shot Plan
Use this example as a starting worksheet.

- Transition: Hand cover.
- Visible change: Casual outfit to a different outfit.
- Keep consistent: Camera position, background, and standing position.
- Clip A ending: Palm fully covers the lens.
- Clip B beginning: Palm fully covers the lens, then moves away.
- Cut point: Between two fully covered frames.
- Review checks: No uncovered edge at the join; no unnecessary pause; the new outfit is visible after the reveal.
- Reshoot condition: No fully covered frame exists in either clip.
Troubleshoot an Awkward Transition
Use these checks as editing experiments rather than guaranteed fixes:
| What You Notice | What to Try |
|---|---|
| The subject jumps sideways | Compare subject position on both sides of the cut; adjust framing or reshoot. |
| A hand-cover cut flashes | Move the cut to frames where the lens is fully blocked. |
| A whip pan changes direction | Match the direction of movement in both clips. |
| A snap reveal feels late | Move the cut closer to the gesture or audio cue. |
| A tutorial sounds chopped | Restore enough audio around the cut to preserve complete words. |
| A fade makes the image confusing | Shorten it or replace it with a direct cut. |
Do not keep an elaborate transition if it makes the action harder to follow. Pippit's guide recommends choosing effects to suit the message and avoiding overuse. [c3]
FAQ
Which Instagram Reel Transition Should a Beginner Try First?
Try a hand cover as a first practice exercise: end clip A with the lens fully covered, start clip B covered, and join those frames. The supplied Instagram page and Cyberclick tutorial both describe this technique, though neither establishes an objective difficulty ranking. [c1] [c2]
Do I Need a Transition Effect Preset?
Not for every idea. A hand cover, snap cut, or jump cut can be practiced by filming the necessary action and trimming the clips at the intended moment. These techniques rely on coverage, timing, or a direct cut rather than requiring a decorative preset. [c2]
Will Smooth Transitions Make My Reel Go Viral?
The supplied references do not establish that a particular transition guarantees views or virality. Use them as technique guides, not performance forecasts. A practical editing goal is to make the change between scenes intentional and understandable.