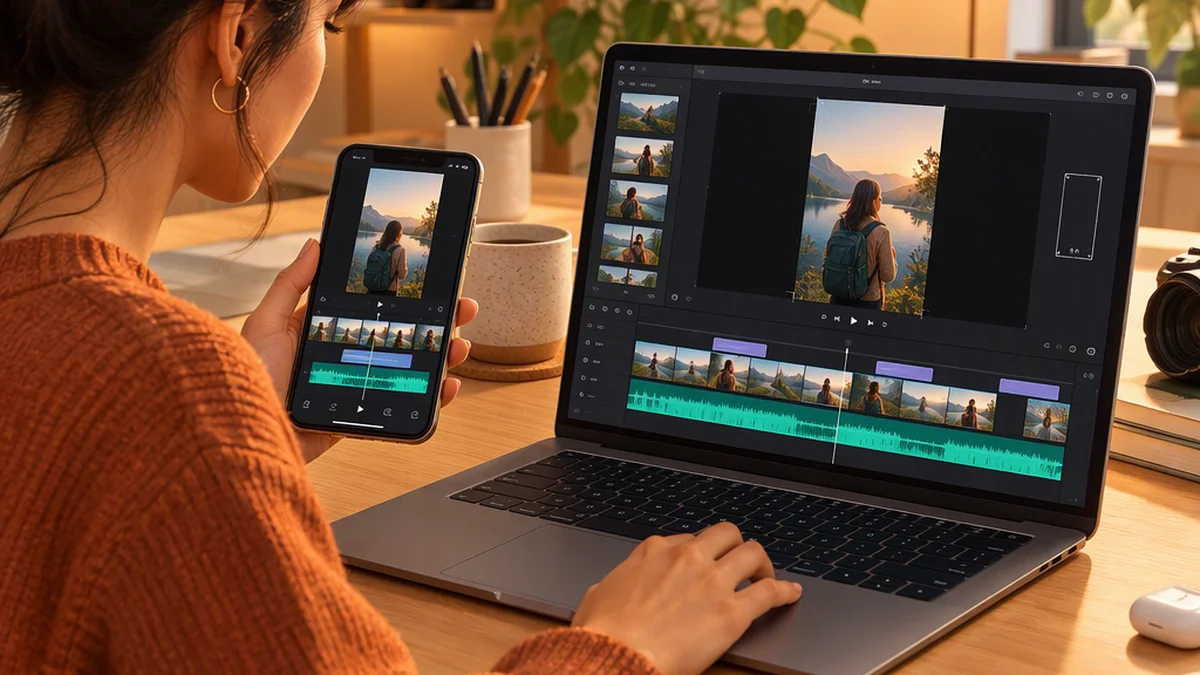
Instagram Reels Editing: A Practical Step-By-Step Guide
Instagram Reels editing turns clips, photos, speech, music, and text into a clear vertical video. The essential workflow is simple: plan one idea, set a 9:16 canvas, arrange and trim your clips, improve pacing, add readable captions, balance audio, and review the exported file on a phone.
This guide uses Flixier’s browser editor as the main editing path. Its Reel maker supports timeline editing, vertical presets, subtitles, and export. Interface labels and feature availability may change, so the steps below describe the editing actions rather than a fixed sequence of buttons.
1. Plan One Clear Idea
Before opening the editor, decide what the viewer should understand by the end. A Reel might answer a question, demonstrate a process, explain a product feature, or show a before-and-after result.
Write a short outline:
- Opening: Show the subject or state what the viewer will learn.
- Middle: Present the steps, evidence, or explanation.
- Ending: Show the result, takeaway, or next action.
Example: A 25-second tutorial could open with the finished result, show three preparation steps, and end with one quality check. Use this as a planning example, not a target duration for every Reel.
Collect the relevant clips, photos, and audio. Flag footage with distracting noise, poor lighting, or shaky movement. You do not need to use every clip you recorded.
2. Create a Vertical Project and Import Your Media
In Flixier:
- Start a video project.
- Choose the 9:16 vertical preset for the canvas.
- Import the clips, photos, and audio you plan to use.
- Drag your first clip onto the timeline.
- Check its framing in the preview before adding the remaining clips.
Set the canvas early so you can make framing decisions while editing.
If your footage is landscape, choose a deliberate layout:
- Crop and reframe when the important action fits within a vertical frame.
- Use a background behind the clip when cropping would remove essential information.
- Add supporting text or graphics only if the resulting layout remains easy to follow.
Check every clip individually. A crop that works for one shot may cut off a face, product, or demonstration in the next. Keep essential text and visual details away from the edges, where Instagram’s interface may compete with them.
3. Arrange, Trim, and Split Your Clips
Build the story before adding effects.
- Arrange the clips on the timeline in the order of your outline.
- Trim the beginning and end of each clip to remove camera setup, empty pauses, and unnecessary movement.
- Split a clip where an unwanted section begins and ends, then remove that section.
- Close unintended gaps and play back each cut to check continuity.
- Reorder or remove clips if they repeat information or interrupt the sequence.
For spoken content, make cuts around complete phrases. Avoid clipping the beginning or end of a word. For demonstrations, preserve the action the viewer needs to see, even if that means holding a shot longer.
Use two rough-cut checks:
- Watch without sound: Can you follow the basic sequence from the visuals and text?
- Listen without watching: Does the explanation make sense, without abrupt cuts or repeated points?
A straight cut is often enough. Add a transition only when it helps signal a change of scene, time, or topic.
4. Improve Pacing Without Rushing
Good pacing does not require a cut every second. Change the visual when the idea changes or when the current shot stops adding useful information.
Review the timeline and:
- Remove empty lead-in footage.
- Move the first useful statement or action near the beginning.
- Switch between wide shots and close-ups when the change clarifies a detail.
- Shorten repeated explanations.
- Leave results, measurements, and important text visible long enough to understand.
If an action is difficult to follow, show it more clearly rather than covering it with effects. A close-up or a longer shot may help more than a faster edit.
For photo-based Reels, adjust each image’s duration to suit its detail. Use movement sparingly, and avoid zooming so far that the relevant subject leaves the frame.
5. Add Captions and Purposeful On-Screen Text
Captions help viewers follow speech without audio and support accessibility. Flixier describes automatic subtitle generation, manual editing, and subtitle styling.
For a voice-led Reel:
- Finish the main sequence of spoken clips.
- Generate synchronized subtitles.
- Read every caption while listening to the speech.
- Correct names, numbers, technical terms, and punctuation.
- Adjust line breaks and timing where needed.
- Preview the captions at phone size.
Automatic captions are a draft. Fix errors that change meaning, and check that captions appear when the corresponding words are spoken.
Use separate on-screen text for a topic label, step number, measurement, warning, or closing instruction. Keep each block short, use strong contrast, and place it consistently. Avoid covering the hands, object, or screen area the viewer needs to follow.
If speech alone explains an essential visual detail poorly, revise the narration or add a concise text label.
6. Balance Speech, Music, and Sound Effects
Add music after the spoken sequence is coherent.
- Place the music on the timeline and align it with the section it should accompany.
- Trim it to the required duration.
- Lower its volume while speech is playing.
- Align sound effects with the intended action.
- Listen through the full Reel using headphones and a phone speaker.
The voice should remain understandable without the listener straining. If music masks words, lower it further or remove it from that section. Check for abrupt audio cuts, accidental silence, distortion, and background noise.
Use only audio and media you have permission to use. An editor’s audio library does not by itself establish permission for every Instagram account, region, or commercial use. Review the applicable license and platform terms before publishing.
7. Add Effects and Animation Only Where They Help
Use effects to clarify the subject or maintain a consistent visual style—not to fill every moment.
A filter may help shots look more consistent. A graphic can point out a detail. A subtle zoom can direct attention. Remove an effect if it makes the action harder to see or the text harder to read.
CapCut’s Reel editing page also describes keyframes for animating properties such as text or graphics. If your editor supports them, a simple position or zoom animation works like this:
- Place the playhead where the animation should begin.
- Set the starting position or scale and add a keyframe.
- Move the playhead to the ending point.
- Change the position or scale and add another keyframe.
- Preview the movement and adjust its speed or size.
This creates a simple animation between defined points. It is not automatic object tracking. To make a label follow an object manually, add keyframes wherever the object changes position or direction and check the movement between them. Automatic tracking requires a separate tracking feature in the editor.
8. Export Using a Practical Starting Point
For a typical vertical workflow, use these settings as a starting point—not as a statement of Instagram’s mandatory specifications:
| Setting | Suggested starting point |
|---|---|
| Aspect ratio | 9:16 |
| Resolution | 1080 × 1920 pixels |
| Format | MP4 |
| Frame rate | Match the project or main footage |
| Quality | Choose a setting that preserves readable text and visible detail |
If most of your footage is 30 fps, keeping the project and export at 30 fps is a straightforward choice. If you are editing a 60 fps project, preserve that frame rate unless you have a reason to change it. Increasing the export frame rate does not restore motion detail missing from the source footage.
Export the completed video from Flixier, then open the file on a phone and check:
- Captions are sharp and readable.
- Faces, products, and important actions are not cropped.
- Speech and captions are synchronized.
- Music does not overpower the voice.
- The opening has no accidental pause.
- The ending does not cut off speech or the result.
- No draft text or unintended blank frames remain.
Preview the upload in Instagram as well. If compression or interface overlays obscure important details, revise the edit before publishing. Check current in-app guidance for time-sensitive platform limits.
Choosing a Different Editing Approach
You can edit within Instagram or use a separate editor. The right choice depends on the controls your project needs.
- Flixier: Its Reel maker describes browser-based timeline editing, vertical presets, subtitles, and export.
- CapCut: Its Reel page describes an online workflow with 9:16 templates, timeline editing, text, audio, effects, and keyframes.
- Design.com: Its Reel page focuses on searchable designs with customizable fonts, colors, and layouts.
Templates can save time when your footage fits their timing and composition. Start with a blank timeline when you need more control over pacing, captions, or framing.
Before choosing a tool, check the features available to your account, export options, device support, privacy terms, and any relevant limits. A template library is not a substitute for clear storytelling or a careful final review.
Common Instagram Reels Editing Mistakes
Avoid these problems:
- Starting with a long greeting or logo sequence instead of useful content.
- Keeping every recorded clip, even when several repeat the same point.
- Publishing automatic captions without proofreading.
- Using small text or dense paragraphs over moving footage.
- Cropping landscape footage without checking each shot.
- Letting music compete with speech.
- Adding a different transition to every cut.
- Assuming editing choices guarantee reach or engagement.
If the Reel is unclear, fix the structure before adding decoration.
Final Editing Checklist
Before publishing, confirm that:
- The Reel communicates one clear idea.
- The opening shows relevant content immediately.
- The vertical framing preserves the important action.
- Captions and text are readable on a phone.
- Speech is clear and music is balanced.
- Effects serve the message.
- You have permission to use the media and audio.
- The exported file and Instagram upload preview have both been reviewed.
If possible, ask someone unfamiliar with the edit what it is about and whether anything was difficult to hear, read, or follow. Use their answers to identify what needs simplifying.
FAQ
Can I Make an Instagram Reel from Photos?
Yes. Add photos to a video timeline, arrange them in sequence, and adjust each image’s duration. Add text, music, or subtle movement where useful, and keep each photo visible long enough for its important detail to register.
Do I Need Advanced Editing Skills?
No. Start with arranging clips, trimming unwanted material, adding captions, and balancing audio. Learn effects and animation only when a project needs them.
Can I Repurpose Landscape Video for Reels?
Yes, but it may need more than a resize. Crop or reframe each shot, check existing text, and revise the sequence if the vertical composition hides essential information.
How Long Should a Reel Be?
Use the shortest duration that communicates the idea clearly. Check Instagram’s current in-app publishing guidance for the available length limits rather than relying on older tool-page claims.
Sources
These are product pages describing the providers’ own tools, not independent comparative reviews. Features, pricing, and availability may change.